The Dad_Ohs
fully equipped rock polisher
 Take me to your Labradorite!!
Member since September 2012
Posts: 1,860
|
Post by The Dad_Ohs on May 13, 2023 19:33:43 GMT -5
Inward curves in the shape of your cabs might be part of the trouble, your wire may want to pull out flush when tight and not keep to the shape of your cab. If the cabs had a standard round / oval shape i bet the groove wrap would be much easier. Bails are my personal bane but imo yours look pretty good. Thank you very much! Man, I thought the bails looked awful. I feel a bit better now lol. I spent an hour just working on these three and was getting frustrated. I’ve been using a wooden dowel to help tap the wire into the odd shape of the rock, but I’m realizing I didn’t grind the groove quite deep enough. I think I’m going to use square wire next, but I’ll ‘adjust’ the grooves a bit more first. My ultimate goal is to learn how to make cabs but we cannot swing the cost of the machinery at this time. So until I figure out how to make them with more basic tools (I’m working on that) I’ll be practicing on these. Thanks again! If you are using half hard wire you should not have any issues with he wire pulling out during normal wear and tear. However, if you are worried about it a drop of super thin CA in the groove after the wire is installed will keep it there and can be buffed after to bring the shine back to the wire. the reason I say after is that the glue spreads rapidly and the wire will help it travel along the groove and not all over your hands. I have only ever had to glue 2 out of maybe 50 or so groove wraps including one where the wire floated over an inward cut in the stone as opposed to following the groove. |
|
The Dad_Ohs
fully equipped rock polisher
Take me to your Labradorite!!
Member since September 2012
Posts: 1,860
|
Post by The Dad_Ohs on Sept 28, 2022 13:09:23 GMT -5
Really beautiful work there gratz on a 1st rate piece!!
|
|
The Dad_Ohs
fully equipped rock polisher
Take me to your Labradorite!!
Member since September 2012
Posts: 1,860
|
Post by The Dad_Ohs on Feb 2, 2021 14:00:53 GMT -5
Greetings and salutations to one & all!!!
My rock club has a Lortone 18 inch saw, about 30 + years old, and the carriage is gone, the vise moves 1/2 inch side to side on its own and the assemble had been rebuilt previously, but now I feel it needs parts more than anything else. Do they still make the parts to rebuild this or sell new carriage assemblies at Lortone??
Tried to call them but spent 20 minutes on hold before auto phone took over and I left my name & number for a call back, which 2 hours later has yet to happen... so while I wait I figured I would ask here for any possible info.
Any and all help is always appreciated!! Thanx in advance!!
|
|
The Dad_Ohs
fully equipped rock polisher
Take me to your Labradorite!!
Member since September 2012
Posts: 1,860
|
Post by The Dad_Ohs on Feb 2, 2021 13:51:39 GMT -5
Now, I've got to ask you a question... Where did you learn to cab? Do your cabs follow the orginal design/intent/ yes - "rules" - for cab making? If so, I think that's great! Seems a lot of people these days, just do it Frank Sinatra style (they do it "their way"), not following any standardization or guidelines. It is why I quit joining in the cabbing contests here on RTH, because everyone had their own idea on how they should be. I'm not going to enter a contest where the participants can't agree on the rules. Apples and oranges. Not picking on you or anybody. I think it is wonderful that you are teaching! Just curious on "how you do it." It's Jan, right?? How have you been!! I learned from the original club teacher who was an award winning cabber back in the day.... He taught us all the knife edge "competition" cab style as well as making a 'usable' cab design I believe he was almost 90 when he finally passed away... he was a great teacher & friend to me. I still have his original papers that he gave out for teaching cabbing and I use information from those with what I have learned when I teach. I also took a cabbing class from another man in our sister club who had slightly different style of teaching focusing more on usable calibrated cabs and not the competition style. Between the 2 and a little juggling on my part I put together a program that I use to teach, which while combining parts of both of my teachers, also has a definite spin that is all mine, I teach people to relax and enjoy what they are doing and have fun with it. I've been known to poke and even gone as far as to grab someones elbows and flap them like a chicken to get them to loosen up.... yeah, it's a lot of fun!! All my students know before the class starts that I have an offbeat sense of humor and if they want strict learning, I'm not the guy to give it. |
|
The Dad_Ohs
fully equipped rock polisher
Take me to your Labradorite!!
Member since September 2012
Posts: 1,860
|
Post by The Dad_Ohs on Jan 20, 2021 22:58:22 GMT -5
I noticed this thread kinda died off in November, but I have yet to read through it all... I can offer my knowledge if anyone has questions, I have been teaching basic & advanced cabochons for the last 5 years and am always happy to answer questions as I can. Did anyone put up any tutorials on cabbing yet?
|
|
The Dad_Ohs
fully equipped rock polisher
Take me to your Labradorite!!
Member since September 2012
Posts: 1,860
|
Post by The Dad_Ohs on Jan 20, 2021 22:44:19 GMT -5
beautiful rough there roy!!
|
|
The Dad_Ohs
fully equipped rock polisher
Take me to your Labradorite!!
Member since September 2012
Posts: 1,860
|
Post by The Dad_Ohs on Oct 3, 2020 16:51:55 GMT -5
Greetings all you rock heads...... sorry to say I have been away fro quite a while dealing with life, teenage daughter and stuff non rock related (SAY IT ISN'T SO!!) and some rock stuff too (phew!) so I'm currently in my 3rd year as the president of the Central Brevard Rock & Gem Club and in my 7yr as the cabbing instructor which is cool as we are only now just reopening from the PaNdEmIc!!! but life has been good and rock are still out there... as am I usually!!! But anyways good to be back again!!!
|
|
The Dad_Ohs
fully equipped rock polisher
Take me to your Labradorite!!
Member since September 2012
Posts: 1,860
|
Post by The Dad_Ohs on Dec 27, 2018 15:52:15 GMT -5
Easier to state least favorite—- hematite! Black everywhere. If you want black everywhere I would suggest Iron Pyrite in Quartz, beautiful when done, god-awful too work with!!! It is also 1 of my faves too, guess I am a glutton for punishment!! Iron pyrite in quartz, Obsidian (preferably lace & mahogany), Jasper in general & Botswana agates have been a recent fave too Any rock I cut cut is good for me !!!!  |
|
The Dad_Ohs
fully equipped rock polisher
Take me to your Labradorite!!
Member since September 2012
Posts: 1,860
|
Post by The Dad_Ohs on May 26, 2017 11:19:19 GMT -5
very, very nice!!!!
Welcome to the dark side.... soon you will find yourself getting in trouble with your other half, hoping to be told those immortal words ...."don't you have some cabs you need too finish!!!!" and off you'll go!! LOL
|
|
The Dad_Ohs
fully equipped rock polisher
Take me to your Labradorite!!
Member since September 2012
Posts: 1,860
|
Post by The Dad_Ohs on May 26, 2017 10:49:37 GMT -5
Really great shape on that cab. Unique wrap too. Is the bottom secure where it comes to the point? Chuck sorry its taken so long to answer, but yes, it is very secure at the bottom. By using a half round to hold the wires together it give small notches, if you will, that allow the point someplace somewhere to sit securely. |
|
The Dad_Ohs
fully equipped rock polisher
Take me to your Labradorite!!
Member since September 2012
Posts: 1,860
|
Post by The Dad_Ohs on Sept 24, 2016 9:42:27 GMT -5
Copper is actually easier to work with than silver by virtue of the way it solders.
When you solder with silver you are basically using the solder to fill a space and to hold the pieces together. Silver solder has to be heated to the point that it melts and allowed to flow into the joint.
Copper is easier in that when you heat the metal you just touch the solder to it and it will wick into the joint filling it completely.
With silver you use the torch to move the molten solder around. With copper, once you've heated the object the solder with flow towards the torch so you don't have to move it around as much.
If you ever watch pipes being soldered you'll see that the heat is applied to the joint and then the solder is touched to it and as it melts it gets pulled into the joint until filled.
When doing a bezel with copper, the biggest issue is that the solder is a grey/silver color and tends to show, where as a silver solder joint should be invisible to the eye when done.
just my 2 centavos!!
|
|
The Dad_Ohs
fully equipped rock polisher
Take me to your Labradorite!!
Member since September 2012
Posts: 1,860
|
Post by The Dad_Ohs on Sept 23, 2016 18:11:54 GMT -5
|
|
The Dad_Ohs
fully equipped rock polisher
Take me to your Labradorite!!
Member since September 2012
Posts: 1,860
|
Post by The Dad_Ohs on Sept 23, 2016 18:11:16 GMT -5
|
|
The Dad_Ohs
fully equipped rock polisher
Take me to your Labradorite!!
Member since September 2012
Posts: 1,860
|
Post by The Dad_Ohs on Sept 23, 2016 18:10:12 GMT -5
First time using Sterling Silver instead of copper.... 20 ga square & 1/2 round on rhyolite. thanx for looking  |
|
The Dad_Ohs
fully equipped rock polisher
Take me to your Labradorite!!
Member since September 2012
Posts: 1,860
|
Post by The Dad_Ohs on Jul 31, 2016 16:55:49 GMT -5
An old trick back in the old days was to sand one direction and turn stone 90 degrees for next step. I still do that but instead of switching grits when rotating the piece, I keep it on the same wheel and turn it 4 times before moving on. This way the scratches on the piece on non-directional and easier to remove with the next wheel, which is done the same way all the way to 14k. |
|
The Dad_Ohs
fully equipped rock polisher
Take me to your Labradorite!!
Member since September 2012
Posts: 1,860
|
Post by The Dad_Ohs on Jul 14, 2016 13:26:03 GMT -5
question...... can you use wax paper instead of foil, cheaper to buy and sturdier than foil.
as far as clamps... what about the toggle clamps used for wood and metal? seems to me that 2 of those would hold and can be screwed to the wood base... also they have some adaptability for different thickness material.
if the jet set dries hard enough you could clamp right onto the jet set and not have to worry about moving the clamps around to fit your piece.
|
|
The Dad_Ohs
fully equipped rock polisher
Take me to your Labradorite!!
Member since September 2012
Posts: 1,860
|
Post by The Dad_Ohs on Jul 14, 2016 13:07:52 GMT -5
thanx everybody  |
|
The Dad_Ohs
fully equipped rock polisher
Take me to your Labradorite!!
Member since September 2012
Posts: 1,860
|
Post by The Dad_Ohs on Jul 13, 2016 20:18:13 GMT -5
been a while since I posted... well ... anything so here comes the overkill... sorry!!!  montana agate with banding and a druzy center. 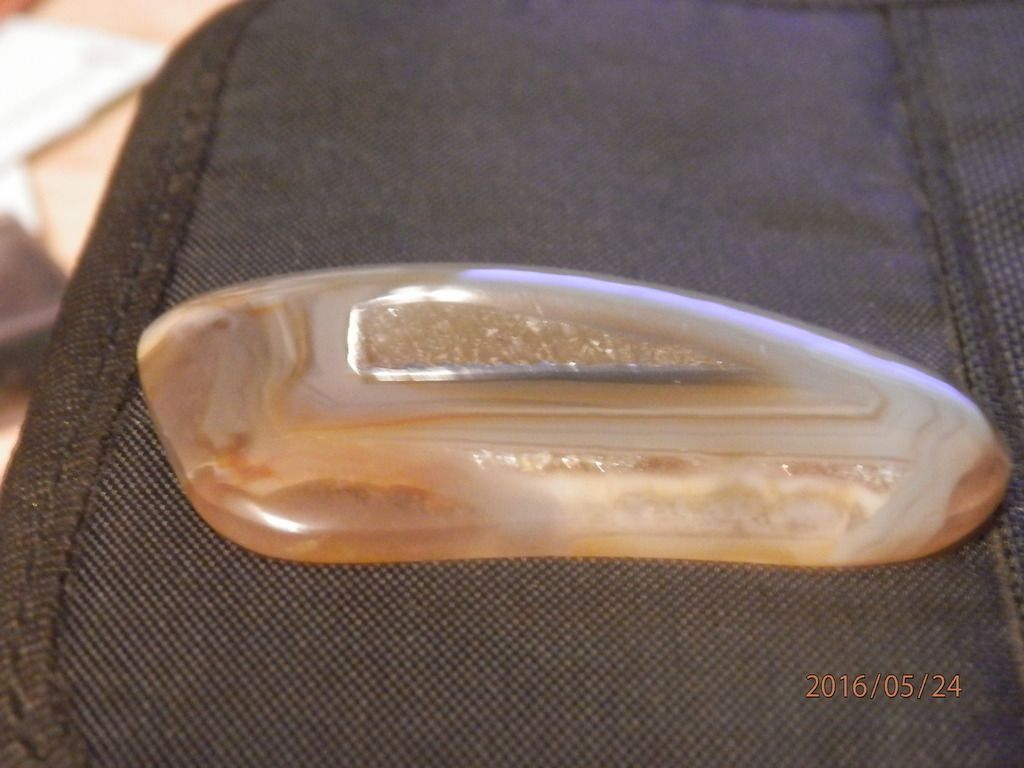 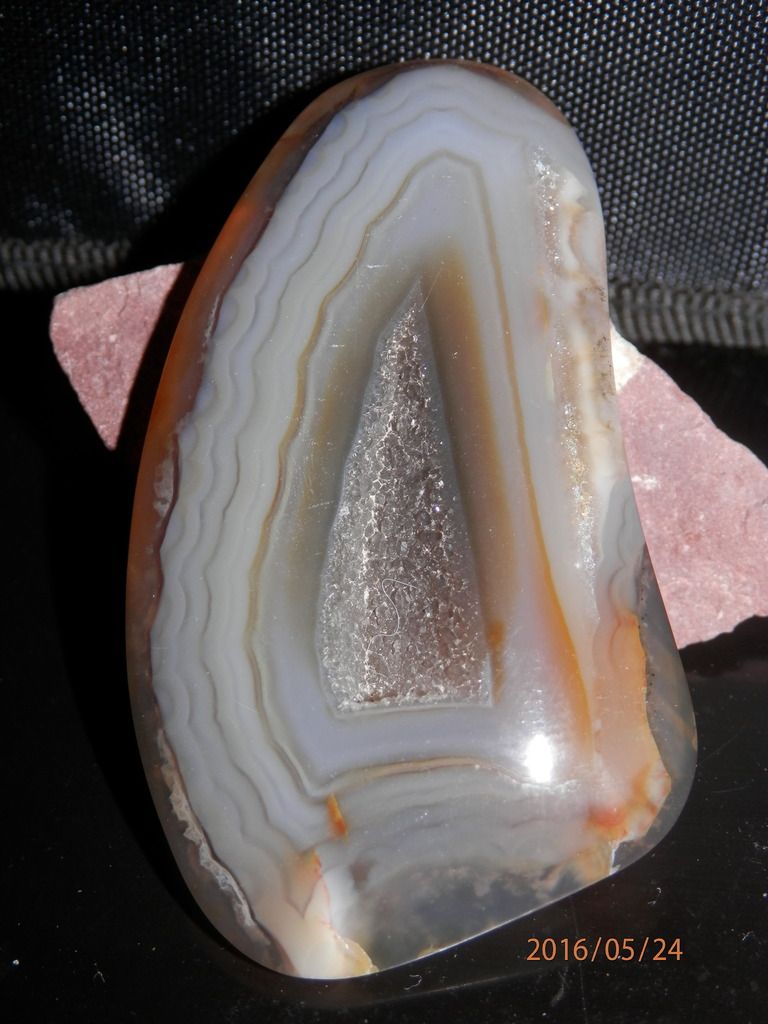 blue goldstone 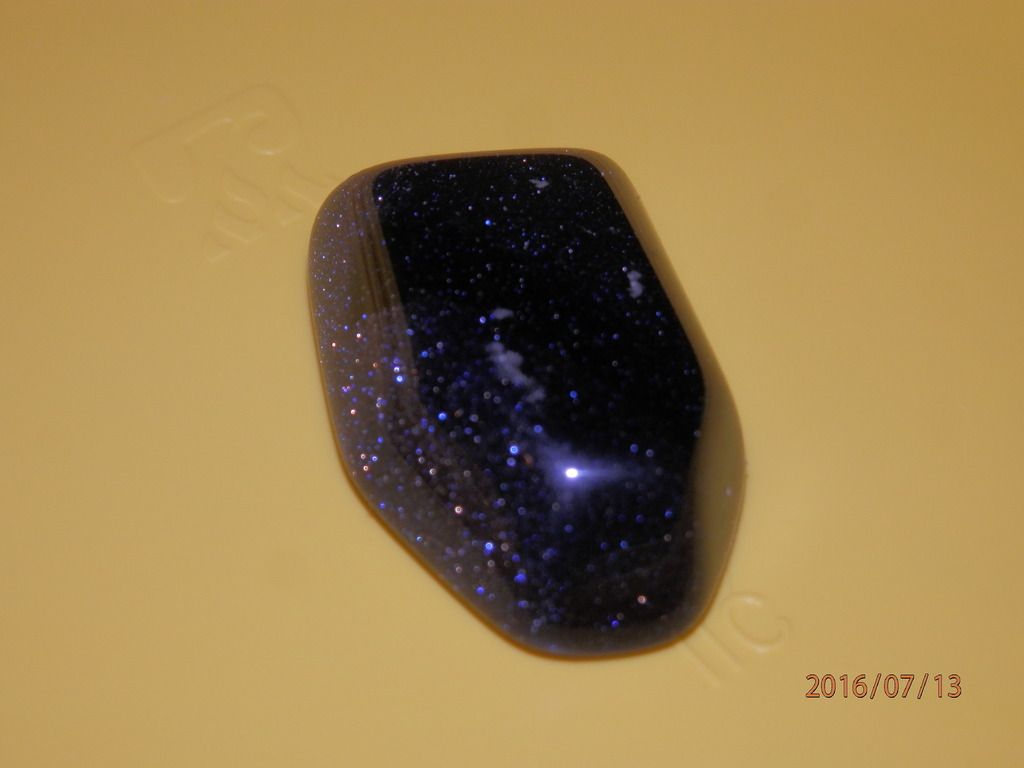 dendritic agate 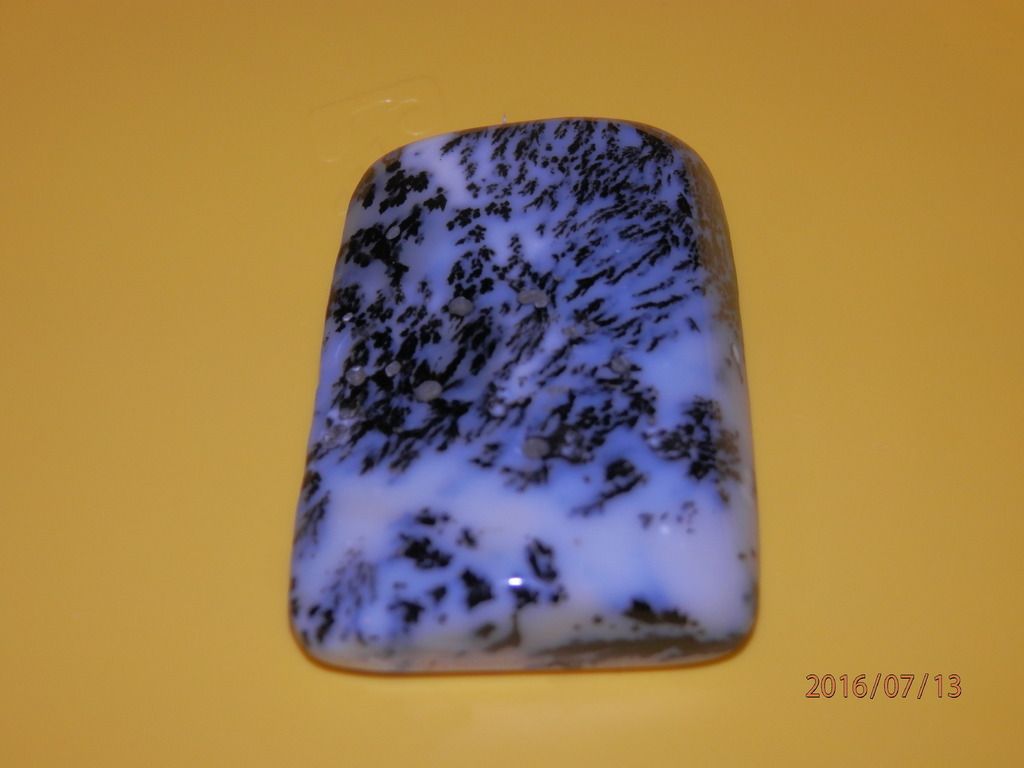 moss agates  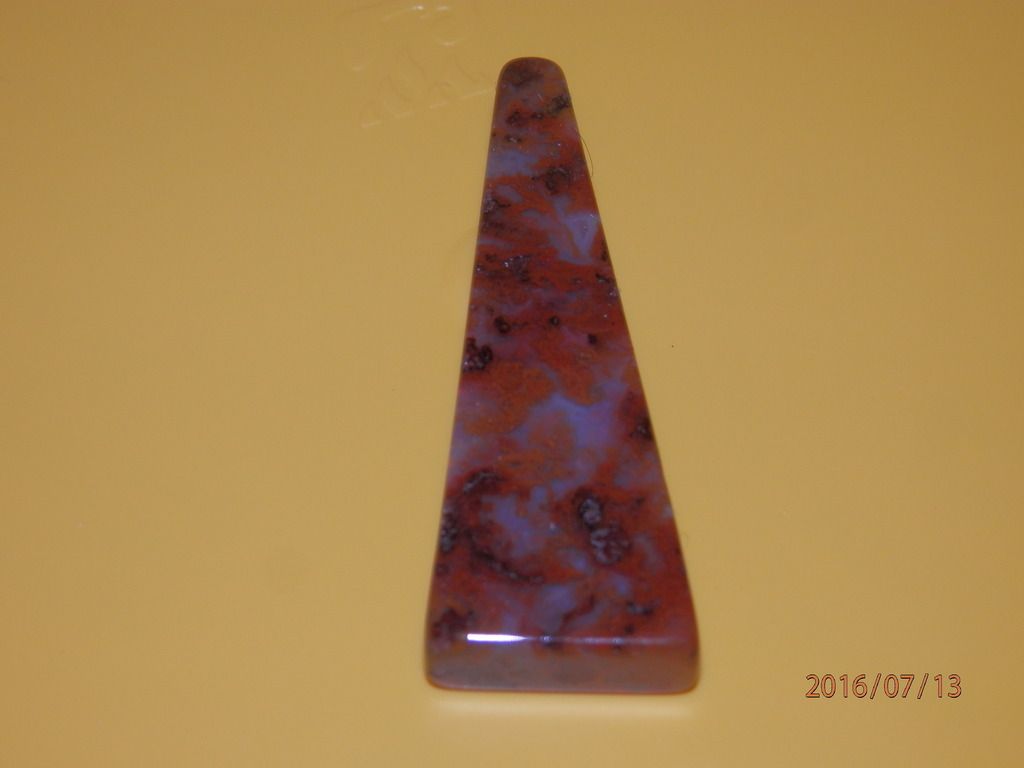 agate w/fingerprints!! LOL 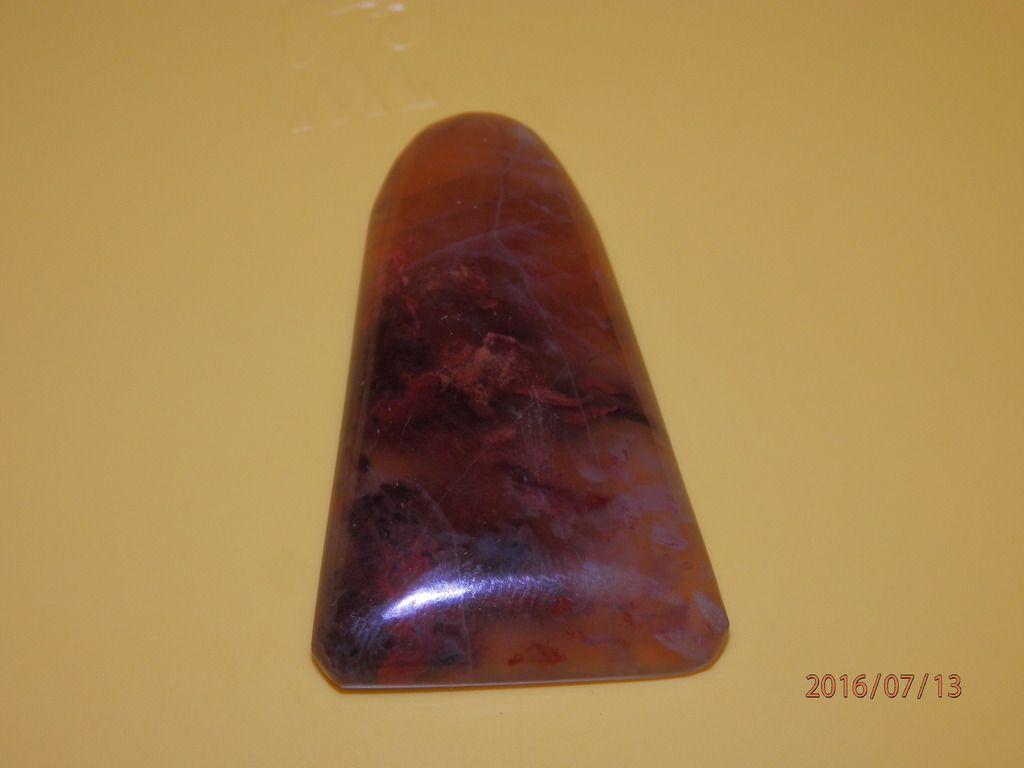 tiger iron 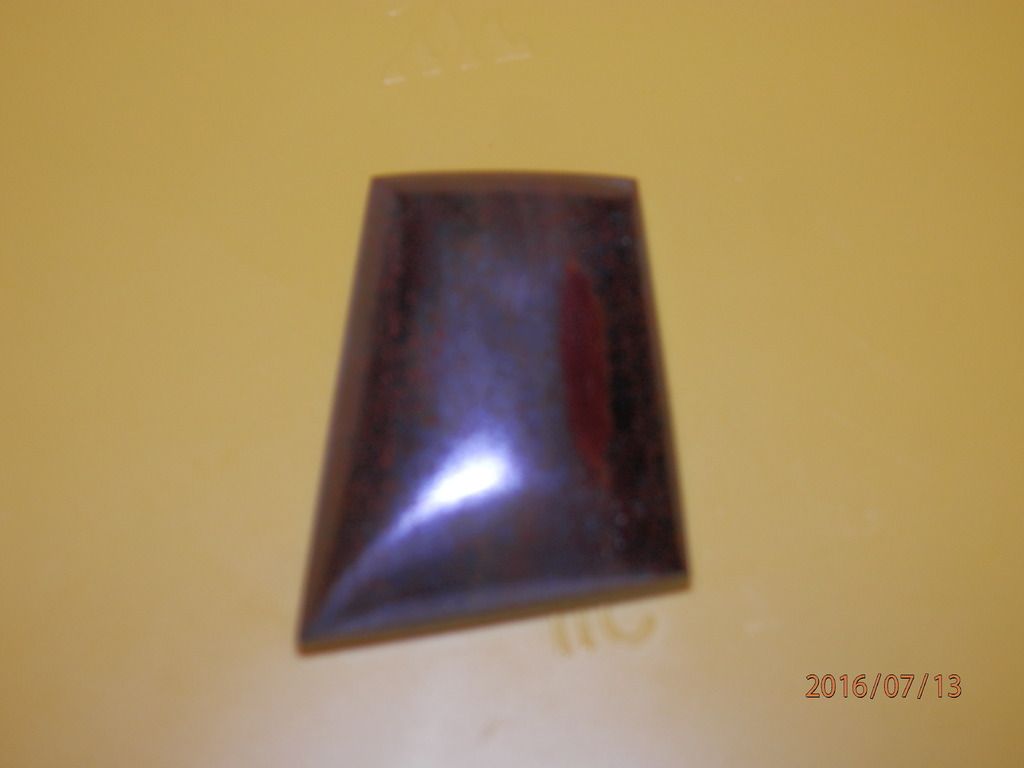 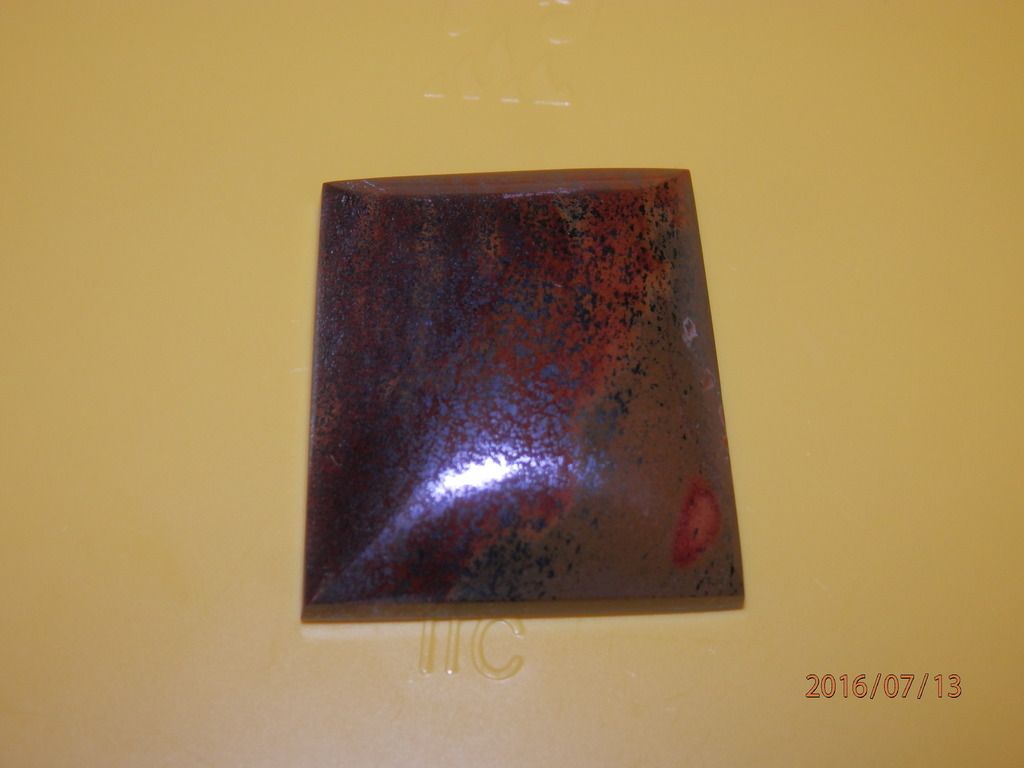 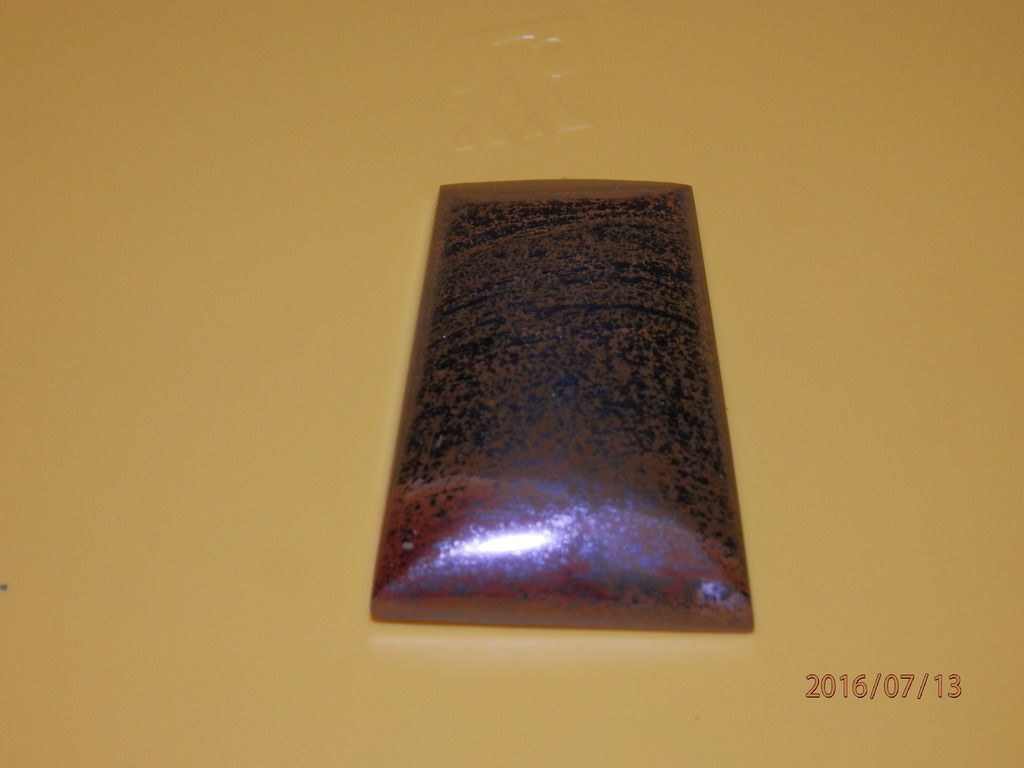 strawberry quartz 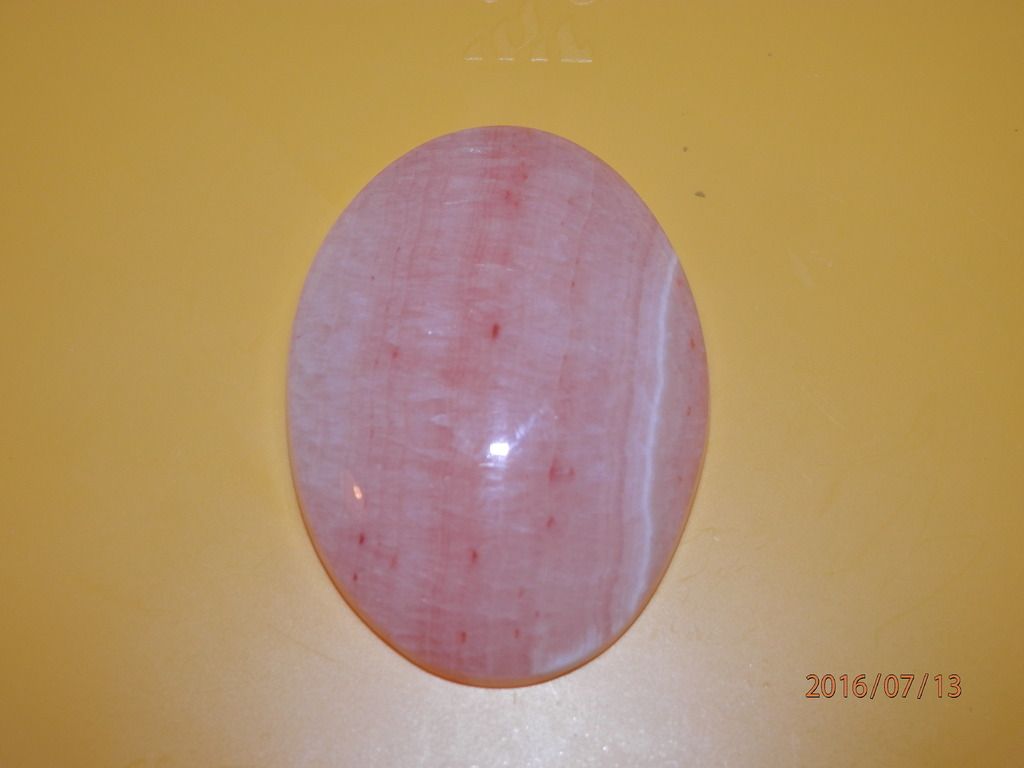 zebra marble 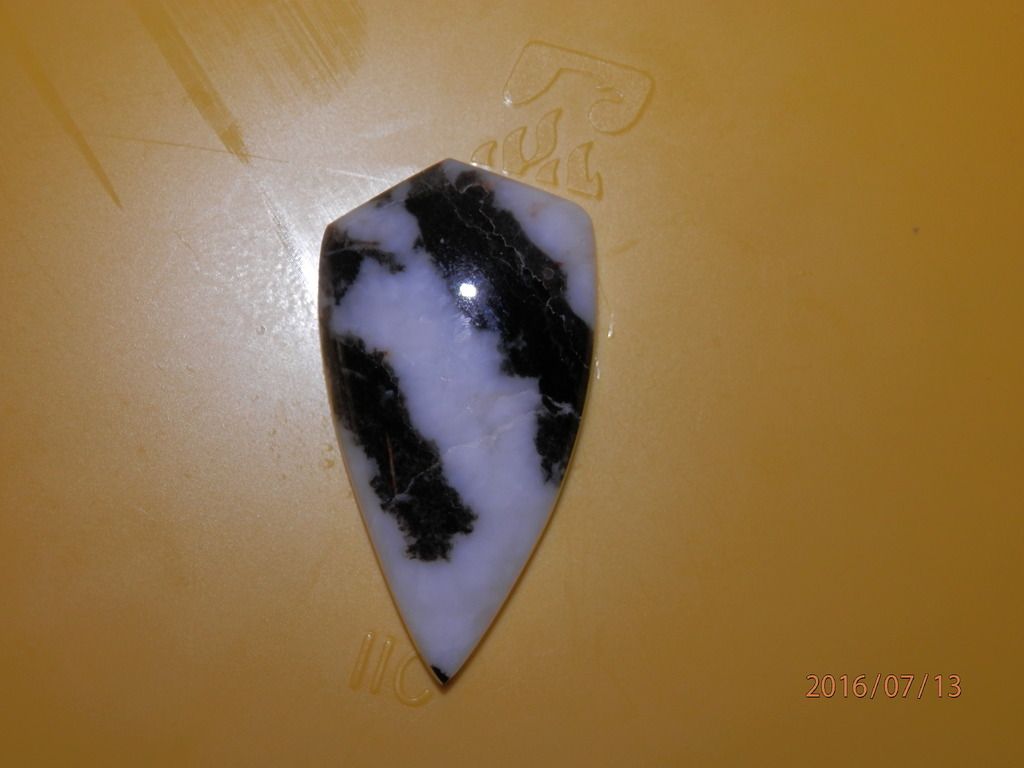 Tiger stripe jade 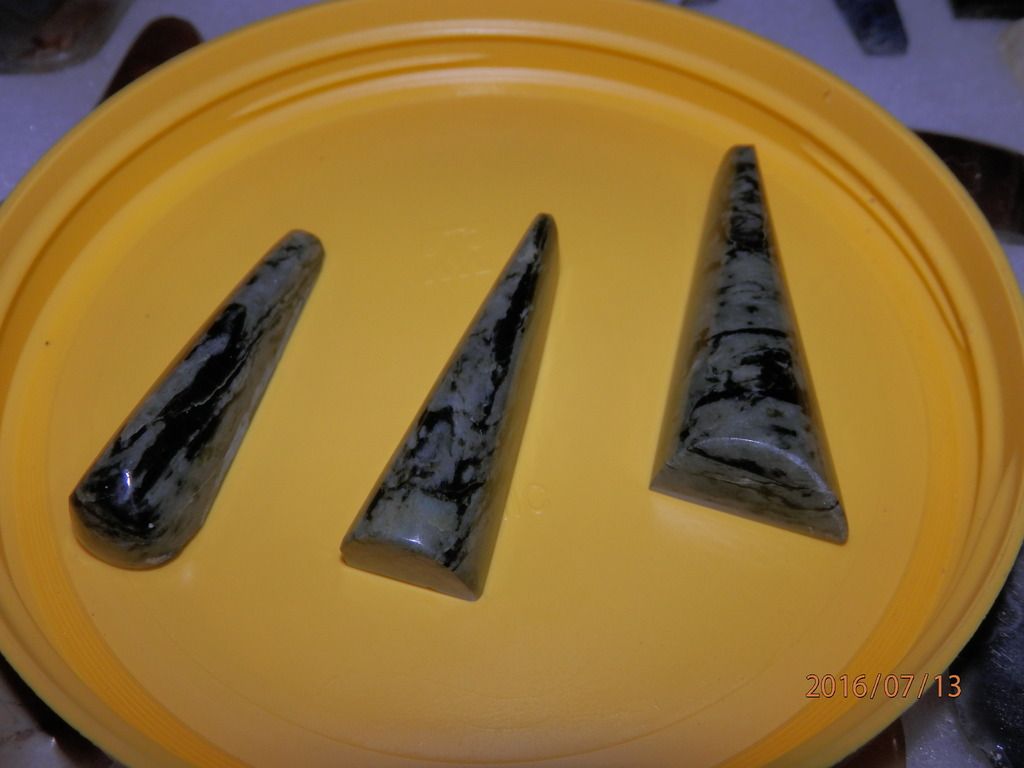 stony creek agate, the trick here is the proper placement of the string to look natural!! LOL 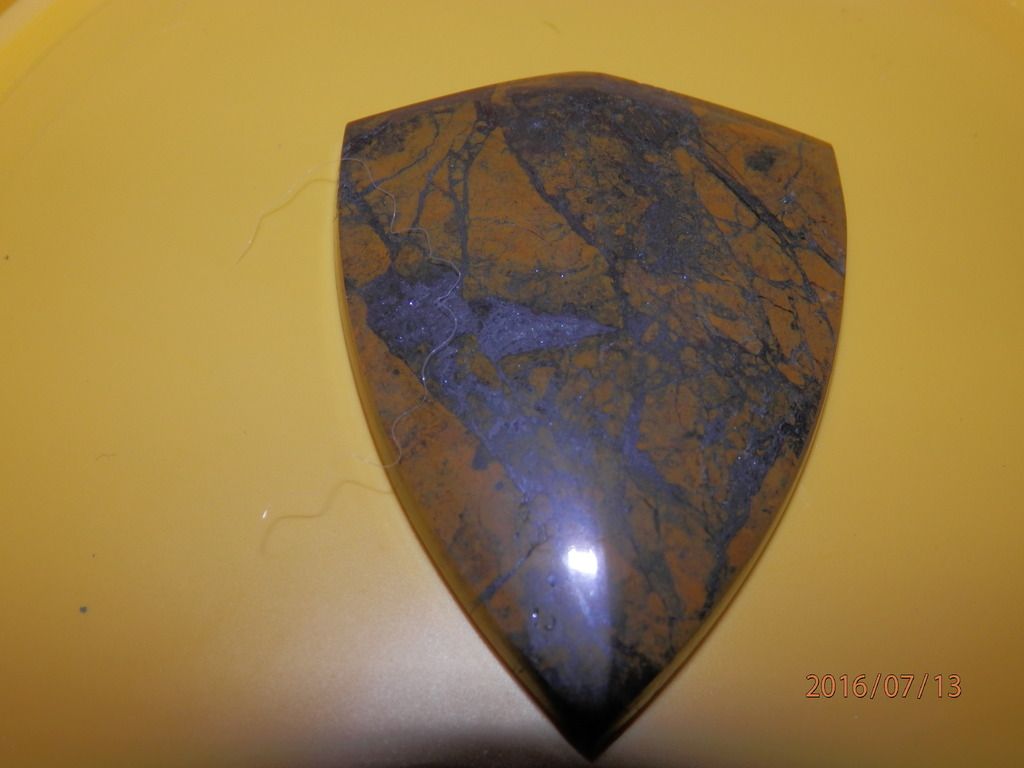 high dome moss agate  Lianite or indigo gabbro 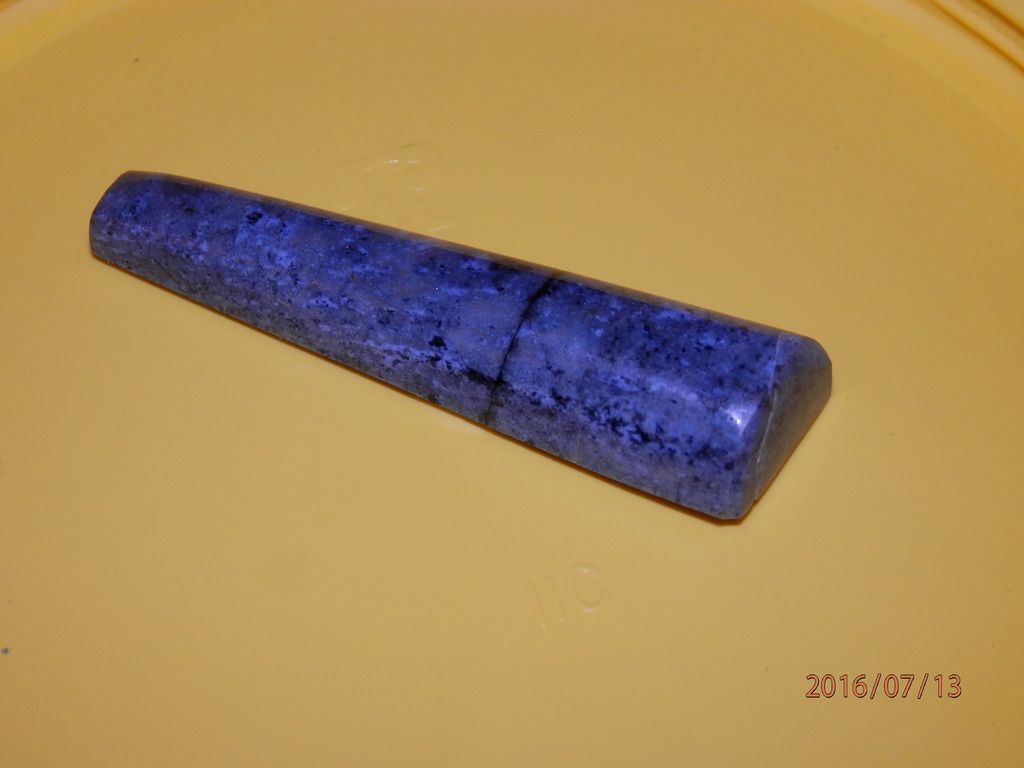 mystery rock 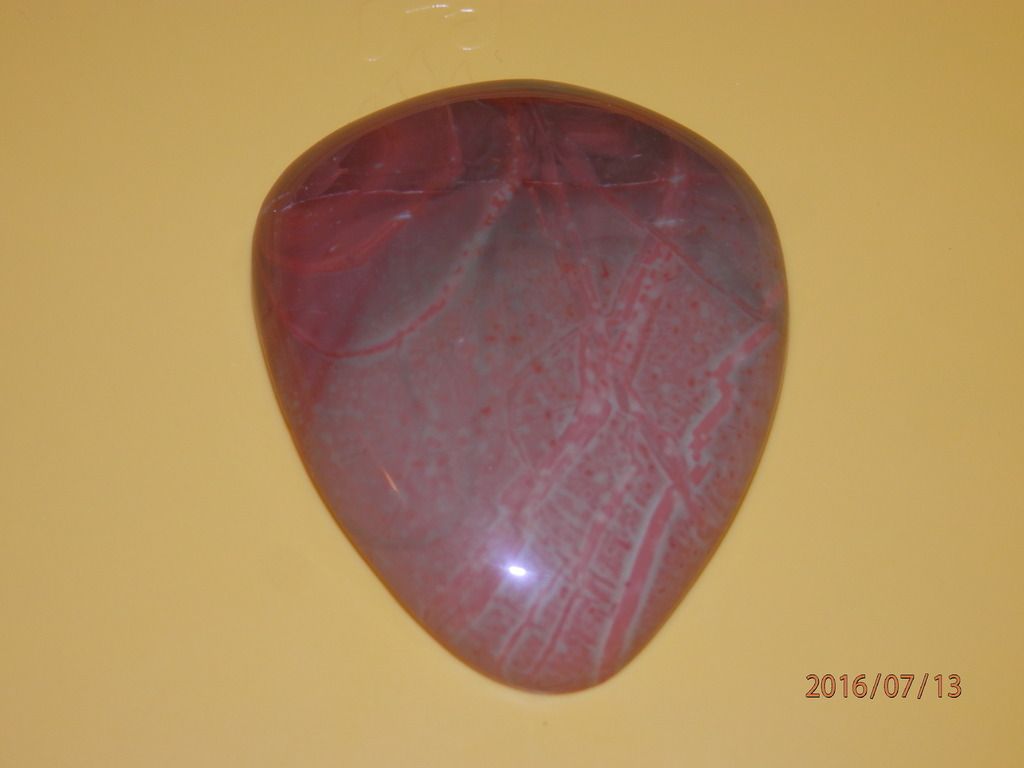 everything else in this box... 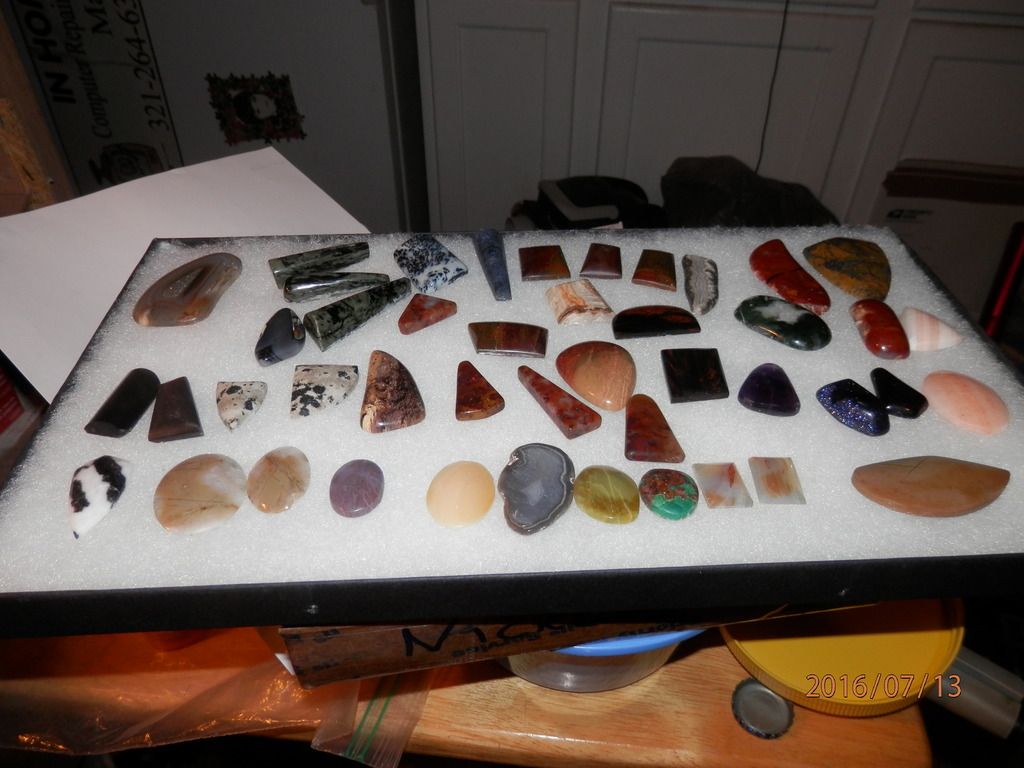 I have 2 more boxes of cabs that I made during my absence here and I will post some later on.... I think this got the post bug out of my system... for a little bit anyways!! |
|
The Dad_Ohs
fully equipped rock polisher
Take me to your Labradorite!!
Member since September 2012
Posts: 1,860
|
Post by The Dad_Ohs on Jul 13, 2016 19:44:48 GMT -5
What did you use to break in the wheels?
We just changed the wheels in our club and I did the breakin with a chunk of Brazilian agate...
basically I make sure there is plenty of water on the wheels before I start and them jam the material against it.... I say jam because a light touch isn't going to work... it needs some pressure to conform to the shape of the slab, and I move it side to side along the wheel for about 1 minute. after that I washed the wheel down with a squirt bottle of clean water and a toothbrush, dumped and cleaned the pan and did the next wheel the same way... the outer layer of stuff they spray onto the wheels, even new wheels will come right off and contaminate all your wheel, especially on a genie which reuses the water in the tray.
I did the same thing on my cab king except I used a hunk of seam agate as I had to do all the wheels (rez wheels are a pain to break in!!)but it works like a champ now and most of my stones look great at only 3000 grit instead of 14k.
Hard agate and plenty of water followed by a thorough cleaning seems to be the key for me.
|
|
The Dad_Ohs
fully equipped rock polisher
Take me to your Labradorite!!
Member since September 2012
Posts: 1,860
|
Post by The Dad_Ohs on Jul 13, 2016 19:28:55 GMT -5
Banded Onyx from NM with 1 live (raw) edge.... to me it looked good this way. 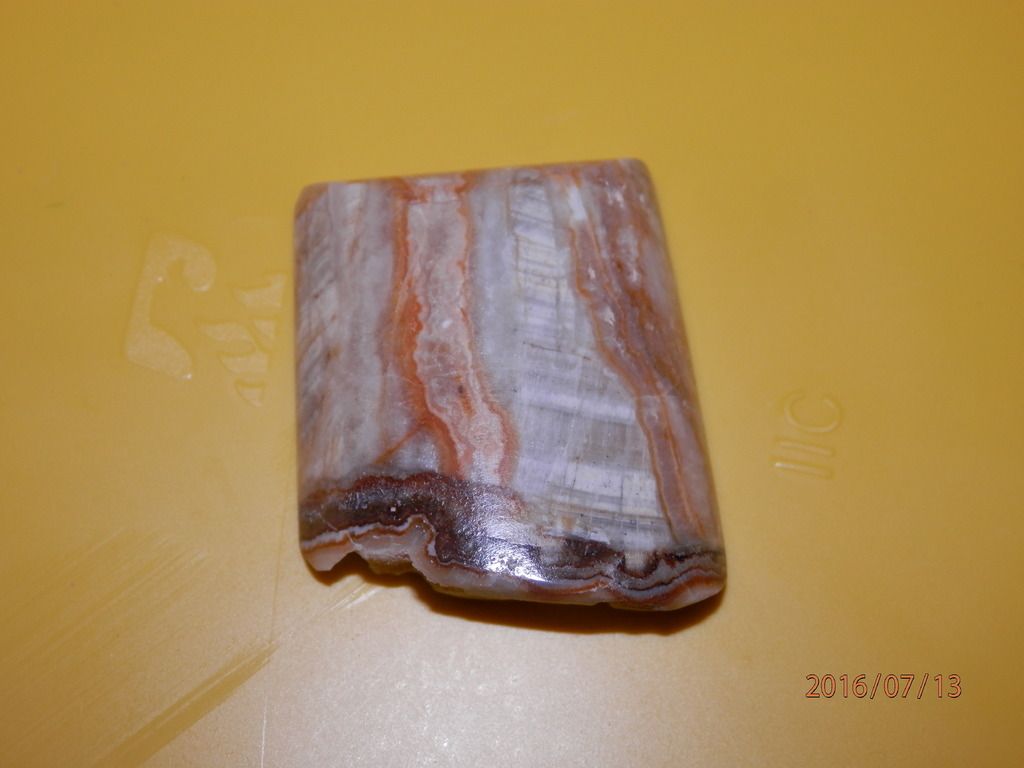 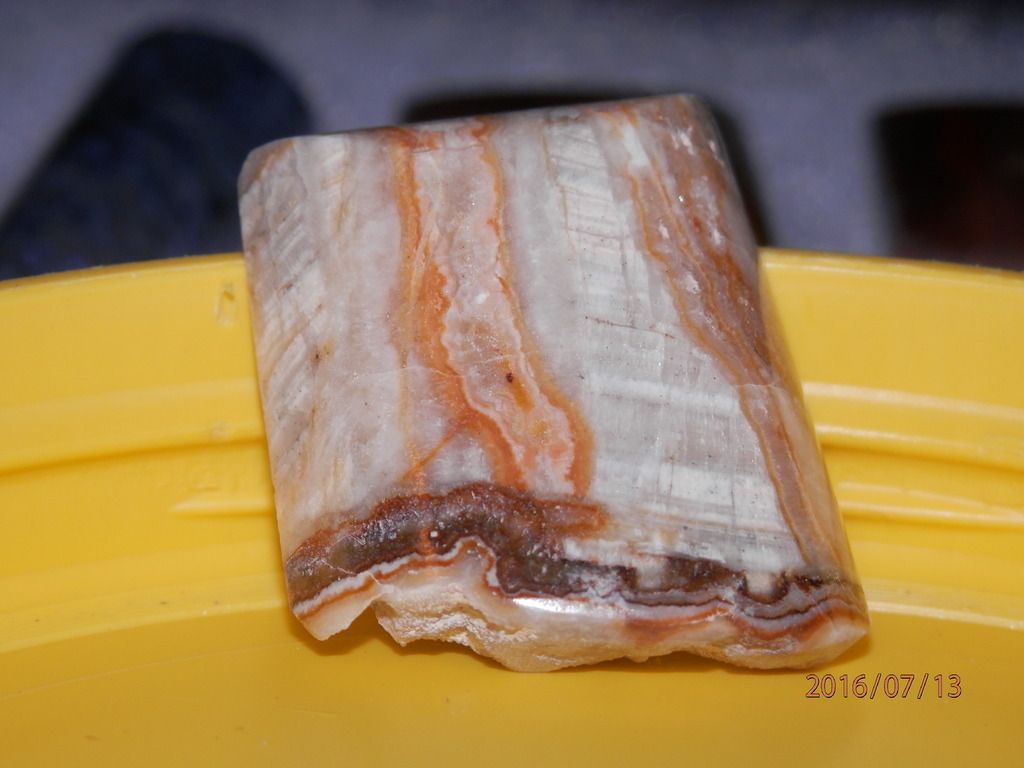 thanks for looking!! |
|