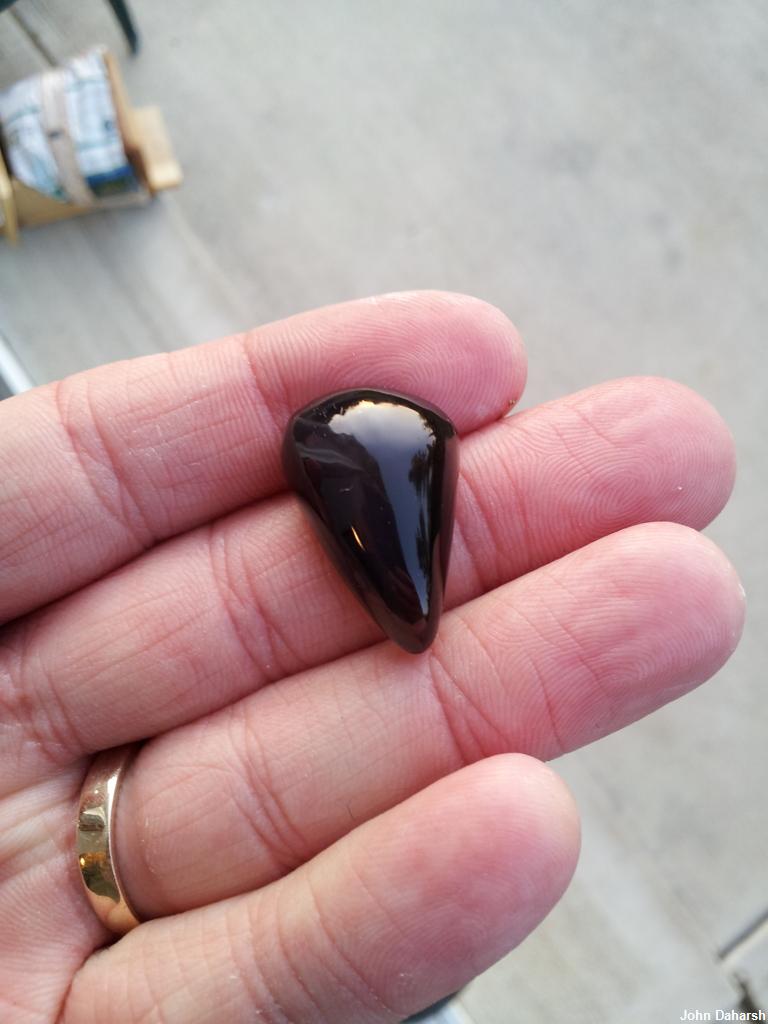
Great work on the purple eye cab, John!

Your observation on the drab grey of our DC Ob slabs in dim, artificial light was good to hear.
We try to make a point of telling first timers with this material to study and orient it in full sunlight. Even so, some have emailed us that they simply couldn't orient it, and when asked what light they were using, inevitably, the answer is:
" Oh, down at the Club workshop under the fluorescents ... Why?"
They didn't realize that full spectrum intense light (sunshine!) is the only way to fully display the colors! The ob responds to bright white fluorescent light by reflecting in only the bland wave lengths those tubes produce. Most every gem material will appear bland and flat in that weak, tight wavelength light.
In our Barn workshop, we work our ob with wide spectrum halogen bulbs as our light source. Our cutting area has a south facing window, and cutting is much easier in winter, with the sunshine streaming in that window.
I
always saw ob slabs in full sunlight, free of clouds. That's why, if the weather turns, you'll sometimes get a note that your slabs have been delayed by cloudy weather.
Most clouds will scatter and disrupt sunlight, washing out the reflectivity of the sheen, making my method of orientation impossible.
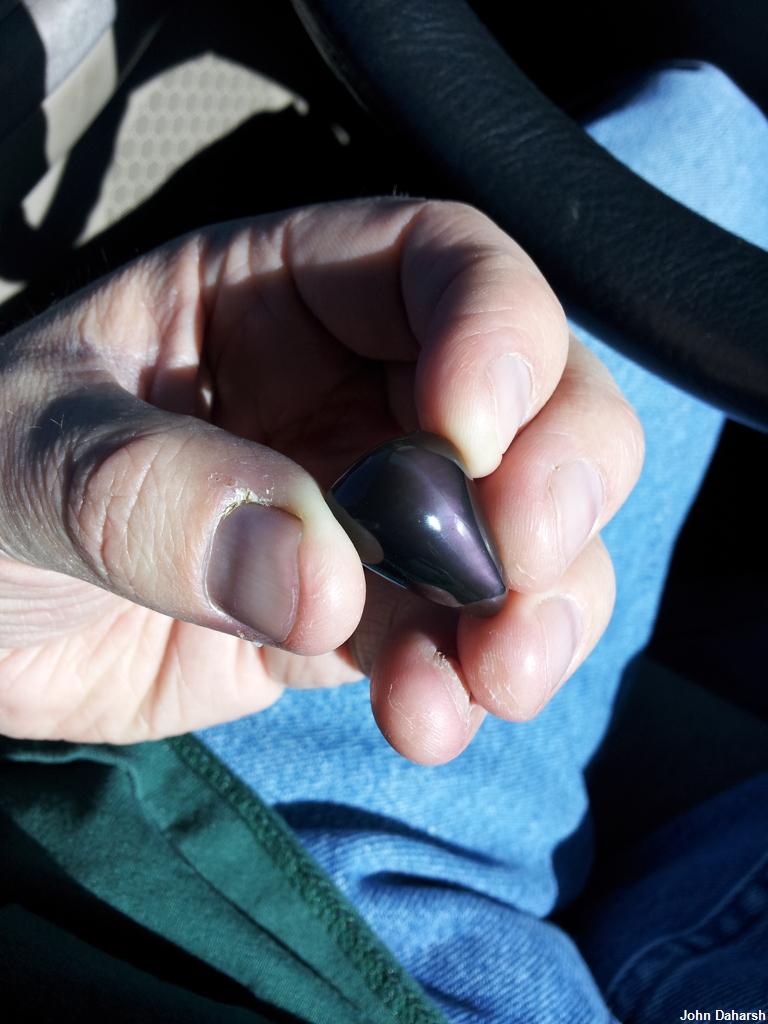
When you look at one of our slab photos, it displays all those great colors because I almost always photograph DC ob in late afternoon sunshine. The wavelengths are intense and lean toward the red end of the spectrum, yielding a warmer tone even in the bluer colors.
This is the best light to view your sheen & rainbow ob.
Another photographers secret that will assist in both cutting and taking pics is simple;
use only one type of light source! Most gem enthusiasts wonder how professional gem photogs get their luscious photos for those coffee table books. The answer is by using bright, single source full spectrum lights, and carefully controlling the exposure.
I'm not too good at that yet, and so vary the angles and backgrounds and take LOTS of photos to best capture what my eye actually sees. I'm patient, and we'll tanned!
So, when cutting, we recommend using a bright, full spectrum bulb like the CF on your Genie, or a decent wattage halogen spot. Dont mix fluorscents and halogen ...
Especially those crappy twisty bulbs.
Turn off your room lights so there's only one light source.
Our best slab photos are taken with our garden as the background. The warm earth colors and sunlit green foliage provide a full spectrum background, set back far enough that the camera focuses on the subject, not the background.
We sometimes use a contrasting toned piece of rough jasper as a minimally reflective stand for propping the slab to the proper viewing angle.
One mistake recently made was well intentioned,
but totally wrong. I tried to use one of the white woven poly "miners bags" that we use to safely ship rough as a pic background.
Wrong idea!The result was an overexposed, washed out and less than attractive image of the slab.
We went back to the natural earth tones of the garden.
So, try these techniques out on your finished cabs. Use matte finish, neutral toned (light tan) paper, or a colorful, warm toned garden as your background. Warm, unfinished (non-reflective) wood tones are good, too.
Thanks for reading, and keep up the great cutting, John!
Kris
"The loud guy" of Hand-2-Mouth Mining
:cheesy: