|
|
Post by 1dave on Jul 7, 2015 15:48:05 GMT -5
When I last (2004) visited the Geode Kid (RIP Robert Paul Colburn, 1936 - 6 Nov. 2013) RTHThe Baker Egg Mine.I got a copy of his first CD, then he sent me a copy of his revised edition. In one (both?) he mentioned his geode cutting jig as "two 2"X4's hinged like an alligator's jaws" that he dropped the positioned geodes into. The wedge kept them from moving, and one size fits all! Two second change out time! Take out the last, drop in the new, and away they go. He used the design in many saws for many years. Unfortunately I never saw them. Well, lo over a decade later, I just finished designing my version that I will start building tomorrow - with modifications as I go. Hey, It works for pill-splitters, it'll work on eggs! 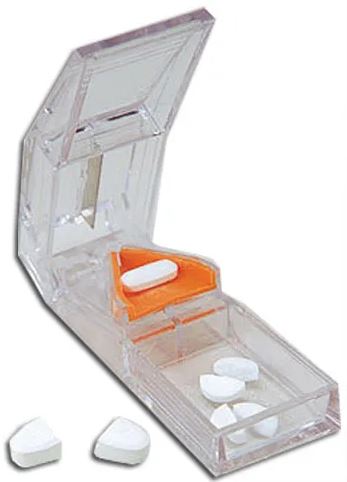 The first one is for my Roth Trimsaw, for small (1" - 3") eggs. The table end assures I won't cut too far. the second for my 20" Slabsaw for bigger game. - - - Be sure to set the cutoff switch. I hope the drawings are self explanatory. Size the base for your saw. Mark the biggest size egg you want, cut the slot, and fit the 90 o bracing to the circle. The 90 o sides assure a tight fit somewhere for any size egg. The sides and bottom act as three vice-points and the saw blade locks the egg in place so it can't move around. 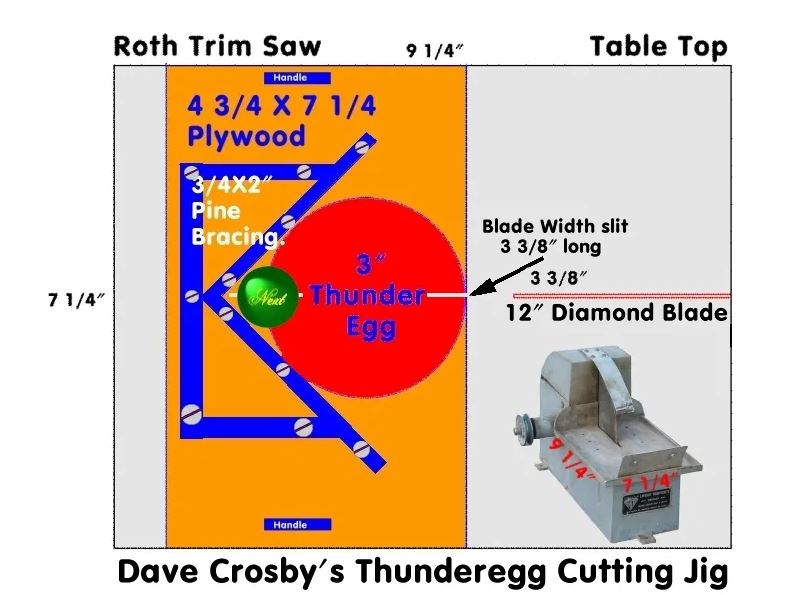  |
|
|
|
Post by orrum on Jul 7, 2015 16:06:10 GMT -5
It can't be that easy, can it?
|
|
Fossilman
Cave Dweller 
Member since January 2009
Posts: 20,727 
|
Post by Fossilman on Jul 7, 2015 17:12:58 GMT -5
I always use the 1x4 shimming, works great for me and less costly...Never had one come loose yet..
|
|
|
|
Post by orrum on Jul 7, 2015 17:34:42 GMT -5
Pics please Mr. Fossilman???
|
|
|
|
Post by 1dave on Jul 7, 2015 21:38:17 GMT -5
I always use the 1x4 shimming, works great for me and less costly...Never had one come loose yet.. Yeah, "no photo, it does not exist." Quoting . . . Uhhh . . . |
|
|
|
Post by 1dave on Jul 8, 2015 16:04:04 GMT -5
I put together the trimsaw jig last night so the gorilla glue was all set this morning. Planning it out in my mind, I didn't fully realize how small it was going to be. Using 3/4" plywood would have reduced the height of my cuts too much so I went with some scrap 1/4" instead. The saw table will provide plenty of support. The limited space between the saw blade and the front of the table forced me to have to chisel a "V" into the back brace to place the side braces where I wanted. This way I could still use it to cut a 3 3/8" egg if I wished. Moved the end braces out so I could attach the handles on the sides. The resulting inclosed spaces would tend to fill up with cutting fluid, so I hole-sawed a 1 1/8" opening in the bottom of each. Everything is Gorilla Glued and countersunk grabber screwed together from the bottom so the screw heads won't scratch the saw table top. I'll get the handles attached today and coat everything with polyurethane to waterproof it. Suggestions? Derisions? 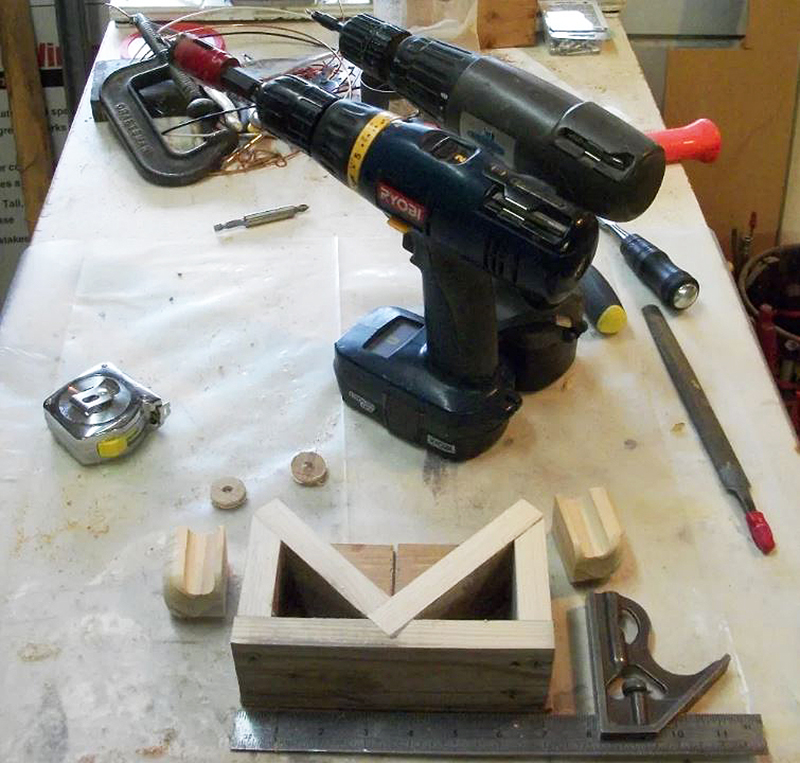 |
|
|
|
Post by orrum on Jul 8, 2015 16:10:15 GMT -5
Waitin n watchin!
|
|
|
|
Post by adam on Jul 8, 2015 17:13:06 GMT -5
The only thing I see that might be improved is having aluminum sheet above the plywood? Everything looks great and that poly will do good. I guess you were expecting the wood would get scratched already? Awesome design. I never tried my hand at wood work since 11th grade, not too long ago.
Edit: Didn't notice the slit in the wood for the saw blade. Everything looks fine. |
|
|
|
Post by 1dave on Jul 9, 2015 17:27:05 GMT -5
Weeded and mowed the front yard this morning for the first time in three weeks, then after noon I checked the jig. I had sprayed it last night with a can of kitchen appliance enamel from yesteryear. Construction note: NEXT time, attach the handles to the side braces BEFORE attaching them to the jig. That would have been so much better and easier. 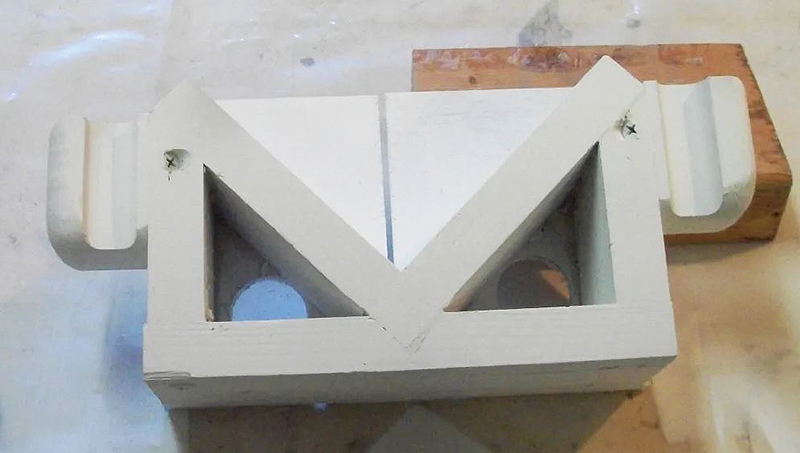 In "End of Cut" position on the saw. 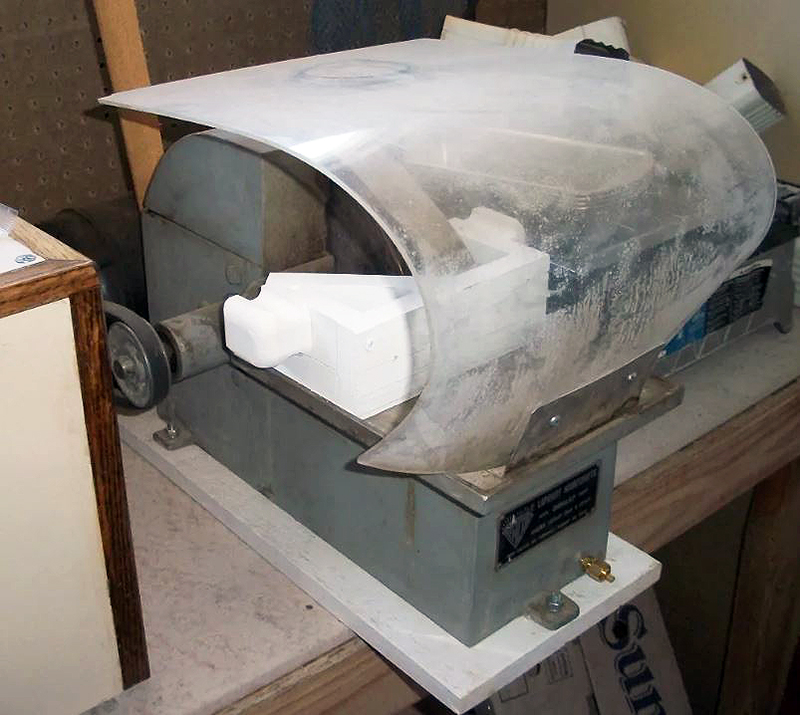 I haven't used this saw in over a year. Just drilled and tapped to drain it. I plan on draining after every evenings use. Have to connect drain tube and fill with coolant, then start cutting. TOTAL COST: Material (scrap from the shop) $ 0.00 Labor (two hours) $18 Trillion. 99 Just enough to retire the national debt. It is now a hundred years past my nap time, So I'll start cutting eggs in the morning. |
|
|
|
Post by adam on Jul 9, 2015 17:35:09 GMT -5
Lol, time is never gained back, that's true. Good work though. I don't have carpenter blood in me. Maybe tumbling and hounding, though. And eventually sawing?
|
|
|
|
Post by orrum on Jul 10, 2015 7:49:32 GMT -5
Very interested and watching....
|
|
|
|
Post by gingerkid on Jul 10, 2015 8:33:03 GMT -5
TOTAL COST: Material (scrap from the shop) $ 0.00 Labor (two hours) $18 Trillion.99 Just enough to retire the national debt. It is now a hundred years past my nap time, So I'll start cutting eggs in the morning. ROFL, 1dave! Haven't tried cutting any t-eggs yet, but your jig makes it look tempting. Thanks for sharing. Isn't there a 'certain' way/method you should use for cutting t-eggs, such for the Pridays? |
|
|
|
Post by 1dave on Jul 10, 2015 10:30:14 GMT -5
This morning I took the 1/4" tube connector off the drain fitting and twisted on some 3/8" tubing, clamped it and added water. The clamp held so I added more water and Kingsley North "Gem Lube." My first cut was on a small Dugway geode I collected in 1965. I found I needed to move the jig forward to let the blade just touch the egg to keep it in place, then turn on the saw. The first cut was perfect! 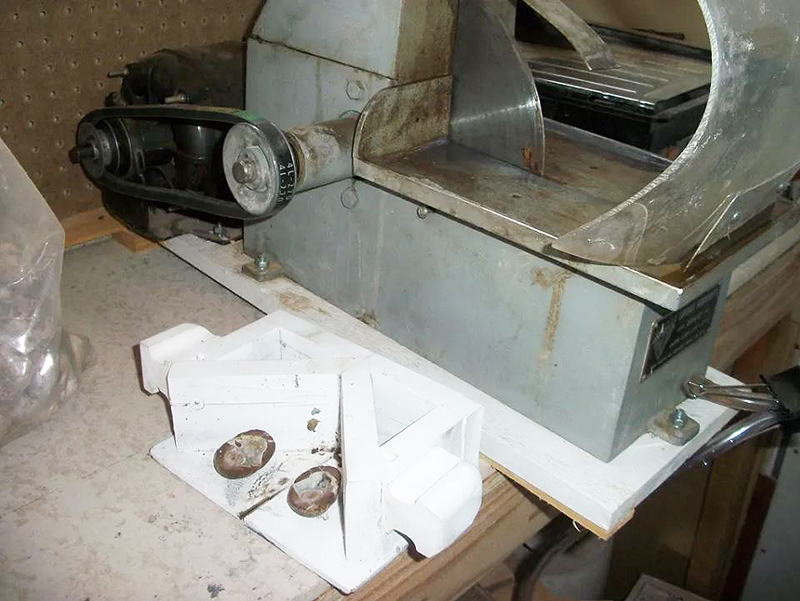 Then I started cutting my 2004 collection of "smalls" from the Baker Egg Mine in New Mexico (been closed for a long time) that I thought I would never get to. 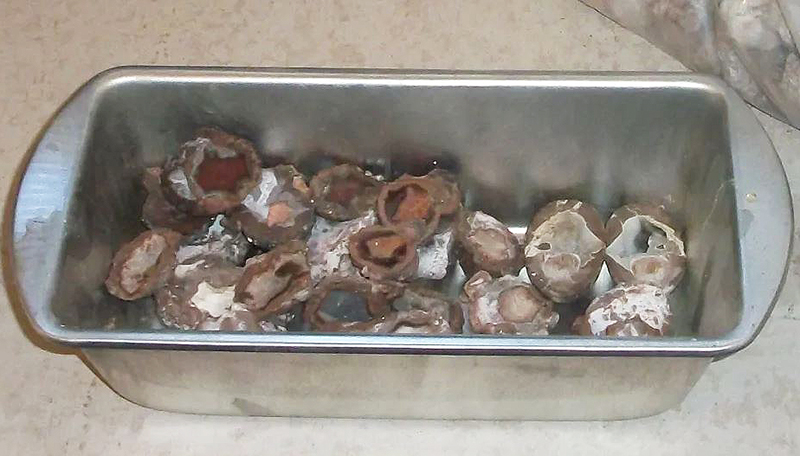 The jig works just like I thought it would! EDIT: except the eggs are balanced on center of gravity and tend to tip forward. Once the cutting starts the three points holds them solid and it works like a champ! |
|
|
|
Post by cobbledstones on Jul 10, 2015 11:49:19 GMT -5
loving this thread, pure inspiration
|
|
|
|
Post by captbob on Jul 10, 2015 12:07:49 GMT -5
Great idea!
My question is why is there a floor/bottom in the cutting area? Seems like it doesn't add anything and reduces your available cutting height.
|
|
|
|
Post by iant on Jul 10, 2015 12:43:59 GMT -5
Great stuff. One of those would great for the stuff I cut!
Thanks for sharing Dave!
|
|
|
|
Post by 1dave on Jul 10, 2015 13:11:36 GMT -5
Great idea! My question is why is there a floor/bottom in the cutting area? Seems like it doesn't add anything and reduces your available cutting height. I worried about drag for the Trim Saw, but absolutely necessary for the Slab Saw. |
|
|
|
Post by 1dave on Jul 10, 2015 13:17:35 GMT -5
Great stuff. One of those would great for the stuff I cut! Thanks for sharing Dave! Yeah, it would work on any rock you wanted to just cut in half. |
|
|
|
Post by roy on Jul 10, 2015 14:14:09 GMT -5
i just use one of tonys slab grabbers works day in day out
|
|
|
|
Post by 1dave on Jul 10, 2015 14:20:14 GMT -5
i just use one of tonys slab grabbers works day in day out Yeahbut . . . You have to adjust and tighten down and screw around. With this, just toss it in and cut. |
|