|
|
Post by Drummond Island Rocks on Apr 29, 2018 17:25:16 GMT -5
My original home built tumbler was made in 2012 and had one row of barrels (V1.0). I think around 2014 I retrofitted it and and added a second row (V2.0). I took it all apart for maintenance last week and I think I have decided to bite the bullet and add a third row. All three rows will be able to run (2) twelve pound and (1) 6 pound lortone barrels for a grand total capacity of 90 pounds. The bottom row will also be able to run (4) 3 pound barrels instead for when that is needed. Here's a shot of some preliminary planning. In my line of work this is what we call a tooling cartridge. It is a removable section of a piece of machinery. By taking out just a couple bolts I would be able to slide this out of the main frame which would make maintenance much easier.   Just for those of you that may not have seen it before here is a photo of V2.0 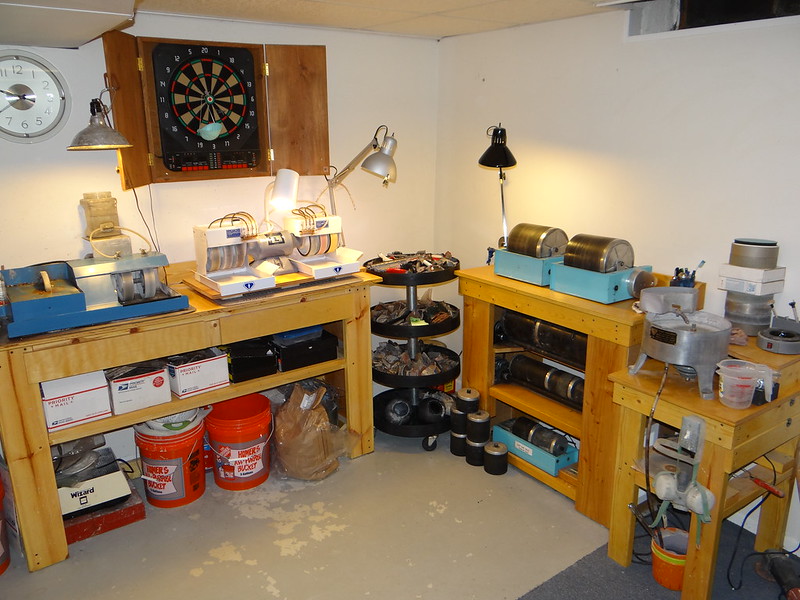 Chuck |
|
|
|
Post by Jugglerguy on Apr 29, 2018 18:42:46 GMT -5
Can the bottom row run either large or small barrels? If so, could the small barrels be run on the top two rows too? On your previous tumbler, you spaced the shafts 3.5 inches apart and it worked for either size barrel, right?
You mentioned to me before that you preferred the Lortone barrel guides. At the time, I misunderstood you and thought you meant the little nylon thing on the 33B. Then I reread your email and realized that you meant the guide from the QT66. That makes more sense now.
How do you plan for belt size? I assume they only come in certain increments. Are there documents that tell how far apart certain size pulleys need to be for each belt size? Or do you just calculate the perimeter of a rectangle with circular ends and buy a belt to match? Whenever I've built a base for a saw, I've had the belt in hand and also made the motor mount adjustable. I don't know how fussy you have to be with belt tension.
|
|
NRG
fully equipped rock polisher
  
Member since February 2018
Posts: 1,688
|
Post by NRG on May 4, 2018 13:20:11 GMT -5
Patiently watching a pro engineer himself a tool. Thanks Chuck!
|
|
|
|
Post by Drummond Island Rocks on May 4, 2018 13:45:39 GMT -5
Patiently watching a pro engineer himself a tool. Thanks Chuck! Some assembly required. Still gathering purchased parts and working out design details.  Chuck |
|
|
|
Post by Drummond Island Rocks on May 4, 2018 21:32:12 GMT -5
Can the bottom row run either large or small barrels? If so, could the small barrels be run on the top two rows too? On your previous tumbler, you spaced the shafts 3.5 inches apart and it worked for either size barrel, right? You mentioned to me before that you preferred the Lortone barrel guides. At the time, I misunderstood you and thought you meant the little nylon thing on the 33B. Then I reread your email and realized that you meant the guide from the QT66. That makes more sense now. How do you plan for belt size? I assume they only come in certain increments. Are there documents that tell how far apart certain size pulleys need to be for each belt size? Or do you just calculate the perimeter of a rectangle with circular ends and buy a belt to match? Whenever I've built a base for a saw, I've had the belt in hand and also made the motor mount adjustable. I don't know how fussy you have to be with belt tension. Still working out shaft spacing. As of right now I have the top two rows at 4.5" and the bottom row at 3.25. Yes on my previous build I had both rows at 3.25" on center but even though I never had issues that spacing was probably not ideal for the 12 pound barrels. I just got done adding the belts and the nuts and bolts for the bearings into my design. This is a really cool website for getting close on belt sizes. Play around with the numbers portion then play with the slider to animate it. www.blocklayer.com/pulley-belteng.aspx Chuck |
|
|
|
Post by fantastic5 on May 5, 2018 7:29:42 GMT -5
How do you plan for belt size? I assume they only come in certain increments. When I built my tumbler from idea's I gleaned from both jamesp and Drummond Island Rocks I did not account for belt size availability. So rather than starting over with spacing, I bought something like this and it works great. I don't tumble as much as you fella's so I can't speak to longevity, but it is still working after 4 years of occasional use. 0E9s37F2DRBRweYQ0To!~~60_35.JPG?set_id=880000500F) |
|
jamesp
Cave Dweller 
Member since October 2012
Posts: 36,663
|
Post by jamesp on May 5, 2018 11:29:04 GMT -5
How do you plan for belt size? I assume they only come in certain increments. When I built my tumbler from idea's I gleaned from both jamesp and Drummond Island Rocks I did not account for belt size availability. So rather than starting over with spacing, I bought something like this and it works great. I don't tumble as much as you fella's so I can't speak to longevity, but it is still working after 4 years of occasional use. 0E9s37F2DRBRweYQ0To!~~60_35.JPG?set_id=880000500F) I always took the finished tumbler to the car parts place and rolled the behemoth's in and they let me go thru their v-belts. I had to get another belt when a ratio change was made and i purchased one of those adjustable belts Ms. Ann posted here and it works fine. |
|
jamesp
Cave Dweller 
Member since October 2012
Posts: 36,663
|
Post by jamesp on May 5, 2018 11:32:22 GMT -5
Raw steel, grrrrrrr
(Admin edit: removed broken photo)
|
|
|
|
Post by oregon on May 5, 2018 16:09:54 GMT -5
Could also mount the pillow blocks on unistrut or 80/20. to allow for some spacing adjustment to fit the belt...
|
|
|
|
Post by Drummond Island Rocks on May 5, 2018 20:07:35 GMT -5
In my line of work if I can't figure out exactly which belts are needed with a bar napkin and a worn out crayon I would be fired. This stuff is not rocket science. The pillow blocks are slotted and the motor mount is adjustable so that takes the guess work out of 4 of the 6 belts. For the remaining two belts the calculator I posted above would be spot on (I tested it for my V2.0 build and it got every belt matched exactly to what I was currently using). My belts are in CAD which means a click of a button gives the belt length for what I have designed. Sounds like those link belts work good but I think they are more expensive then traditional V-belts. It would be handy though to have a section of that link belt laying around though so a temporary replacement could be made for any belt that failed VS stocking four different size belts.
Chuck
|
|
|
|
Post by Drummond Island Rocks on May 5, 2018 20:13:09 GMT -5
Could also mount the pillow blocks on unistrut or 80/20. to allow for some spacing adjustment to fit the belt... Can pretty much build anything from 80/20 but that is not the look I am after here. I could have it built from tube steel and had it powder coated for free at my work but my rock area is in a finished basement so we prefer the finished wood look. Chuck |
|
|
|
Post by oregon on May 5, 2018 20:25:16 GMT -5
Could also mount the pillow blocks on unistrut or 80/20. to allow for some spacing adjustment to fit the belt... Can much build anything from 80/20 but that is not the look I am after here. I could have it built from tube steel and powder coated for free at my work but my rock area is in a finished basement so we prefer the finished wood look. Chuck Besides looking good, it also seems to dampen sound, also a big plus compared to a metal frame. |
|
|
|
Post by Drummond Island Rocks on May 5, 2018 20:53:07 GMT -5
Can much build anything from 80/20 but that is not the look I am after here. I could have it built from tube steel and powder coated for free at my work but my rock area is in a finished basement so we prefer the finished wood look. Chuck Besides looking good, it also seems to dampen sound, also a big plus compared to a metal frame. That is true about the noise. I only run Lortone rubber barrels and this version may end up completely enclosed when I am done. The motor will be on top and the belt will go through a slot. Sound was never an issue in the house with the two story version though. Chuck |
|
|
|
Post by Drummond Island Rocks on May 7, 2018 19:31:49 GMT -5
I bit the bullet and started cutting and assembling the main framework. Any wood that will end up showing will be Birch to match my other equipment and to match the top I am trying to keep. Color coded plywood layout to get the best usage  Gorgeous spring day to be outside building something  100 percent pocket hole assembly. No visible nails or screws. 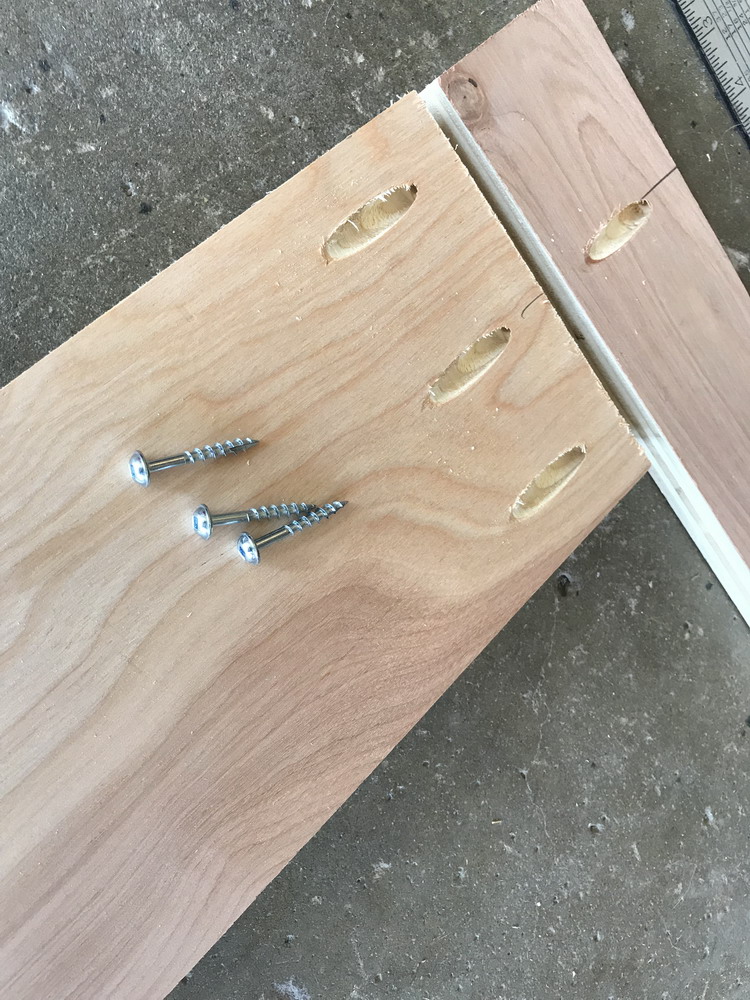 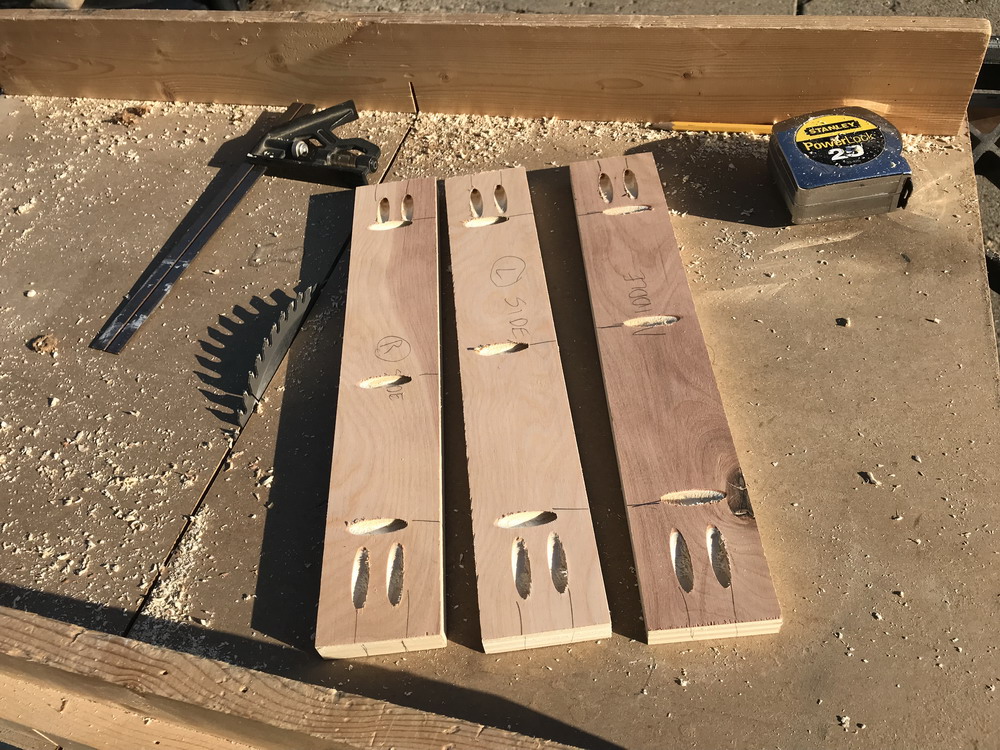 A pretty good idea of the overall look. It will be getting a back and possibly some hinged doors on the front too. 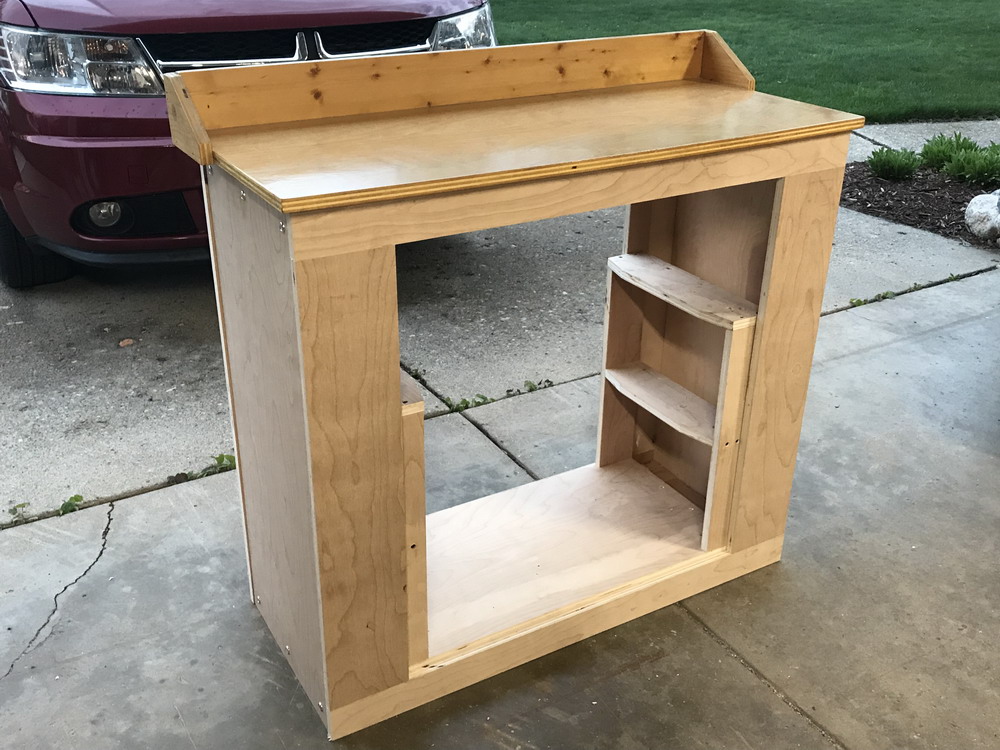 Chuck |
|
|
|
Post by Jugglerguy on May 7, 2018 20:30:27 GMT -5
That’s lookin’ good, Chuck. Fancy screw holes. I tend to build a frame out of 2x2s and 2x4s and then cover it with 1/4 inch plywood. That doesn’t leave as much room on the inside as you will have though.
Did you decide to put the motor on the top or bottom?
|
|
|
|
Post by Drummond Island Rocks on May 7, 2018 20:37:50 GMT -5
That’s lookin’ good, Chuck. Fancy screw holes. I tend to build a frame out of 2x2s and 2x4s and then cover it with 1/4 inch plywood. That doesn’t leave as much room on the inside as you will have though. Did you decide to put the motor on the top or bottom? My previous version was 2x4 and 2x8 construction. I decided that was overkill and wanted to lighten things up a bit. Plus with this build the portion I just built is really just a cabinet that the tumbler will sit inside of so I built it like I would build a cabinet. The motor will be going on top. I know I am going to end up hating the look of it on top but I like the idea of being able to keep it cleaner. Chuck |
|
saxplayer
fully equipped rock polisher
  
Member since March 2018
Posts: 1,327
|
Post by saxplayer on May 7, 2018 20:58:00 GMT -5
Kreg for the win! Looking good Chuck!
|
|
|
|
Post by nowyo on May 8, 2018 23:18:03 GMT -5
Most excellent.
Russ
|
|
|
|
Post by Drummond Island Rocks on May 10, 2018 7:10:01 GMT -5
Woodworking portion is all done. Dry fit everything yesterday to make sure the mechanical parts would fit. Now it's time for sanding and polyurethane. This show's how the tumbler is built separate from the cabinet. It will be able to slide out from either end. 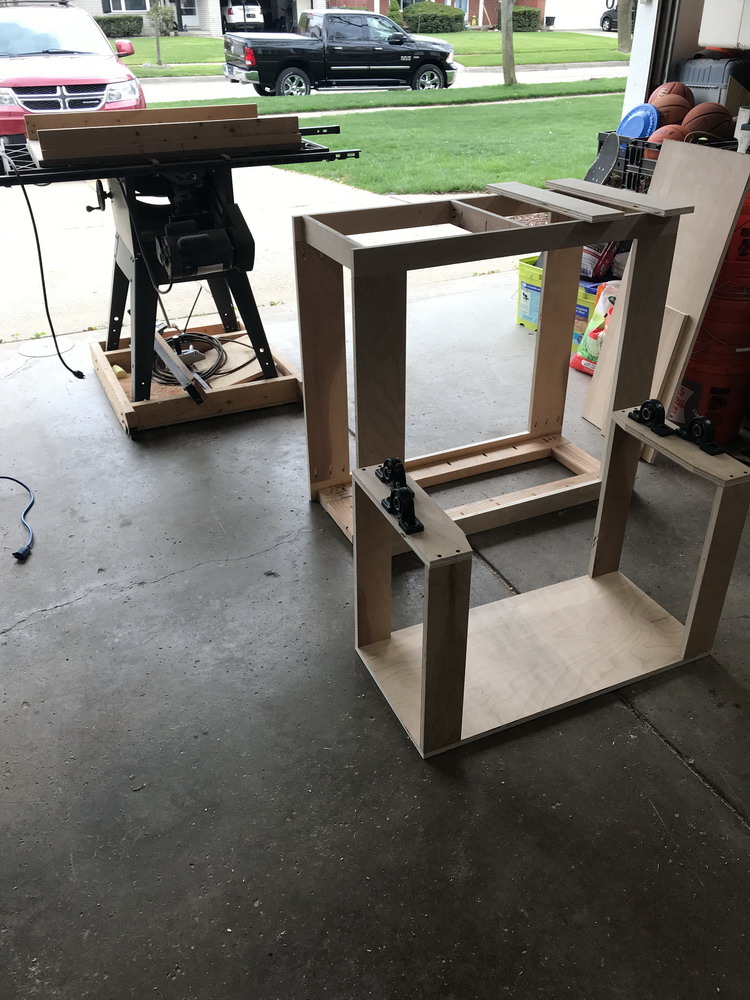 This was during mock up to establish the height of the barrel guide riser blocks. I replicated the Lortone barrel guides from a sheet of steel. 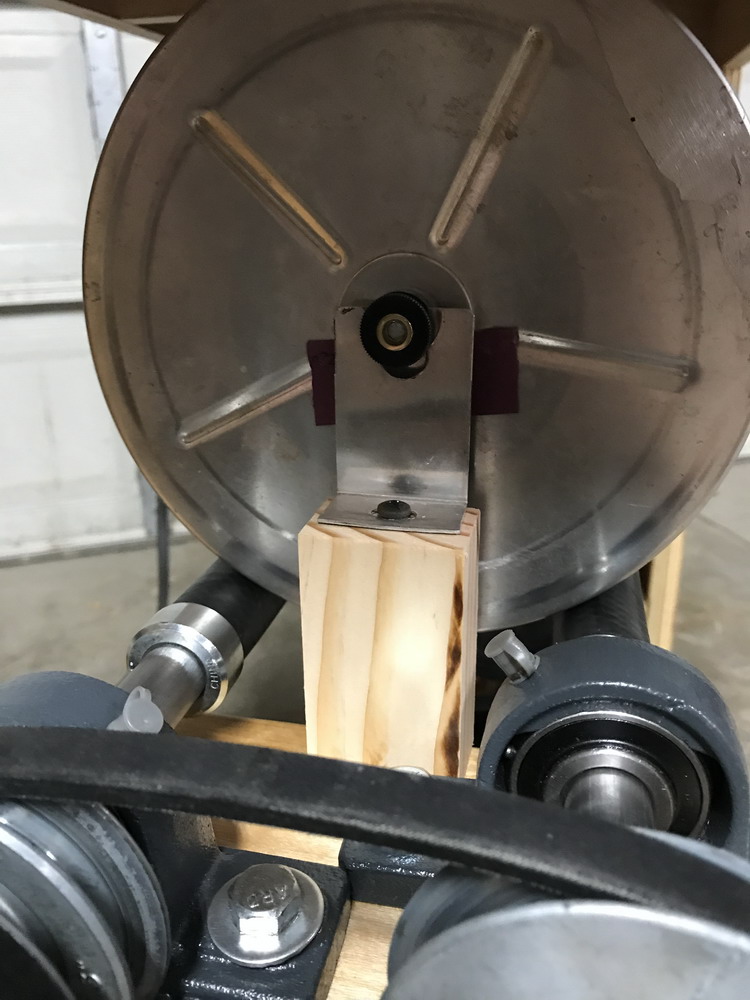  The end panels are removable 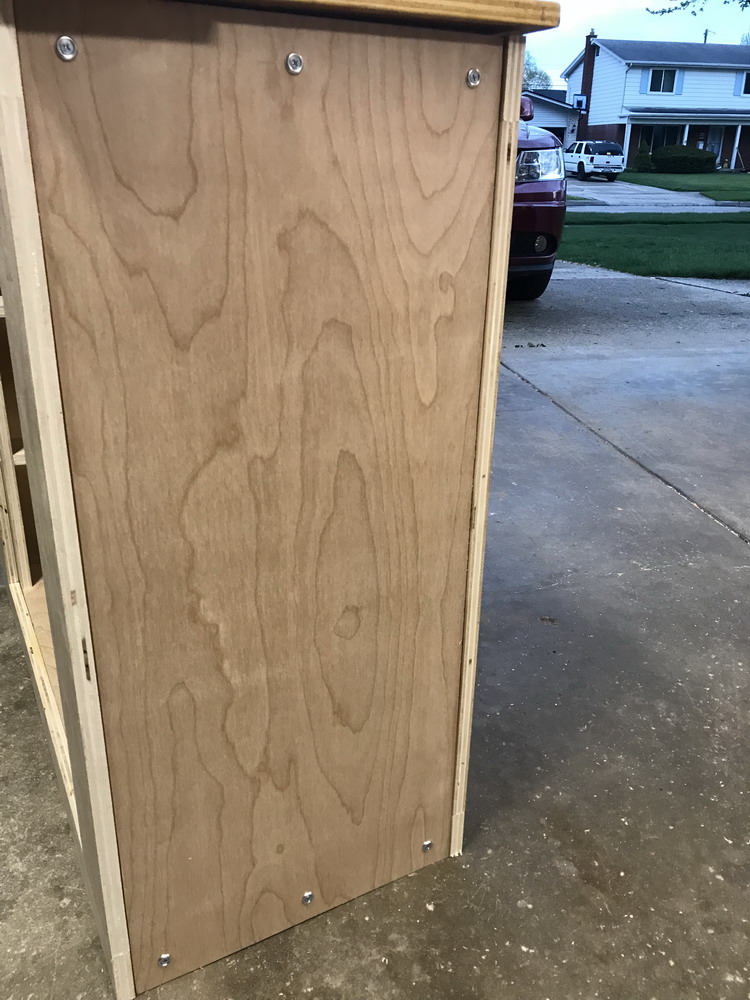 Thanks for looking Chuck |
|
|
|
Post by Jugglerguy on May 10, 2018 13:58:18 GMT -5
That looks so nice that your wife is going to want it upstairs with the other furniture. I don't know about you, but my least favorite part about wood working is the sanding and finishing.
|
|


