Sanding and Polishing an Obsidian Slab
Jul 23, 2008 23:32:04 GMT -5
Fossilman, vegasjames, and 5 more like this
Post by bobby1 on Jul 23, 2008 23:32:04 GMT -5
Here's how I sand and polish an Obsidian slab or other flat surface. I don't know how well this method will work on an all diamond machine. Running the belts dry probably would damage them.
I work almost exclusively with 8" diameter by 3" wide Silicon Carbide belts. My polishing wheel is a 13" carpet covered wheel that turns about 400 rpm. I use Cerium Oxide as a polish.
Because the sanding will all be done with a dry wheel it is mandatory that you ues a good quality, double strap dust mask.
Here is a picture of the slab before starting. It is Midnight Lace from Glass buttes in Central Oregon. Any Obsidian would do. It is 3" wide and rather thin at 1/8" thick. As you can see there are saw marks on it.

Here is a picture of it shown wet backlit in the sun.

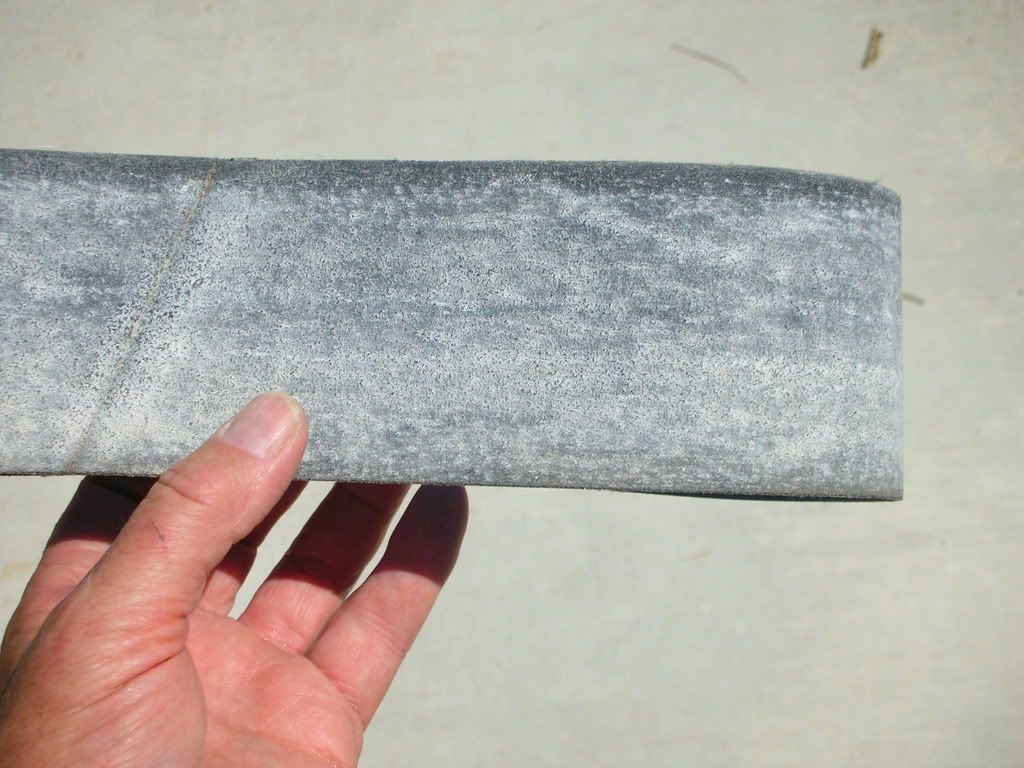
This is the sanding belt that I will start with. It is an 80 grit that is well worn.

It is already loaded with sanding dust. After installing it on the drum I take a scrap of Obsidian and run it dry and load it with as much dust as it can hold.

I always sand in the same direction for one half and flip it 180 degrees and sand the other half. Also, you MUST sand from the center to the edge. If you sand from the edge towards the center small chips of Obsidian come off and scratch the surface that you are sanding.
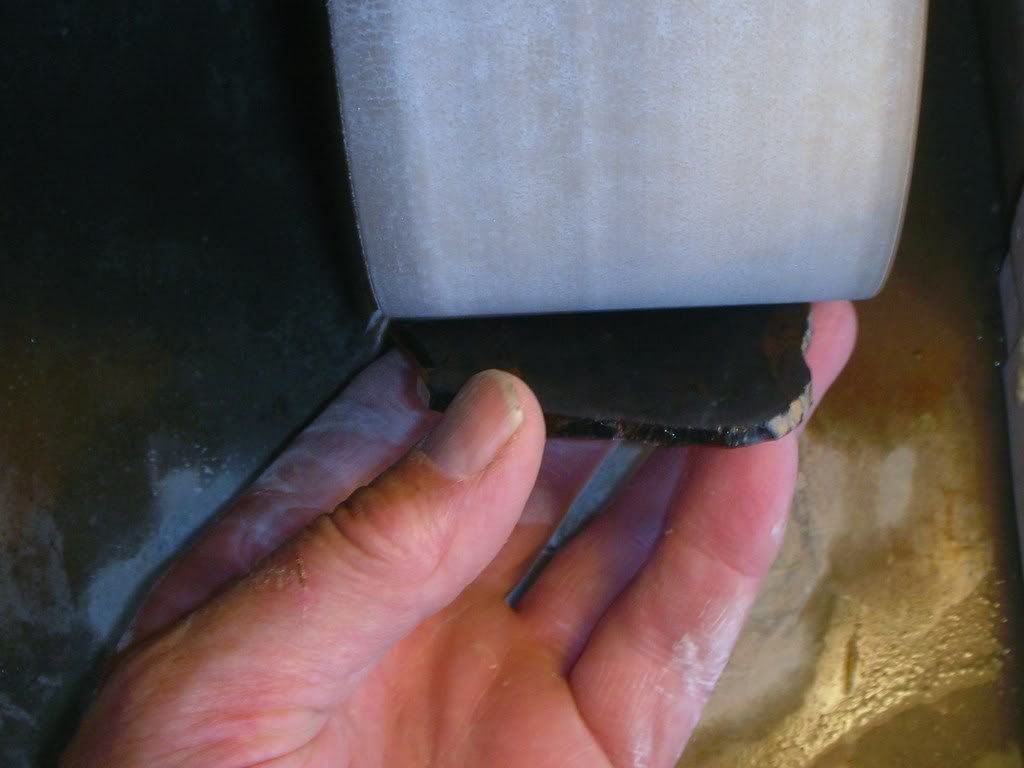
Here is sort of how I hold the slab. I always use two hands with one holding the bottom edge so it doesn't slip out of your hands. This picture is with only one hand because I'm using the other one to hold the camera. The same is true with the polishing... use both hands.
I sand a three or four strokes and feel the slab. If it gets too hot to touch you are sanding too long. Do not quench the slab to cool it off. It might fracture, especially one this thin. Use your hands to cool it.

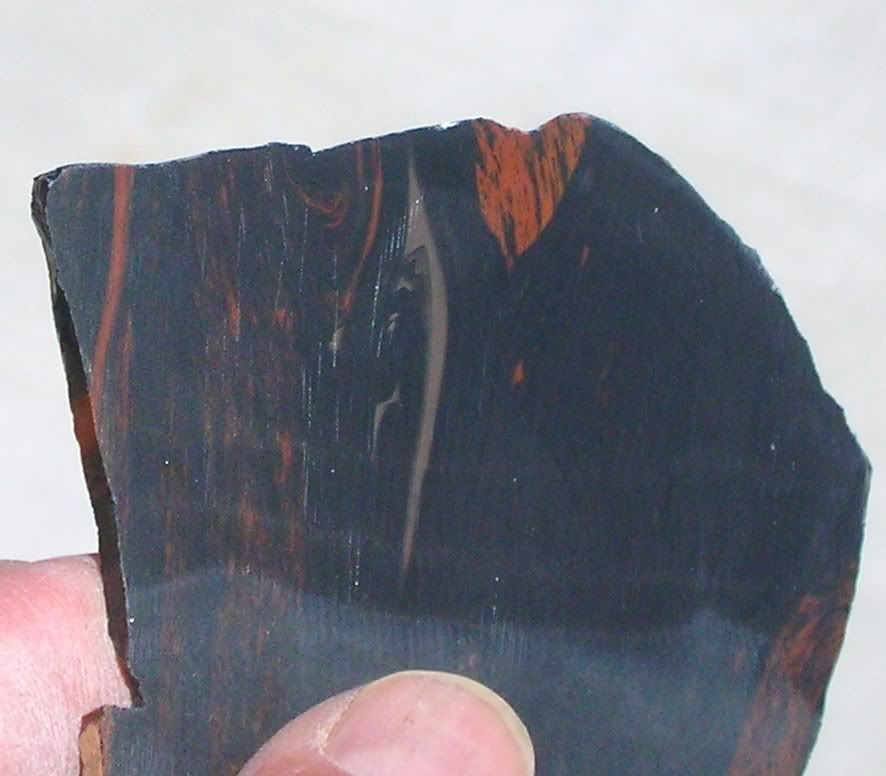
Here I've started sanding the slab. As you can see the saw marks are starting to come out.

On the right side are some scratches running vertically as opposed to the saw marks runnung diagonally. These vertical scratches are caused by small chips embedded in the belt. Here is another later view with those scratches gone but some new ones on the left side.

Keep sanding until the saw marks are gone and the scratches are gone. As you sand and load the belt the sanding scratches that appeared will also go away.

Rotate the slab 180 degrees and repeat the sanding steps until all the saw marks and sanding scratches are gone. This should take only 5 minutes to complete. Next go to a worn 220 belt loaded with sanding dust and do the same steps. Again this should take about 5 minutes.
Next prepare the polishing wheel by wetting it down and applying a small amount of polishing slurry. Polish using two hands as I have noted before.

Here you can see the appearance of the slab during the polishing step.

Here I have wiped it off to check the polishing progress.

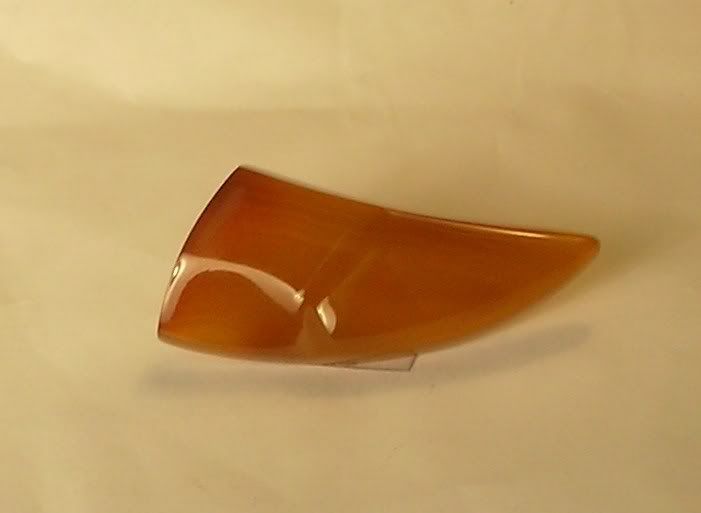
Here is the polished surface. It took about 17 minutes to polish it.

Here is a view with the slab backlit by the sun. The back side hasn't been sanded or polished yet.

Here is the slab frontlit.

I hope this has been helpful. Please ask questions!
Bob
I work almost exclusively with 8" diameter by 3" wide Silicon Carbide belts. My polishing wheel is a 13" carpet covered wheel that turns about 400 rpm. I use Cerium Oxide as a polish.
Because the sanding will all be done with a dry wheel it is mandatory that you ues a good quality, double strap dust mask.
Here is a picture of the slab before starting. It is Midnight Lace from Glass buttes in Central Oregon. Any Obsidian would do. It is 3" wide and rather thin at 1/8" thick. As you can see there are saw marks on it.

Here is a picture of it shown wet backlit in the sun.

This is the sanding belt that I will start with. It is an 80 grit that is well worn.

It is already loaded with sanding dust. After installing it on the drum I take a scrap of Obsidian and run it dry and load it with as much dust as it can hold.

I always sand in the same direction for one half and flip it 180 degrees and sand the other half. Also, you MUST sand from the center to the edge. If you sand from the edge towards the center small chips of Obsidian come off and scratch the surface that you are sanding.
Here is sort of how I hold the slab. I always use two hands with one holding the bottom edge so it doesn't slip out of your hands. This picture is with only one hand because I'm using the other one to hold the camera. The same is true with the polishing... use both hands.
I sand a three or four strokes and feel the slab. If it gets too hot to touch you are sanding too long. Do not quench the slab to cool it off. It might fracture, especially one this thin. Use your hands to cool it.

Here I've started sanding the slab. As you can see the saw marks are starting to come out.

On the right side are some scratches running vertically as opposed to the saw marks runnung diagonally. These vertical scratches are caused by small chips embedded in the belt. Here is another later view with those scratches gone but some new ones on the left side.

Keep sanding until the saw marks are gone and the scratches are gone. As you sand and load the belt the sanding scratches that appeared will also go away.

Rotate the slab 180 degrees and repeat the sanding steps until all the saw marks and sanding scratches are gone. This should take only 5 minutes to complete. Next go to a worn 220 belt loaded with sanding dust and do the same steps. Again this should take about 5 minutes.
Next prepare the polishing wheel by wetting it down and applying a small amount of polishing slurry. Polish using two hands as I have noted before.

Here you can see the appearance of the slab during the polishing step.

Here I have wiped it off to check the polishing progress.

Here is the polished surface. It took about 17 minutes to polish it.

Here is a view with the slab backlit by the sun. The back side hasn't been sanded or polished yet.

Here is the slab frontlit.

I hope this has been helpful. Please ask questions!
Bob


 ... to the New Guys from The ChatBox V.2 Crew