|
|
Post by cobbledstones on Oct 29, 2015 10:36:12 GMT -5
no worries, these are the tools that make the marble blanks. Yes I bought the 11:15 blades. Got a discount for ordering 10. Shaft on Polys is 3/4". Those blades have a 5/8" bushing in a 7/8" hole. I popped out the bushing in the blade and got a 1.5" long 3/4"ID, 7/8"OD bushing and it all slid together. There was some sloppy finish on some of the 7/8" holes in the blades, hit that with a dremmel to make assemble easier.
|
|
TByrd
fully equipped rock polisher
   Have you performed your random act of kindness?
Member since December 2010
Posts: 1,350
|
Post by TByrd on Oct 29, 2015 14:59:28 GMT -5
Wow love all this information.
|
|
|
|
Post by cobbledstones on Nov 1, 2015 22:19:17 GMT -5
finished the rough out this weekend. Here are the blanks  Turns out that I made them a little to big, closer to 3/4". Going to put them through the Mill anyways  here they are on the grinding plate. need to have some space between them  80 grit goes into the bottom of the bowl, water too, enough to make a slurry  Marble blanks into the bowl, then the grooved plate goes on top to make a marble sandwich. I ran it for about 20 minutes. I can tell that this will take some trial and error, slurry seems too thin for this first try. They are starting to take shape, but it will take a lot longer in the machine.  |
|
|
|
Post by jakesrocks on Nov 3, 2015 15:06:43 GMT -5
Following with interest. I just picked up a bead mill with part of a lapidary estate sale.
|
|
|
|
Post by captbob on Nov 3, 2015 15:26:48 GMT -5
Very neat. Please keep us posted. wondering how long before jamesp welds something like that together that can make bowling ball sized marbles! |
|
|
|
Post by cobbledstones on Nov 3, 2015 15:41:06 GMT -5
the thought had crossed my mind that a bigger mill would be a better mill
|
|
jamesp
Cave Dweller 
Member since October 2012
Posts: 36,602
|
Post by jamesp on Nov 3, 2015 19:48:13 GMT -5
|
|
|
|
Post by jakesrocks on Nov 3, 2015 20:28:11 GMT -5
That's the size we need James. Think ya can wup one up ?
|
|
Fossilman
Cave Dweller 
Member since January 2009
Posts: 20,722 
|
Post by Fossilman on Nov 4, 2015 10:04:01 GMT -5
A great thread,liking the progress!!!
|
|
|
|
Post by 1dave on Nov 4, 2015 19:39:35 GMT -5
|
|
Deleted
Deleted Member
Member since January 1970
Posts: 0
|
Post by Deleted on Nov 13, 2015 0:23:51 GMT -5
How big of a bead can the bead mill mill?
|
|
|
|
Post by cobbledstones on Nov 13, 2015 10:17:53 GMT -5
This little mill is pretty restricted. The instructions say 1/2", but I am pushing it to 3/4". I am pretty sure you could build a big mill for big beads. By the look of the grinding action, the size of the bead is related to the width of the cutting groove in relation to the diameter of the cutting disk.
|
|
|
|
Post by jakesrocks on Nov 13, 2015 11:06:45 GMT -5
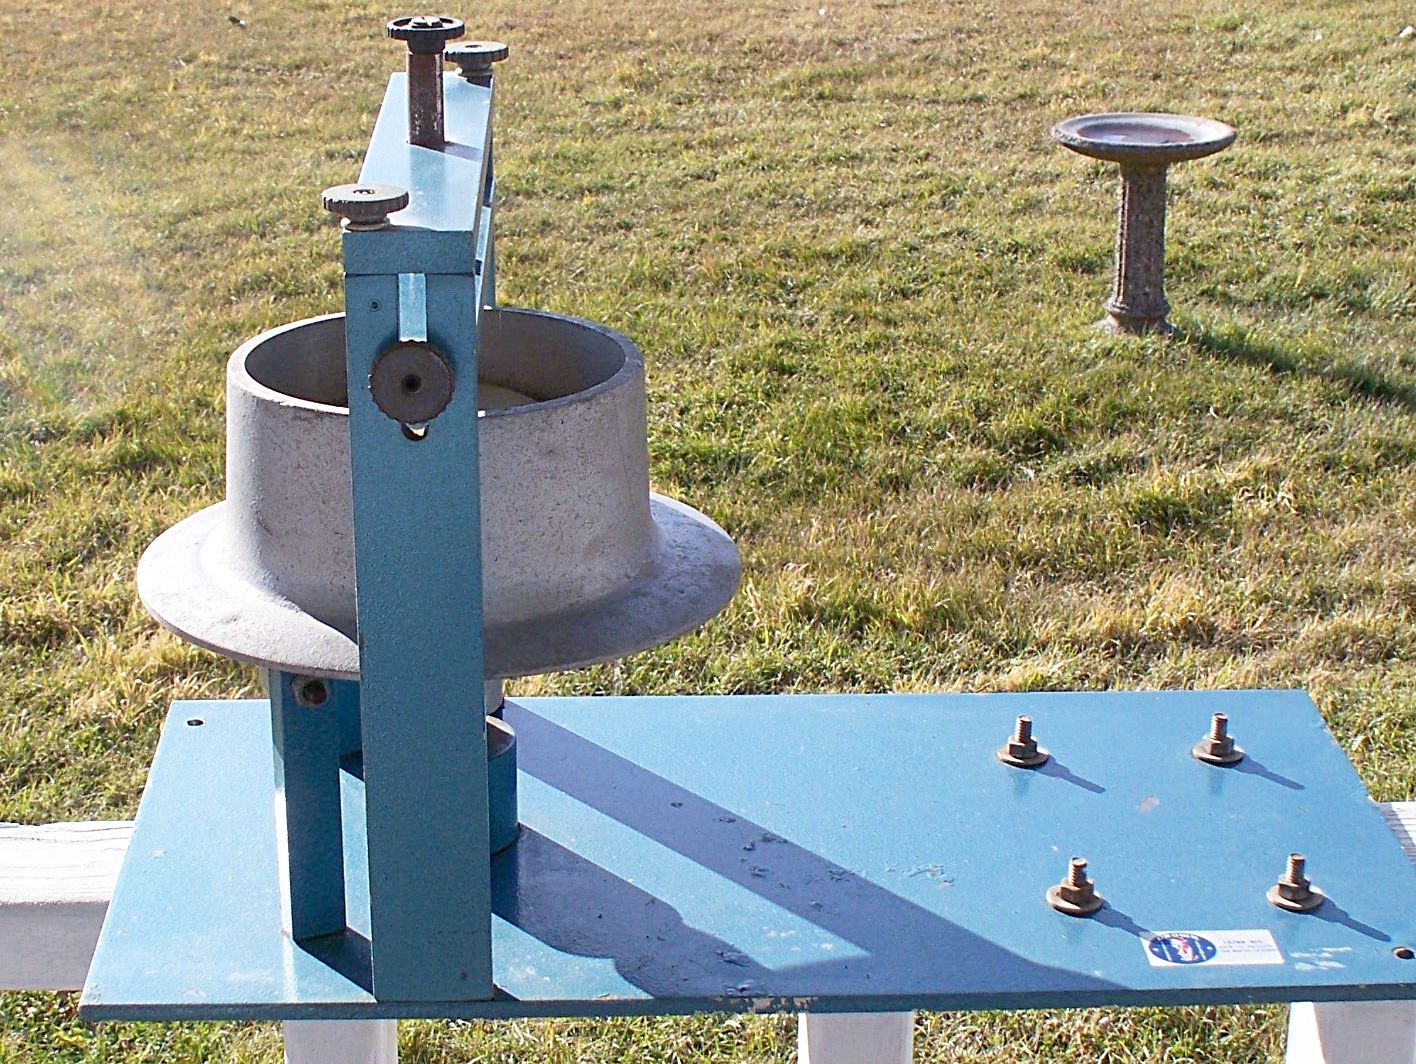
Here's the Crown bead mill I recently won in an ebay lot. The difference between this one & the Covington mill is that the bottom bowl rotates, instead of the top plate. I'm missing the motor which is no problem. Also missing is a drive wheel which turns the bowl. I should be able to have one machined at not too great a cost.  |
|
|
|
Post by cobbledstones on Nov 13, 2015 13:12:36 GMT -5
I should take a photo of the covington disassembled. The bottom bowl is what rotates. There is a belt and pulley setup underneath to get the right RPM. I like the fixture of the top grinding plate a little better on the Crown. The covington is supposed to use weights, but mine didn't come with any. I have been using rocks.
|
|
|
|
Post by jakesrocks on Nov 13, 2015 14:08:24 GMT -5
No pulley on mine. It was driven by a rubber wheel against the bottom of the bowl. Gonna take a little math to figure out the proper size of wheel to get the right RPM's, but shouldn't be hard to make. I plan on an adapter from the motor shaft with a groove machined in it for a rubber O ring to serve as the wheel. That way I'll be able to replace the O ring when it wears out. ( Now is when I wish I still had access to a metal lathe ).
|
|
|
|
Post by captbob on Nov 13, 2015 14:16:01 GMT -5
How about dusting off that sphere machine build instead of playing with marbles?
I'd love to see that up and running!
|
|
|
|
Post by jakesrocks on Nov 13, 2015 14:26:44 GMT -5
How about dusting off that sphere machine build instead of playing with marbles? I'd love to see that up and running! Winter project Bob. When it's too cold to work outside I'll finish the wiring. |
|
|
|
Post by jakesrocks on Nov 15, 2015 15:49:03 GMT -5
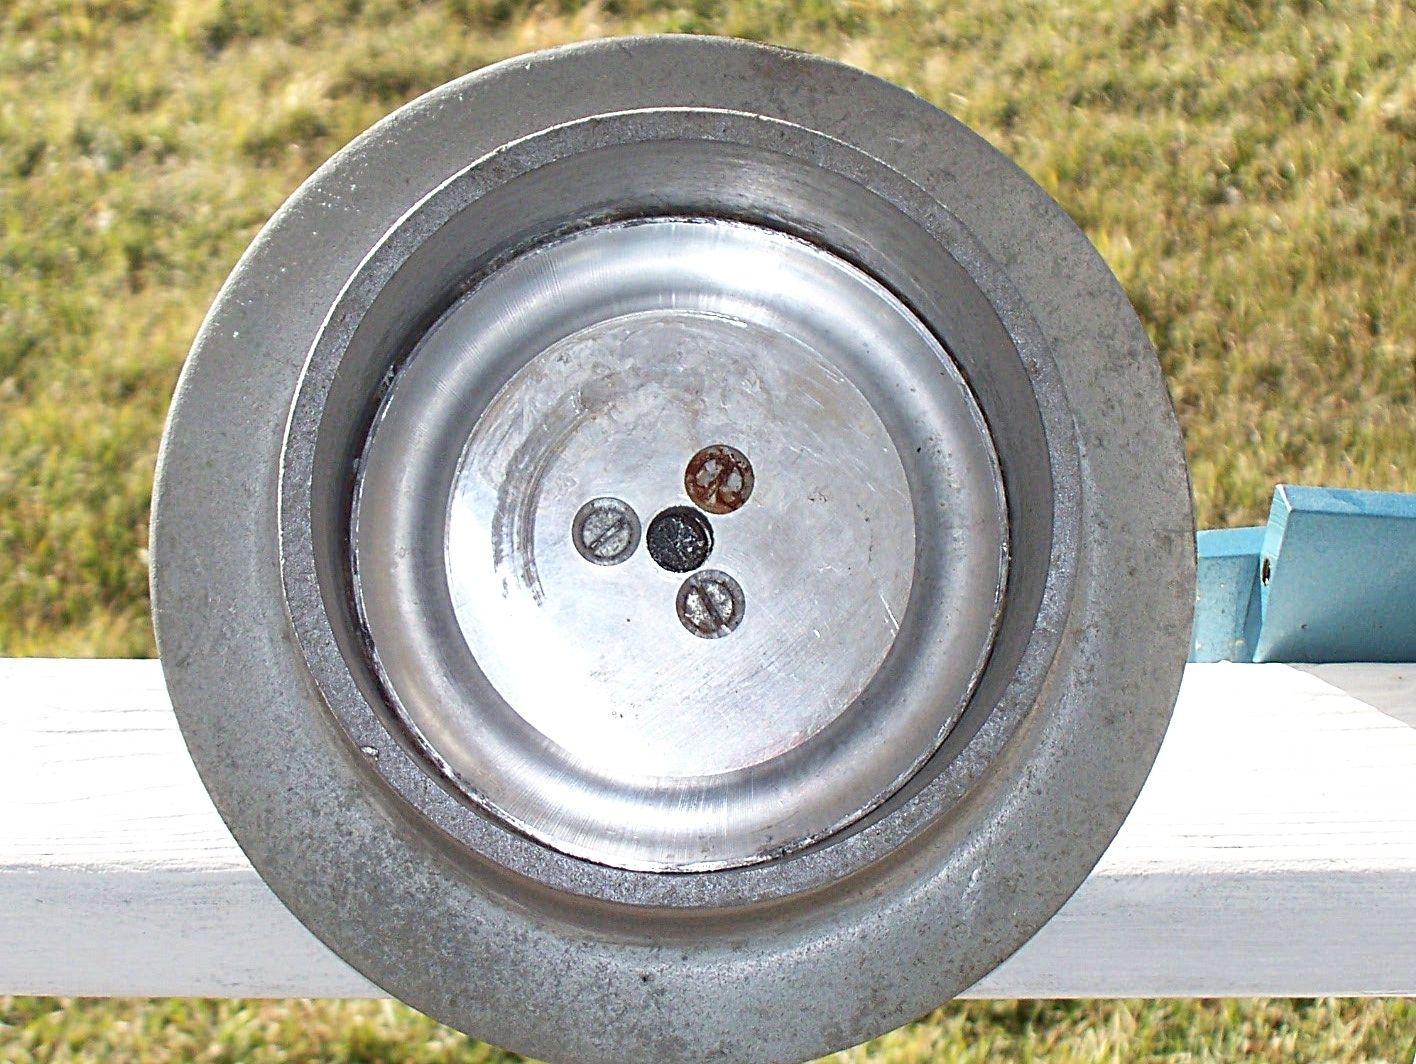
Hey Cobblestones, got a question for ya. Is the wear plate in the bowl of your bead mill removable ? I just pulled my Crown bead mill apart, and the bottom plate can be removed by pulling 3 screws. Here's what mine looks like.  |
|
|
|
Post by cobbledstones on Nov 15, 2015 21:57:02 GMT -5
nope, mine is not removable. here is a photo of the drive train.  ran them for another 30 minutes, and the supergrinder scratches are gone, not a lot closer to round, but the instructions said that the spheres wont be perfect.  |
|
|
|
Post by cobbledstones on Nov 22, 2015 20:31:42 GMT -5
have been playing with the balance of grit and water, and figured out that 1) putting a little slurry from a tumbler cleanout really sped the process. 2) using just enough water is better than too much. I have been using a 1:1 mix, about 1.5 tbs each for the grind. 3) the machine is very aggressive in breaking down grit. It needs recharging every 15-20 minutes. 4) I didn't bother to cleanout after the grit was broken down, just added more grit and water. 5) it is easy to know when it is working by how it sounds. It makes a distinctive grinding noise while the grit it in action. this noise changes when the grit is gone. 6) it took about 3 passes to get the majority done, its kinda like tumbling where you take some out that are done and replace with newer stock. 7) they don't get perfectly round. but pretty darn good. 8) It took less than an hour to finish the marble mill once I got it working better. I tossed them in the UV10 to polish them, here is what they looked like right out of the machine. shown wet  |
|