|
|
Post by miket on Sept 7, 2018 15:36:06 GMT -5
|
|
|
|
Post by Drummond Island Rocks on Sept 7, 2018 15:47:26 GMT -5
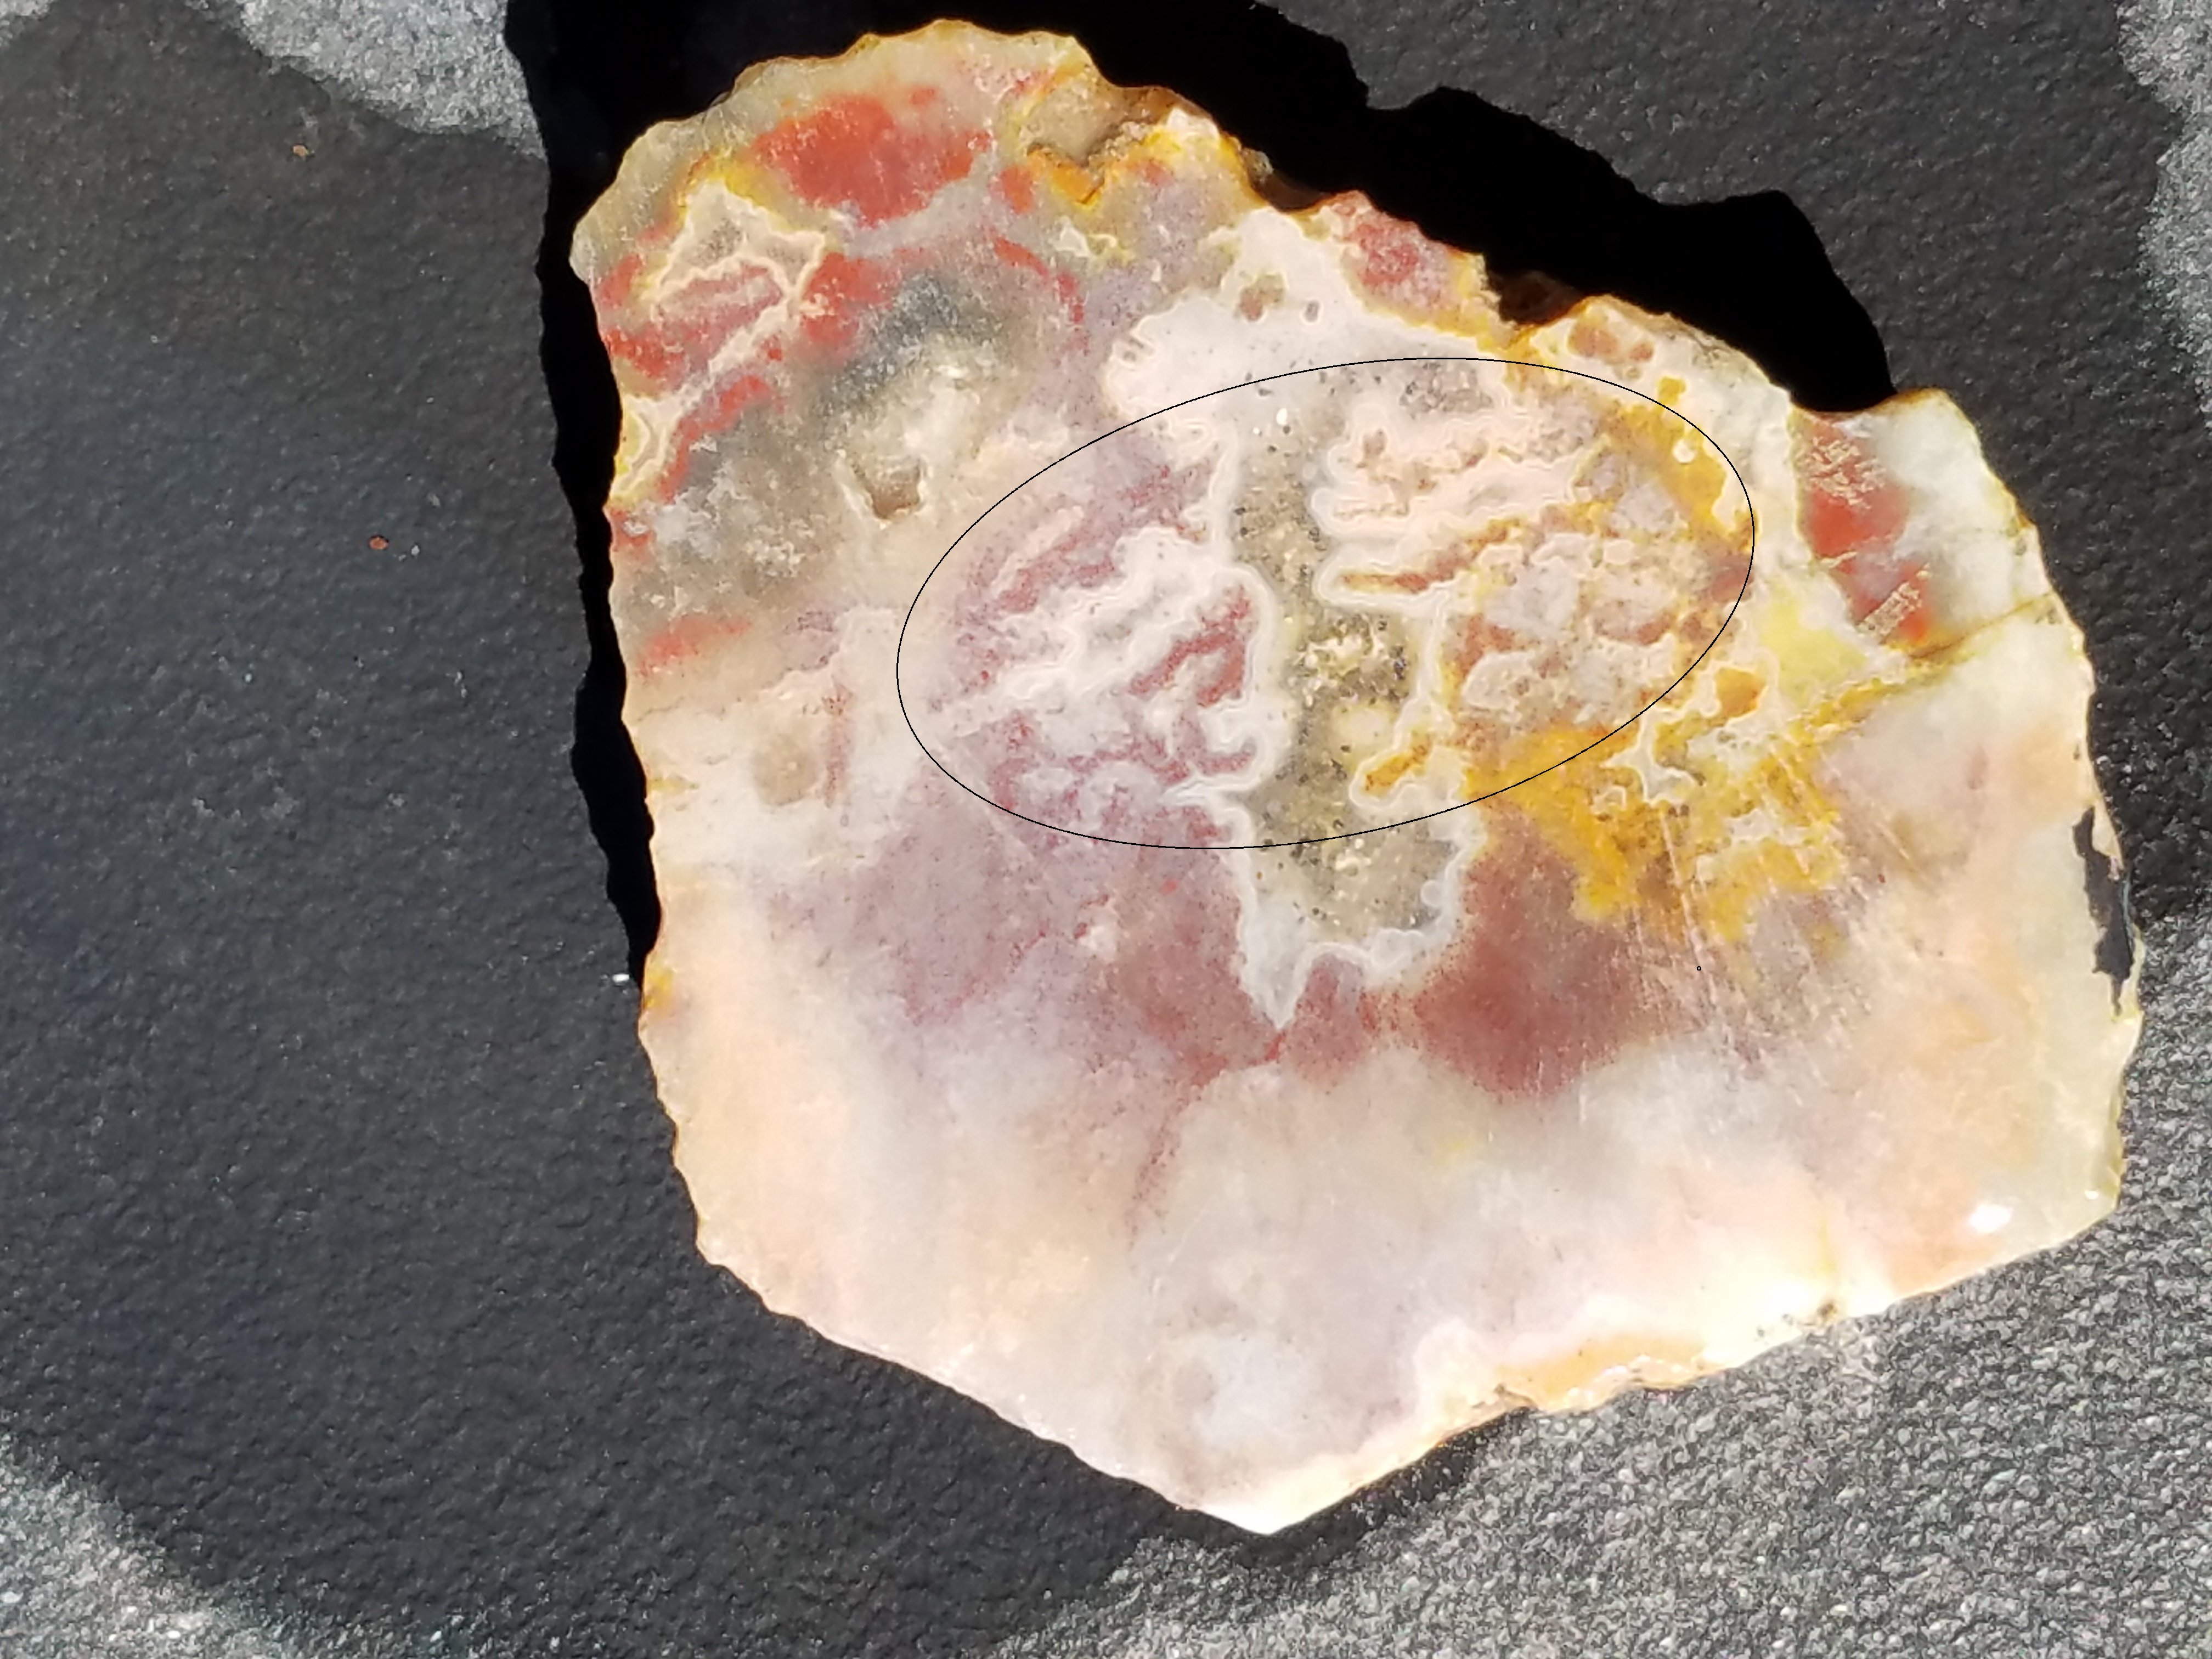
1/4" thick is the standard slab thickness for cabbing. Rare and valuable materials tend to be slabbed closer to 3/16" to yield more slabs per rock. I see a nice cab in your fourth photo.  Chuck |
|
|
|
Post by miket on Sept 7, 2018 16:28:13 GMT -5
Thanks for the tip.
I think I've been cutting most of them around 1/4 of an inch, give or take.
Mostly just picking interesting rocks then slicing away.
I like what you picked for a cab, too!
Guess I'll take this next plunge, hopefully I can trim close enough with a tile saw before I tumble it- most of the pieces are about 2 to 2 1/2 inches long.
This should be interesting, thanks again.
|
|
|
|
Post by stardiamond on Sept 7, 2018 16:32:53 GMT -5
Wetting the scene in the most convenient way will give you an idea how a scene will look like polished.
|
|
|
|
Post by miket on Sept 7, 2018 16:40:24 GMT -5
Wetting the scene in the most convenient way will give you an idea how a scene will look like polished. Yeah, I usually take pictures when the rocks are wet- they seem to show up better that way. Not sure how well I'll do at picking out a scene but I suppose it comes with experience. Also, I suppose there's no right or wrong it's mostly a matter of personal taste. Thanks! Another question- after I draw a cab and cut it out, I'm thinking I let the tumbler do the rest. Is this correct? |
|
|
|
Post by Drummond Island Rocks on Sept 7, 2018 17:10:55 GMT -5
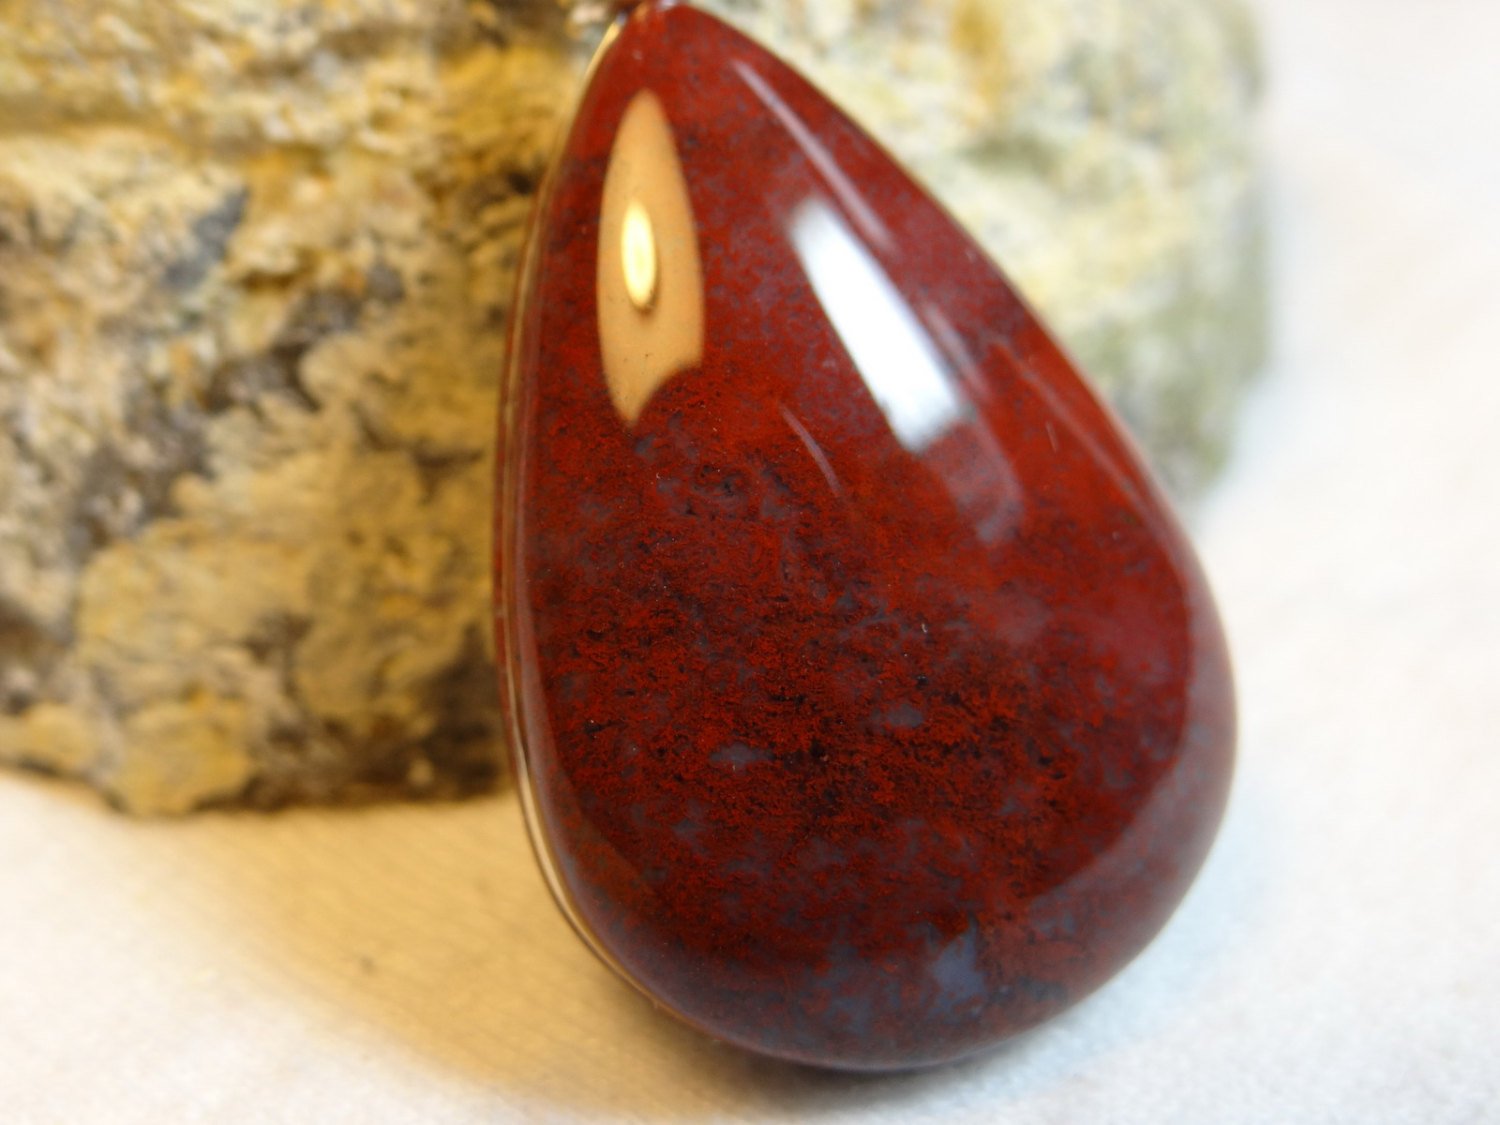
Wetting the scene in the most convenient way will give you an idea how a scene will look like polished. Yeah, I usually take pictures when the rocks are wet- they seem to show up better that way. Not sure how well I'll do at picking out a scene but I suppose it comes with experience. Also, I suppose there's no right or wrong it's mostly a matter of personal taste. Thanks! Another question- after I draw a cab and cut it out, I'm thinking I let the tumbler do the rest. Is this correct? A cabochon is a uniformly domed and polished shape. If you are just tumbling an un-domed shape I call those tumbled preforms. Chuck |
|
|
|
Post by Drummond Island Rocks on Sept 7, 2018 18:11:44 GMT -5
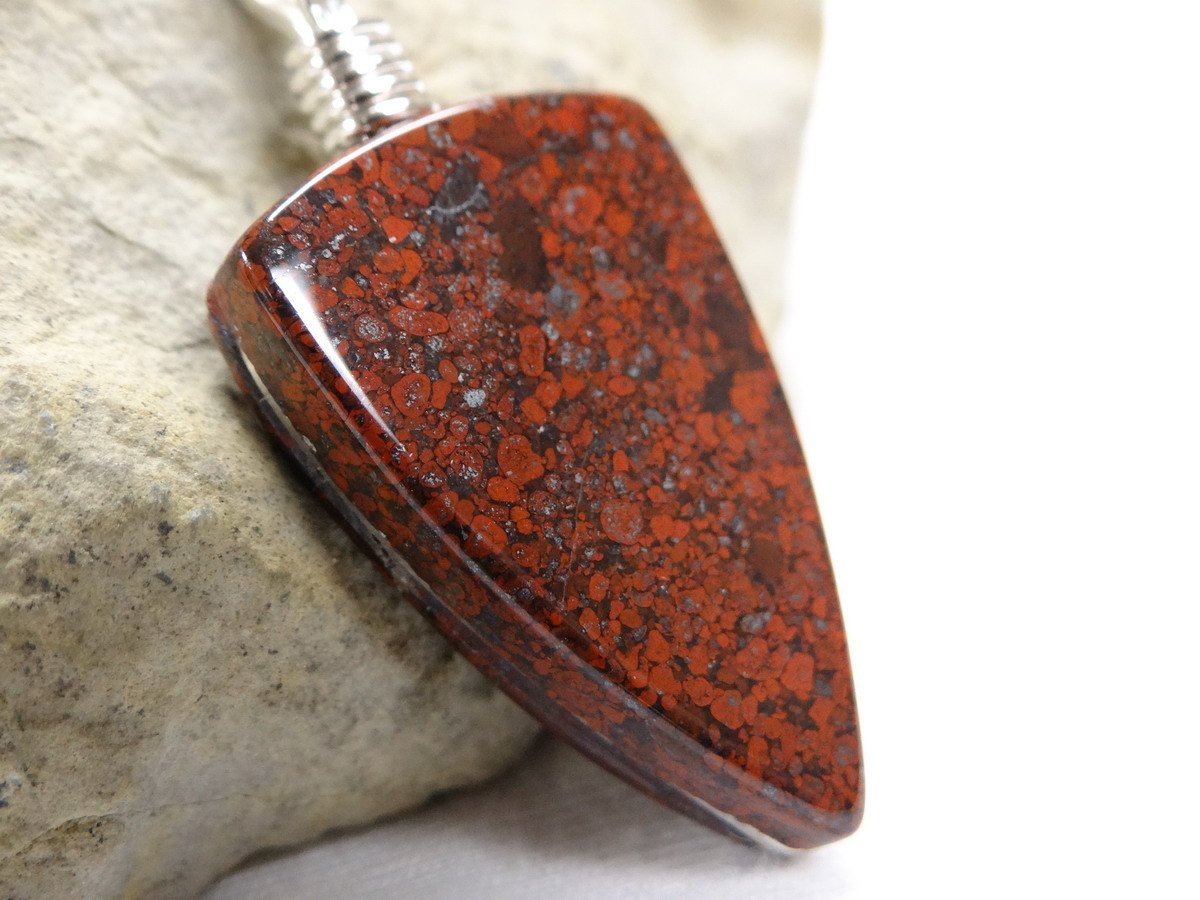
This is a closeup of a cabochon with an even edge height and uniform dome. I cabbed this using the traditional cabbing methods.  This is one of my tumbled preforms. Outside ground to shape then just tossed in the tumbler. Flat on top and bottom and rounded over edges from tumbling.  Chuck |
|
|
|
Post by vegasjames on Sept 7, 2018 18:37:10 GMT -5
Cool cabs.
|
|
|
|
Post by miket on Sept 7, 2018 20:38:35 GMT -5
Very nice, thanks
I'm learning...
|
|
|
|
Post by Drummond Island Rocks on Sept 7, 2018 21:16:17 GMT -5
Very nice, thanks I'm learning... Due to the large flat surfaces that are involved when tumbling preforms there are some differences in the tumbling process. If you fill the barrel with a bunch of these the entire load would be stuck together as a solid mass within hours and would not be able to be pulled apart. When the tumbler starts everything would be wet and all of the cabs would get coated with grit. After a couple hours the flat areas will stick together and after that the grit between them dries much like cement. The trick is to have about 80% of the barrel capacity filled with a mix of small and large ceramics. That usually keeps the cabs separated. If you decide to give it a try feel free to ask some more questions. Chuck |
|
|
|
Post by miket on Sept 7, 2018 22:11:28 GMT -5
Very nice, thanks I'm learning... Due to the large flat surfaces that are involved when tumbling preforms there are some differences in the tumbling process. If you fill the barrel with a bunch of these the entire load would be stuck together as a solid mass within hours and would not be able to be pulled apart. When the tumbler starts everything would be wet and all of the cabs would get coated with grit. After a couple hours the flat areas will stick together and after that the grit between them dries much like cement. The trick is to have about 80% of the barrel capacity filled with a mix of small and large ceramics. That usually keeps the cabs separated. If you decide to give it a try feel free to ask some more questions. Chuck Can i tumble preforms with other rocks or just ceramics? And would plastic pellets work? I guess I'll be a preformer before i can be a cabber... |
|
|
|
Post by HankRocks on Sept 8, 2018 6:17:02 GMT -5
Can i tumble preforms with other rocks or just ceramics? And would plastic pellets work? I guess I'll be a preformer before i can be a cabber... I use Pea Gravel with my Pre-forms for the Coarse(SiC 46/70) and in my 2nd stage(AlO 80) to increase the rock to rock contact and keep the flats from sticking. Both of these stages are in Thumlers 15 pounder. For the Polish stage in UV-18 I add about 2 to 3 pounds of previously polished Pea Gravel to make up volume difference. I have used rocks that are probably considered large for Pea Gravel, maybe 3/8 to about 1/2 inch, but nothing larger. I only do one re-charge in Coarse stage, and that's with a combination of SiC 80 and 220. I also add any more delicate or thin preforms at this time. I also run the Coarse for 10 to 12 days, as the grinding is a lot slower with the flats and all that Pea Gravel. It really comes down to what type of Pre-form material you have. Montana, Brazilian, and some of the other "hard" agate, no issues it can take the beating. For the softer material tumbling get's a bit more dicey as they will wear away a lot faster and you will begin to lose your shape. That's why I add the softer material to the Coarse run about half way thru with a bit finer SiC. You will lose a few Pre-forms here and there due to breakage or un-know soft spots. Some of that is a matter of selecting the right spot on a slab to cut the Pre-form. Good luck |
|
|
|
Post by fernwood on Sept 8, 2018 6:50:14 GMT -5
I use a Dremel to shape the edges of pre-forms prior to tumbling.
Then start in medium grit. Use polished pea gravel in this stage. Plastic filler in pre-polish and polish.
|
|
|
|
Post by miket on Sept 8, 2018 6:58:17 GMT -5
Great tips, thanks.
I appreciate the help!
I'm excited to try this...
|
|
|
|
Post by rockjunquie on Sept 8, 2018 7:03:40 GMT -5
Great tips, thanks. I appreciate the help! I'm excited to try this... You've gotten some really great advice.  Good luck! |
|
surreality
starting to spend too much on rocks
  is picking up too many rocks at the beach again
Member since January 2012
Posts: 217
|
Post by surreality on Sept 8, 2018 7:58:57 GMT -5
This thread is really handy, and thank you, miket, for posting the question. I'm really curious about this, too -- but money is tight for any supply these days, and, naturally, the classes offered by the local(ish) place are filled up for this year on proper cabbing. (And of course their one added class they just emailed about was when I'm going to be in Florida. Right? Pfft.) They have open shop days for after you take the classes, but that's a bit of a hike and still would be roughly a year before I could start experimenting. I'm a big chicken about cutting myself, since I am art project accident prone. (I'm that person who almost lost a finger to yarn, people, I'm so not kidding!) Things like 'get a saw' would be my next step, but I'm leery of tile saws since I've heard they run differently than the actual lapidary saws, which will graze, while the tile saws are more prone to cutting you, for instance -- speed difference or something? So there's a pile-o-cash of difference there because I'm a giant chicken, even if there are reasons for it! That said, I'm keeping an eye on this, since this looks like making preforms might not be a bad place to start in the year or so before I can look at taking a proper class somewhere. |
|
|
|
Post by rockjunquie on Sept 8, 2018 8:17:55 GMT -5
This thread is really handy, and thank you, miket , for posting the question. I'm really curious about this, too -- but money is tight for any supply these days, and, naturally, the classes offered by the local(ish) place are filled up for this year on proper cabbing. (And of course their one added class they just emailed about was when I'm going to be in Florida. Right? Pfft.) They have open shop days for after you take the classes, but that's a bit of a hike and still would be roughly a year before I could start experimenting. I'm a big chicken about cutting myself, since I am art project accident prone. (I'm that person who almost lost a finger to yarn, people, I'm so not kidding!) Things like 'get a saw' would be my next step, but I'm leery of tile saws since I've heard they run differently than the actual lapidary saws, which will graze, while the tile saws are more prone to cutting you, for instance -- speed difference or something? So there's a pile-o-cash of difference there because I'm a giant chicken, even if there are reasons for it! That said, I'm keeping an eye on this, since this looks like making preforms might not be a bad place to start in the year or so before I can look at taking a proper class somewhere. Tile saw, trim saw- either one are pretty safe. It's actually kinda difficult to slice your finger off. You can touch the blade while it's running. I started with a skilsaw tilesaw for under 100 and got a dewalt porcelain blade for it. It does 90% of my cutting. Never been cut yet. |
|
Fossilman
Cave Dweller 
Member since January 2009
Posts: 20,723 
|
Post by Fossilman on Sept 8, 2018 8:21:56 GMT -5
I have some cabs that are in the rotary tumbler... Most of the barrel is full of ceramic pellets.. They are in polish now, so next week, they will be finished..(Looking good so far)..
I cut them at 1/4" formed them, with my 6" trim saw, worked them a bit on the cab machine and threw them in the tumbler.. Those I watch much closer than a load of rough, usually every week..
|
|
|
|
Post by miket on Sept 8, 2018 8:48:59 GMT -5
This thread is really handy, and thank you, miket , for posting the question. I'm really curious about this, too -- but money is tight for any supply these days, and, naturally, the classes offered by the local(ish) place are filled up for this year on proper cabbing. (And of course their one added class they just emailed about was when I'm going to be in Florida. Right? Pfft.) They have open shop days for after you take the classes, but that's a bit of a hike and still would be roughly a year before I could start experimenting. I'm a big chicken about cutting myself, since I am art project accident prone. (I'm that person who almost lost a finger to yarn, people, I'm so not kidding!) Things like 'get a saw' would be my next step, but I'm leery of tile saws since I've heard they run differently than the actual lapidary saws, which will graze, while the tile saws are more prone to cutting you, for instance -- speed difference or something? So there's a pile-o-cash of difference there because I'm a giant chicken, even if there are reasons for it! That said, I'm keeping an eye on this, since this looks like making preforms might not be a bad place to start in the year or so before I can look at taking a proper class somewhere. Yeah, I love this site. Everyone is willing to help and we all have to start somewhere! Honestly tile saws are pretty safe. I did cut myself changing a blade, but that was my fault. Other than one flying rock (that missed me  ) I haven't had any other mishaps. |
|
|
|
Post by miket on Sept 8, 2018 8:52:01 GMT -5
I use a Dremel to shape the edges of pre-forms prior to tumbling. Then start in medium grit. Use polished pea gravel in this stage. Plastic filler in pre-polish and polish. I have a dremel but I don't have a flex shaft. Would dipping the rock in water frequently be enough? |
|