Better Fast Rock Tumbling Process (Gained More Experience)
Oct 25, 2023 19:53:31 GMT -5
jimmie, dillonf, and 2 more like this
Post by ctxtumblebug on Oct 25, 2023 19:53:31 GMT -5
I am very new to this whole rock tumbling ballgame but I do believe that I've cracked the code on the process at least for agates, jaspers, quartz, chalcedony, chert, flint and petrified wood. I'm now able to get a very decent polish on my rocks in about 8 to 20 days give or take a little using a very simple five step process. For my "Step One" process, the biggest and most important thing that I do before getting the rocks rolling in a tumbler is to cut, grind, shape and smooth out rough rocks using a 7 inch tile saw, an angle grinder with a diamond blade and a Dremel tool with diamond tips. After this I will then use an angle grinder with a 40 or 80 grit hard resin wheel to smooth the rocks out even more. This first step takes nearabouts a full workday (6-8 hours) at the bench for me to get enough rocks ready to roll in all three of my tumblers but it is well worth the extra effort. Doing what I do at the bench for a day will most definitely beat the pants clean off of having to wait for those rough rocks doing Step One tumbling in 46/70 or 60/90 grit for weeks and/or months on end just to get smooth enough for the next stage. A full three pound drum recipe for me consists of rocks 2/3 to 3/4 of a drum, water just below the top of the rocks and three good tablespoons of grit. The 15lb drum recipe for me works just like the 3lb drum recipe except that it takes 10-12 good tablespoons of grit on account of there being more rocks in the 15lb drum. My tumblers are the Thumler's Model B with a 15lb barrel, a Chicago Electric (Harbor Freight) with two 3lb drums and a National Geographic with one 3lb drum. With the benchwork day being Step One for me, the tumbling schedule breaks down just like this:
Step Two: 60/90 SI-CA grit tumble for three days (The National Geographic tumbler will sometimes get it done in two days due to the fast rotation speed)
Step Three: 120/220 SI-CA grit tumble for three days (The National Geographic tumbler will sometimes get it done in two days due to the fast rotation speed)
Step Four: 500 Pre-Polish tumble for three days
Step Five: 500 AO Polish tumble for three days and maybe a couple days more if I'm not satisfied
I will usually check on my rocks two days after starting the first two tumbling steps. Step four is three days for me. Step five will tumble for at least three days before I check them. I can usually get two batches a week for each step of my tumbling process before I have to replace the grit. The quality of my finished product is right on par with the high quality tumbled rocks seen for sale at my local rock shops, gem & mineral shows and at tourist attractions.
Things to note of very high importance AKA Lessons Learned:
Tumbling Medium: Some people on here will use ceramic medium during the stages of the tumbling process to prevent chipping and fracturing of the rocks being tumbled. I like to use small pieces of river tumbled quartz from the Llano River and/or small smooth rocks that come in those 5lb jars at most garden centers such as Lowes or Home Depot as my tumbling medium. These are very cheap and absolutely the perfect size for tumbling medium. The bonus that comes with my choices of tumbling medium is that I get a bunch of small polished rocks right along with the bigger polished rocks at the end of the tumbling and polishing process. Those small polished rocks that started out as tumbling medium make excellent jewelry and/or decorative items just the same as the bigger polished rocks do.
Rock Hardness Match-Up: Absolutely be sure to have the rocks be of equal hardness in order to get a successful outcome at rock tumbling. Agates, Chalcedony, Chert, Flint, Jasper, Petrified Wood and Quartz are all pretty much of equal hardness and they will play well together throughout the entire tumbling process. Soft materials such as Adventurine, Sodalite and Fossils such as Coral do not mix well with rocks like agates or quartz and lead to nothing but frustration and poor outcomes at rock tumbling. The rock tumbling rough pack that comes with the National Geographic tumbler is a prime example of mis-matched rocks. MichiganRocks AKA Jugglerguy has an excellent tutorial on YouTube that shows the bad outcome of mixing hard and soft rocks together during the tumbling process.
Clean-Up Process: Some folks on here will use Borax or dish soap to clean their rocks and it does very well. There are excellent tutorials on this subject that show the use of Borax or dish soap for this process. I simply choose to use lots of water, a couple of 5 gallon plastic buckets, an old toothbrush, a damp terrycloth washrag or towel, compressed air and a large metal colander during my clean-up process with lots of success. I do all of this clean-up outside so as not to clog up the plumbing with grit and/or small pieces of rock. I also make absolutely sure that the drums are spotless and that there is no grit whatsoever in or on the rocks for each step of the tumbling process.
Key Takeaways At Rock Tumbling: The name of the game at rock tumbling is to get rough rocks to a very smooth and shiny condition with as few flaws/defects as humanly possible. This is something that definitely takes lots of patience and some people have more patience than others. Some folks choose to put rough rocks in their tumblers and take many weeks and/or months just to get to Step Two. I choose to spend a day or so at the workbench prepping the rocks with a tile saw, angle grinder and dremel tool in order to get the rocks all the way through the tumbling stages and on to the Polishing Stage at about day 10 and then putting out a high quality product at day 15 or so. I've watched enough tutorials from MichiganRocks, Scott Wilkins, AgateAriel and some others to quickly figure out that the rocks must be worked up to a very smooth and generally flawless condition before they will take on a high quality shine. Those tutorials showed me that this process can be done either very slowly by letting the tumblers do all of the work or very quickly by spending a little time at the workbench using a few basic hand tools/machines to get the rocks cut, generally shaped and somewhat smooth to begin with before starting the tumbling process.
I hope that my process helps everyone here who enjoys rock tumbling.
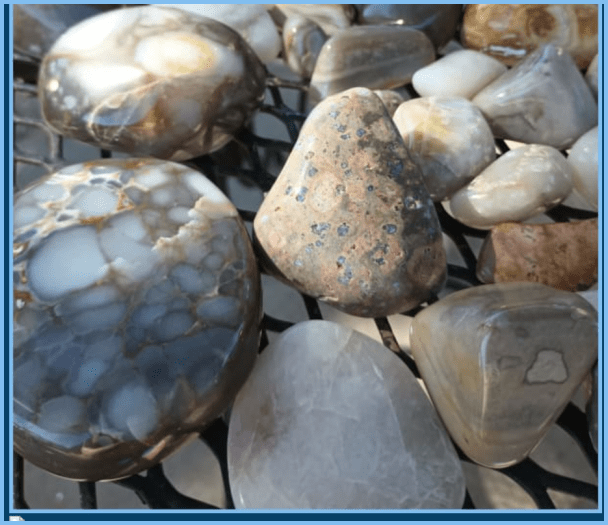
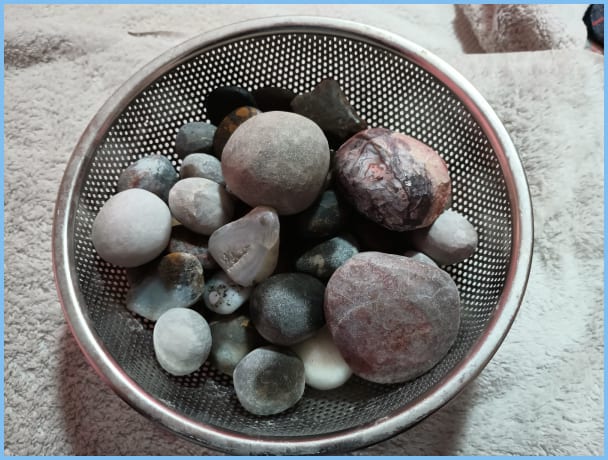
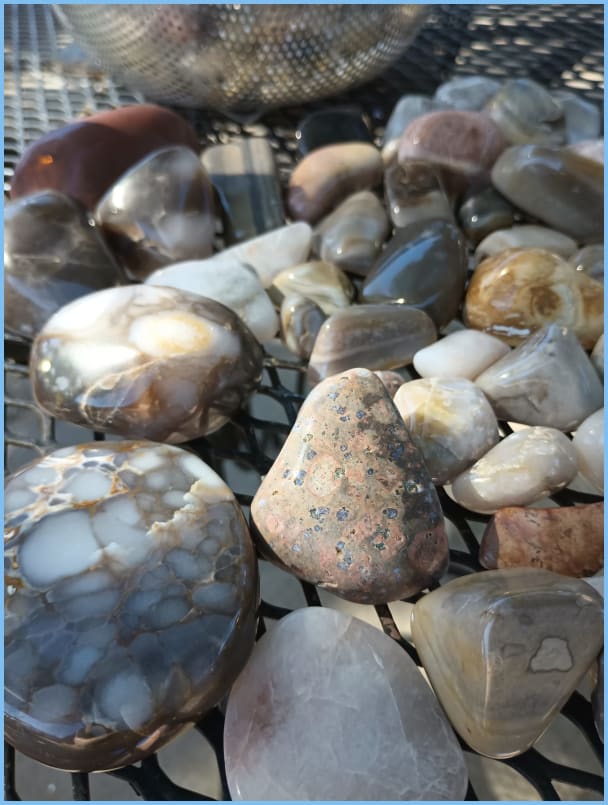
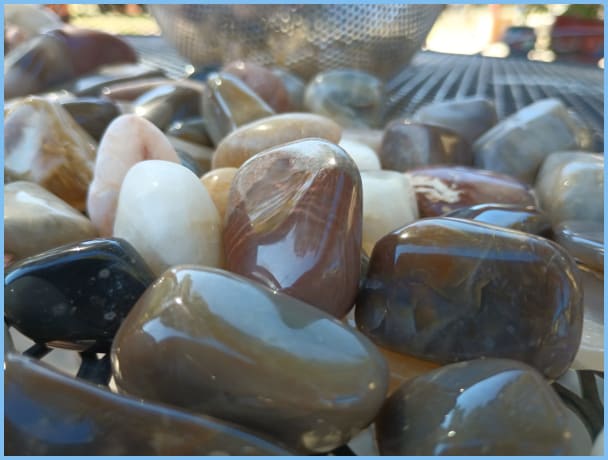
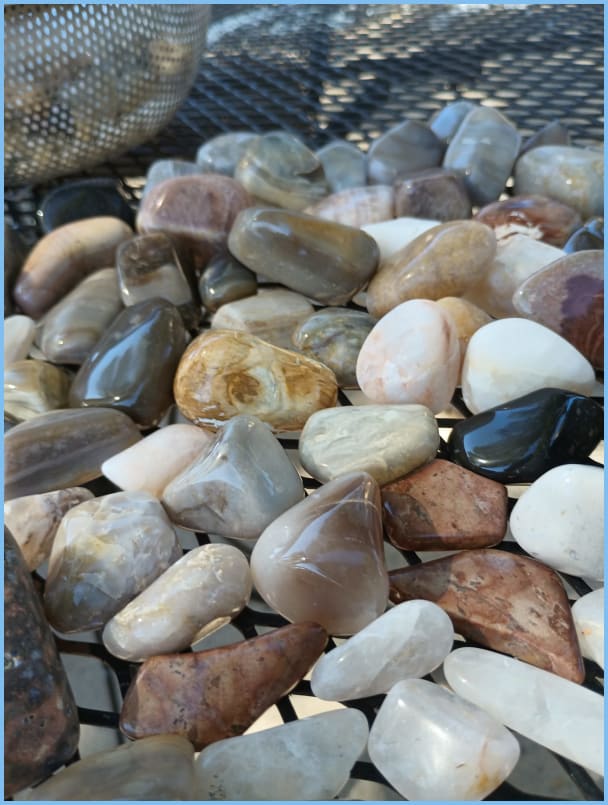
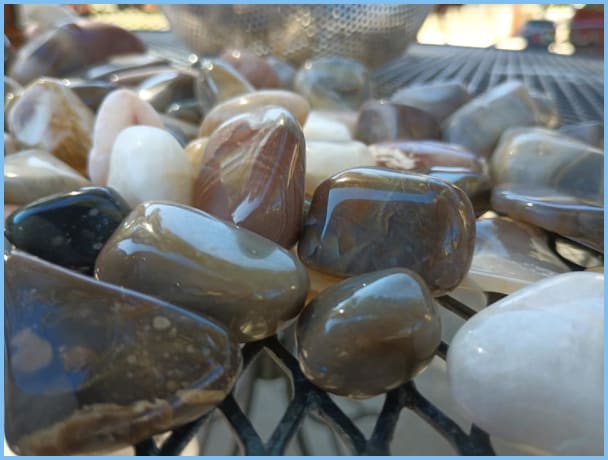
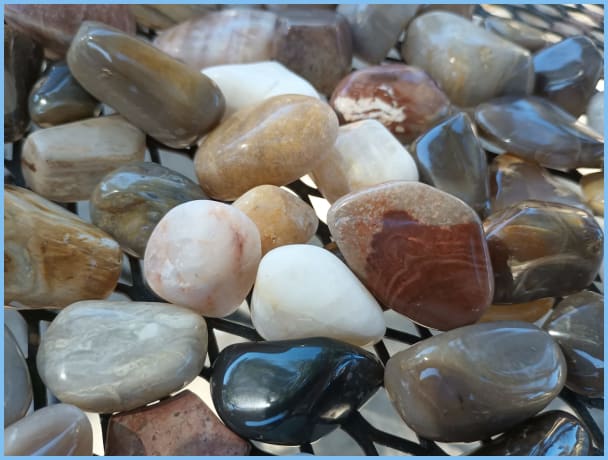
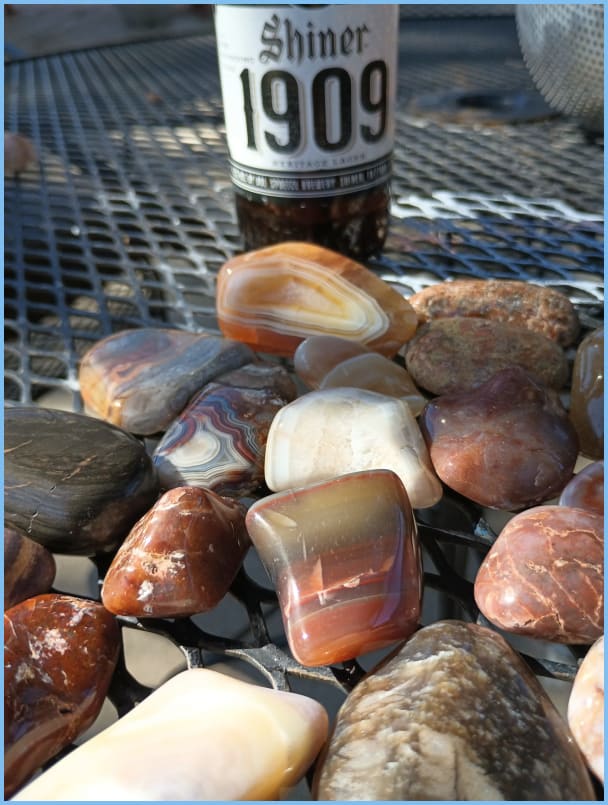
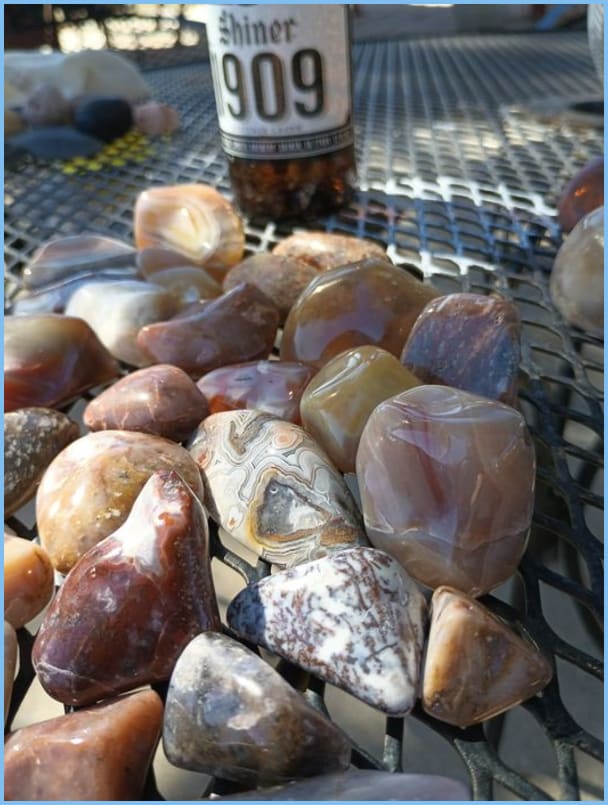
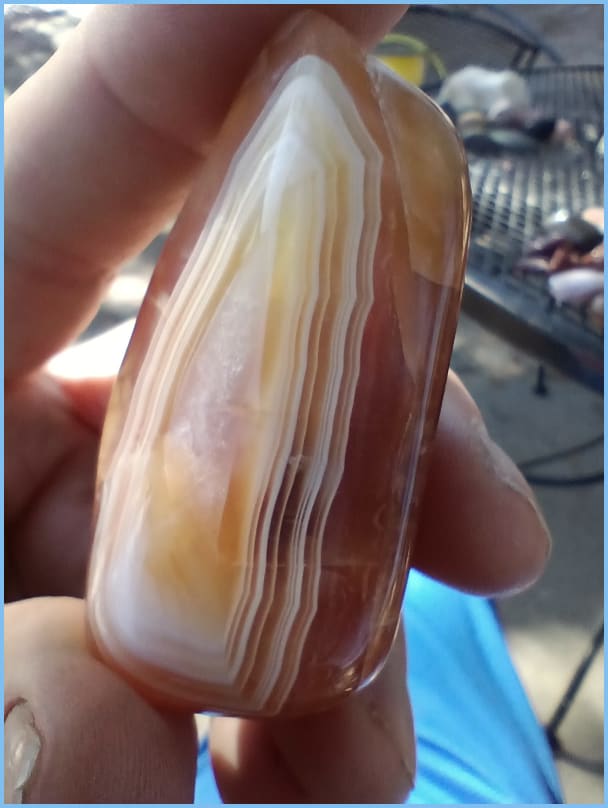
BTW... The images of the rocks are from a tumble that began 10-06-2023 and finished up on 10-20-2023 using my fast tumble method.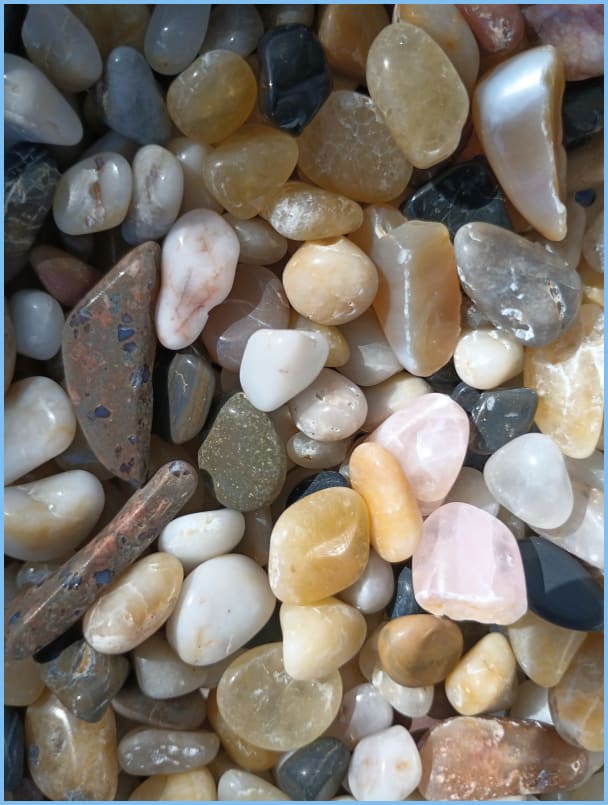


