shermlock
has rocks in the head

Member since August 2011
Posts: 612
|
Post by shermlock on Apr 14, 2012 17:48:44 GMT -5
Started with this but it looked too worn for me and I needed a project: 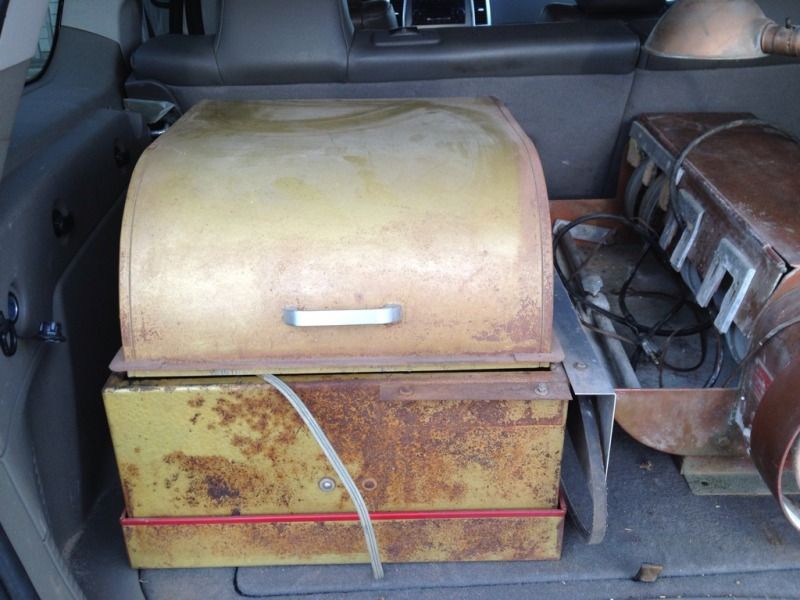 Step one was dismantling. Step two was sandblasting to get rid of the rust and the flakes: 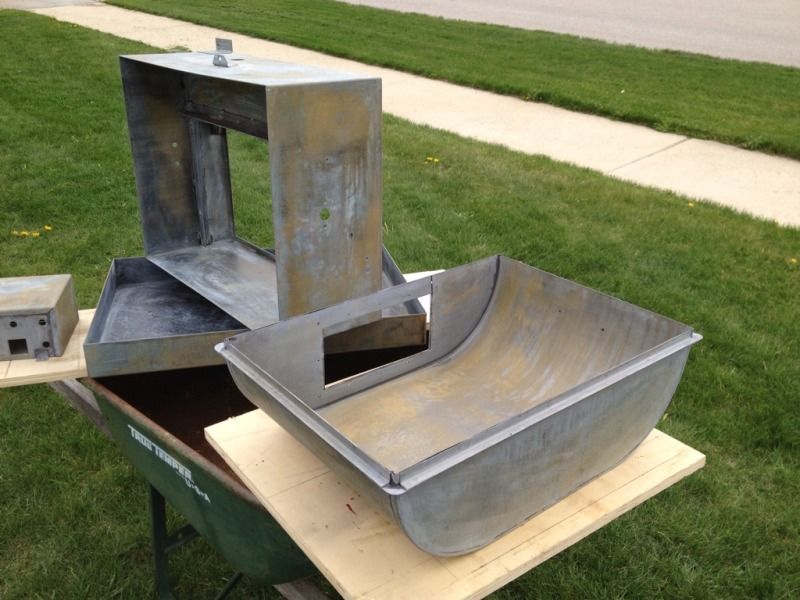 Step three was primming. More pics tomorrow. |
|
|
|
Post by talkingstones on Apr 14, 2012 18:06:21 GMT -5
YAY!!! Can't wait to see what you've got!
Cathy
|
|
|
|
Post by frane on Apr 15, 2012 8:19:29 GMT -5
Already looks 100% better! Looking forward to seeing your progression steps!
Fran
|
|
shermlock
has rocks in the head
Member since August 2011
Posts: 612
|
Post by shermlock on May 13, 2012 20:26:39 GMT -5
Parts replaced, rewired, painted, and ready for some action... From the front: 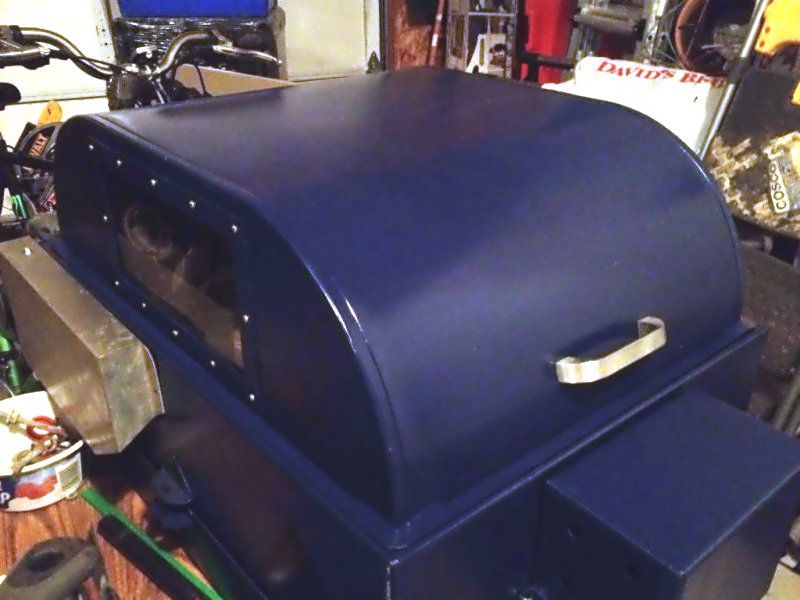 From the back: 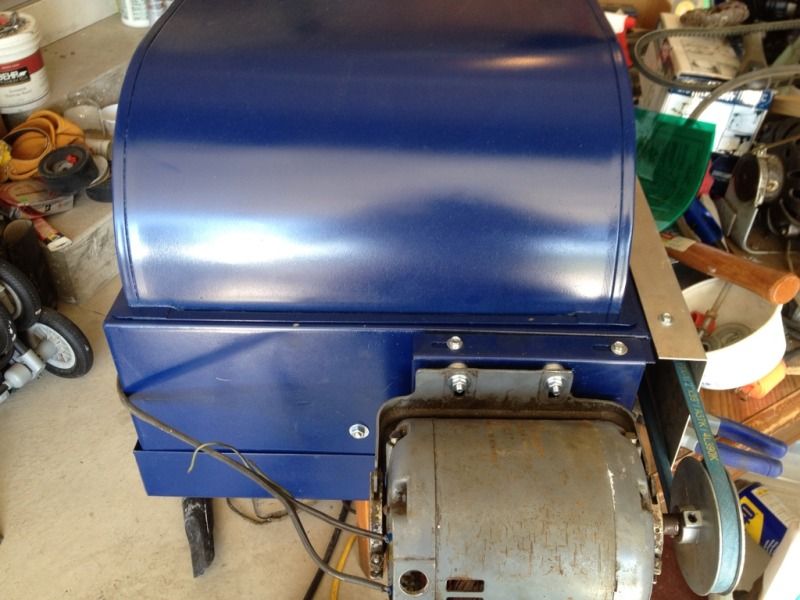 Power feed with new switch 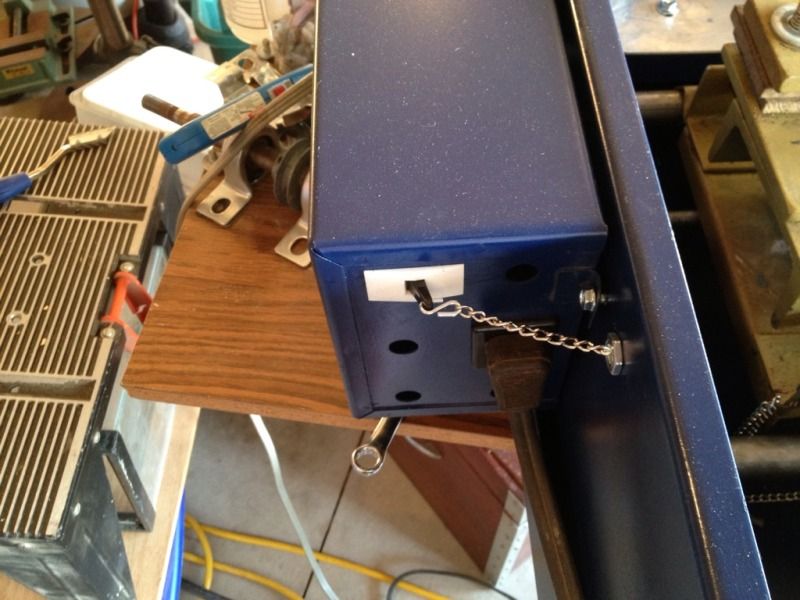 Under the hood: left the carriage original...I like to leave something original...My wife says it looks bad but I say it gives my projects some character. 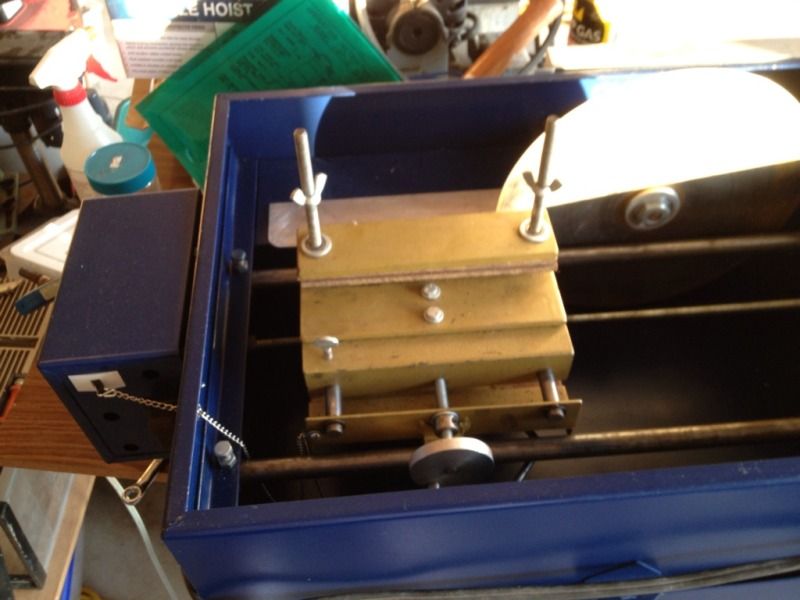 Under the hood from the back: 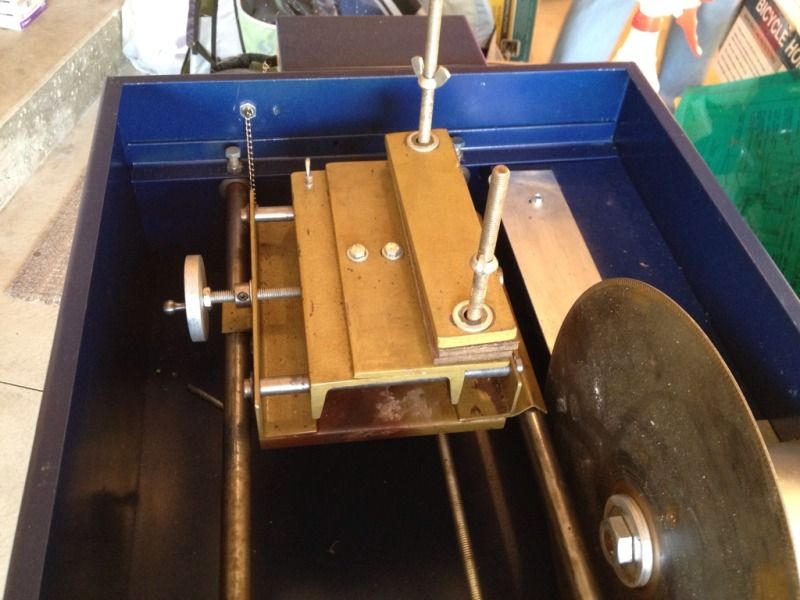 |
|
|
|
Post by NatureNut on May 13, 2012 21:45:08 GMT -5
SEXY!!!
|
|
|
|
Post by deb193redux on May 13, 2012 21:59:48 GMT -5
lets get it dirty!
|
|
|
|
Post by parfive on May 13, 2012 22:45:25 GMT -5
Nice job on cleaning up the saw, Scott.
I’m gonna pick a nit, though, on the wiring job on the motor. Looks like you need a longer piece of SJ cord and a connector to enter the motor housing.
Wouldn’t hurt to terminate the ground wire in the motor either, even if it is connected at the front of the saw.
|
|
|
|
Post by roy on May 13, 2012 23:48:41 GMT -5
nice rebuild !
|
|
|
|
Post by helens on May 14, 2012 1:49:01 GMT -5
I don't know the first thing about saws, but I can tell a nice paint job when I see one:)!!
|
|
|
|
Post by Jugglerguy on May 14, 2012 5:37:34 GMT -5
That's a nice improvement!
|
|
|
|
Post by Drummond Island Rocks on May 14, 2012 7:09:08 GMT -5
looks great, Is that a 16" royal saw ?
chuck
|
|
shermlock
has rocks in the head
Member since August 2011
Posts: 612
|
Post by shermlock on May 14, 2012 15:03:45 GMT -5
Nice job on cleaning up the saw, Scott. I’m gonna pick a nit, though, on the wiring job on the motor. Looks like you need a longer piece of SJ cord and a connector to enter the motor housing. Wouldn’t hurt to terminate the ground wire in the motor either, even if it is connected at the front of the saw. No doubt! I had to use an old cord until I get back to the hardware store. I didn't think about it in the picture.great catch! |
|
shermlock
has rocks in the head
Member since August 2011
Posts: 612
|
Post by shermlock on May 14, 2012 15:05:17 GMT -5
looks great, Is that a 16" royal saw ? chuck Chuck, No it's a 10" Lortone. Next project is a 14" Star. |
|
|
|
Post by johnjsgems on May 14, 2012 15:10:47 GMT -5
I would have to agree on the wiring. Always connect a ground to the motor and always have some slack in the wiring. On the used stuff I sell I always give the motor a shot of grey paint. Other than masking any data plate it is a really quick improvement.
|
|
shermlock
has rocks in the head
Member since August 2011
Posts: 612
|
Post by shermlock on May 14, 2012 16:01:52 GMT -5
The wire will be replaced tonight. Good call on painting the motor. The wire plate is missing from this motor. Anybody know where I can find one of those?
|
|
|
|
Post by parfive on May 14, 2012 16:39:28 GMT -5
You might get lucky with a cover plate off a scrap motor. Or you could cut a new one from a piece of sheet metal or stiff plastic.
Off in the distance, I can hear the whispers . . . “Duct tape, duct tape.” ;D
|
|
|
|
Post by johnjsgems on May 15, 2012 10:34:17 GMT -5
You might check local A/C shops. If they save scrap motors you might talk them out of a cover. Finding one that matches may not be easy as different motors use different covers. I would use a romex connector at the 1/2" hole in picture.
|
|
|
|
Post by phil on May 16, 2012 10:07:14 GMT -5
If you're talking about the kind of cover plate I'm thinking, (one to cover from dirt and etc) they are easy to make from aluminum flashing.
|
|