Don
Cave Dweller  He wants you too, Malachi.
Member since December 2009
Posts: 2,616
|
Post by Don on Aug 27, 2012 15:08:10 GMT -5
Here's my first project using some new techniques I learned this month; basic silver soldering and copper fold forming. My soldering work still needs some practice. I didn't get any pics of fabricating the bezel cup for the Lapis cab but if you've seen one done in silver, you know how it goes. The only difference here is that this one was done in copper. Here's the copper sheet for the pendant ready to start fold forming. I cut a rectangle of copper sheet, traced out a leaf shape on one side, cut out the shape and then performed the process of hammering and annealing with the torch until I got the desired results. 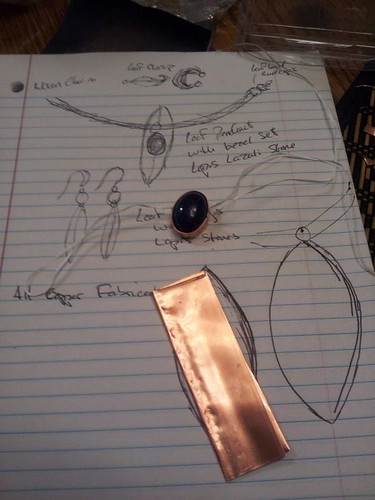 Here's the basic leaf for the pendant formed, now it's ready for soldering on the bezel cup, bail, polishing and final shaping: 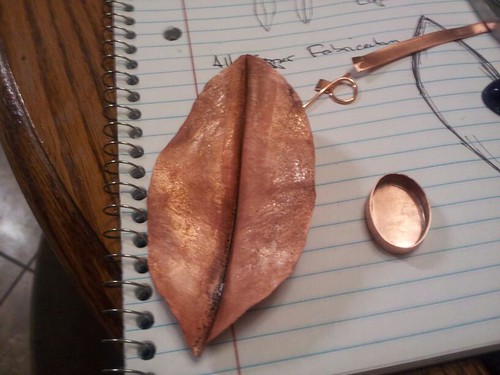 Here are the components for the necklace fabricated and 18" viking weave chain. I fabricated the leaf components using the same fold forming method for the pendant, cutting out rectangles of sheet, folding the sheet in half, cutting out the leaf shape, hammering and annealing until formed. I forgot to mention, but you can see in the photos, there is a fold formed leaf shaped cuff as well. 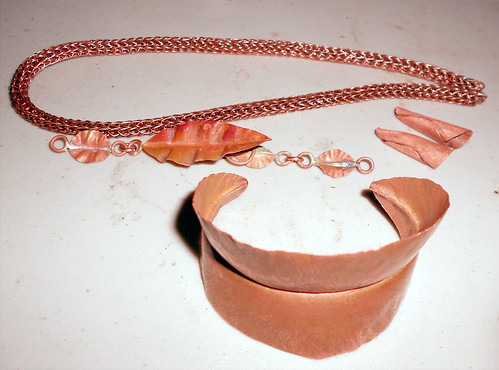 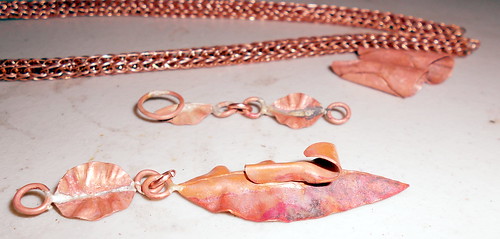 Necklace components and cuff polished up: 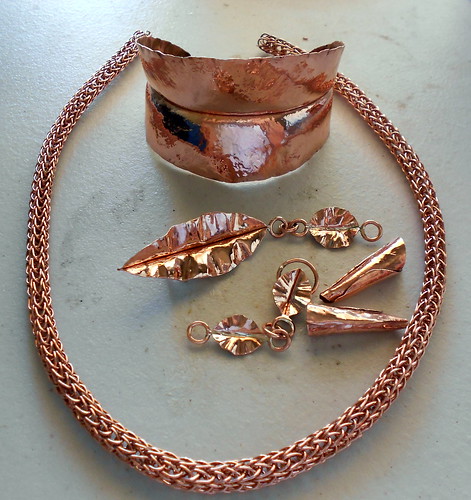 Components flamed/torch oxidized for warm colors:  And here's the pendant, polished, flamed and ready to set the stone in: 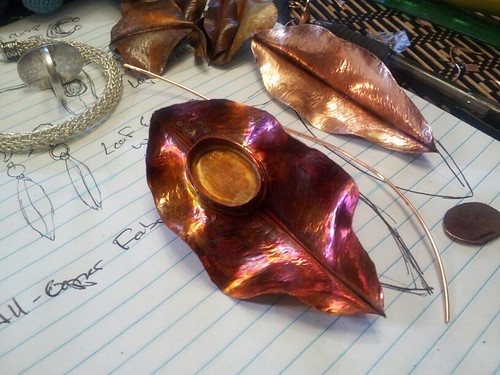 I was hoping to lock in the bright colors using permalac but I lost the brighter reds after it dried. I noticed my permalac is dark colored, like black ink was spilled in it. is that normal for this product? Here's the finished project, I'm still working on a pair of earrings that I will update when I've finished with them. I hope you like it, I had a lot of fun working on it. 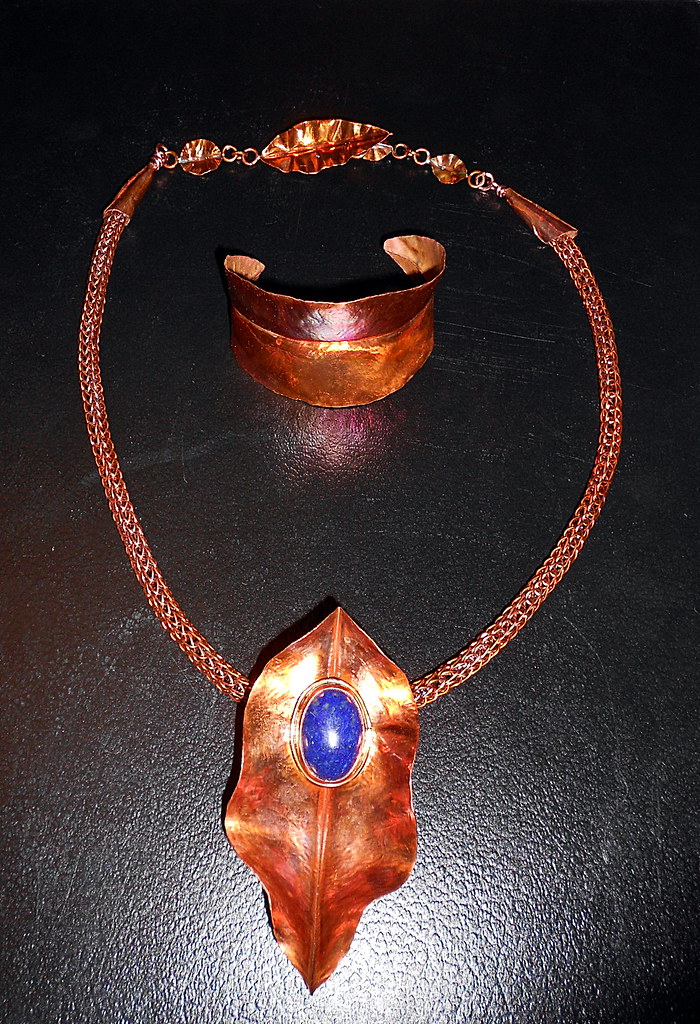 |
|
|
|
Post by FrogAndBearCreations on Aug 27, 2012 15:54:16 GMT -5
Thats really neat!
|
|
fwfranklen (Mike)
spending too much on rocks
  Rock-ON--Have you kissed your rock today?
Member since August 2012
Posts: 379
|
Post by fwfranklen (Mike) on Aug 27, 2012 15:55:52 GMT -5
Nice work, just amazing!
Mike
|
|
|
|
Post by Donnie's Rocky Treasures on Aug 27, 2012 16:00:27 GMT -5
Don, that is a really beautiful set!
|
|
jason12x12
freely admits to licking rocks
  
Member since October 2011
Posts: 798
|
Post by jason12x12 on Aug 27, 2012 16:14:39 GMT -5
so neat awesome job on the patina... and a tutorial would be great
|
|
herchenx
Cave Dweller 
Member since January 2012
Posts: 3,360
|
Post by herchenx on Aug 27, 2012 17:25:11 GMT -5
that is really cool! I know ZERO about metalsmithing, this makes me want to get moving though.
|
|
|
|
Post by deb193redux on Aug 27, 2012 18:52:34 GMT -5
glad to see the foldforming; I've been trying my hand at it and I think it has a lot of potential.
how heavy was your cross-peen forging hammer?
|
|
milto
starting to spend too much on rocks
 
Member since January 2010
Posts: 162
|
Post by milto on Aug 27, 2012 21:05:27 GMT -5
What solder do you use not to get any silver color on the bezel setting?
I have tried several advertised copper solders and they all leave a silver line, yours is absolutely perfect!!!
Milt
|
|
Don
Cave Dweller  He wants you too, Malachi.
Member since December 2009
Posts: 2,616
|
Post by Don on Aug 27, 2012 21:30:02 GMT -5
thanks Milt. I used plain old silver solder, but tossed a bit of iron in the pickle pot..it copper plated the solder.
|
|
Don
Cave Dweller  He wants you too, Malachi.
Member since December 2009
Posts: 2,616
|
Post by Don on Aug 27, 2012 21:33:42 GMT -5
dan the hammer was a hand-me-down, mot sure what the weight is it is fairly light hammer i could probably use something a bit heavier to get more dramatic curves.
|
|
|
|
Post by deb193redux on Aug 27, 2012 22:12:03 GMT -5
sometime my 300g cross peen fails to give me curves. I have to use a 1lb hammer to get good curve, but it is too big for smaller pieces. I may just need to practice keeping the stroke 90-deg to the edge.
I have been wondering if I could pink extra solder with my pickle pot. glad to know that works.
thanks
|
|
adrian65
Cave Dweller  Arch to golden memories and to great friends.
Member since February 2007
Posts: 10,790
|
Post by adrian65 on Aug 27, 2012 22:57:16 GMT -5
Looking fantastic!
Adrian
|
|
|
|
Post by talkingstones on Aug 28, 2012 5:29:24 GMT -5
Don, the whole set is incredible!!! Beautiful work you're doing!!!
Cathy
|
|
|
|
Post by Pat on Aug 28, 2012 16:33:06 GMT -5
Beautiful set! Never tried fold forming. I see that I'm going to have to!
|
|
|
|
Post by gingerkid on Aug 29, 2012 7:08:51 GMT -5
 Beautiful work!!! Very fashionable!! Love the lapis in the leaf!! Look forward to seeing matching earrings!!
|
|
|
|
Post by gr on Aug 29, 2012 11:23:47 GMT -5
Outstanding work and design Don!
What an inspiration
|
|
Don
Cave Dweller  He wants you too, Malachi.
Member since December 2009
Posts: 2,616
|
Post by Don on Aug 29, 2012 17:07:26 GMT -5
Thanks GR, everyone for the compliments.
I'm procrastinating on the earrings, can't decide if I want to mount a couple lapis cabs in each leaf for the earrings like I did the pendant, or have the lapis cab and then a leaf dangling with a jump ring at the bottom of the bezel cup. hmm... What says RTH?
In the mean time, I've already moved on to my next leaf inspired project...will post pics soon.
|
|
Don
Cave Dweller  He wants you too, Malachi.
Member since December 2009
Posts: 2,616
|
Post by Don on Aug 29, 2012 18:05:55 GMT -5
Here's project #2. This is more of a tutorial than the last one. 1. cut out a mess of rectangles and fold them in half. 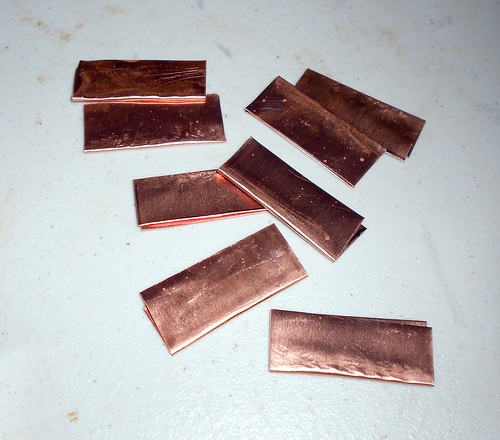 2. mark a radius on each folded rectangle from point to point, keeping the folded edge on the inside. this will turn our little rectangles into leaves. 3. cut out the leaves using straight aviation snips, shears or your mom's favorite pair of sewing scissors. 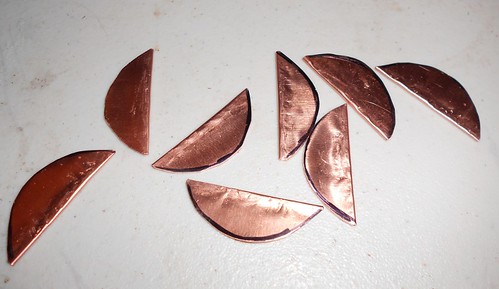 3. Hammer the little leaves using the narrow side of a cross-peen hammer. if you want a cup shaped leaf, hammer along the folded spine. whack the leaves on each side until the copper is work hardened. 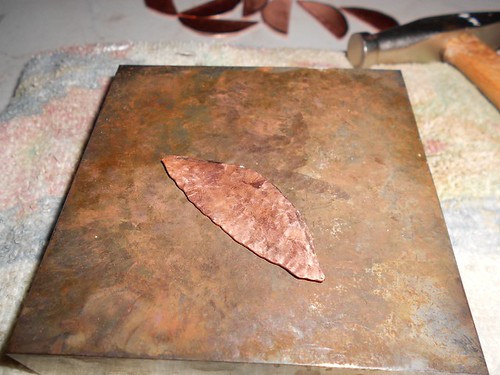 4. Place the leaf on your fire block and heat the metal until is begins to glow a dull red. this anneals the metal so you can hammer and shape it again. 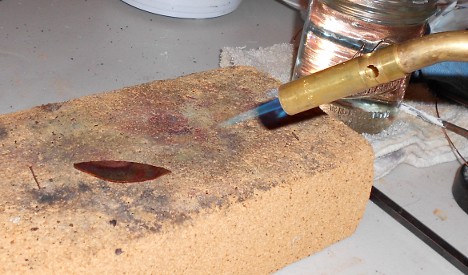 5. Rinse and repeat hammering and annealing until you feel better and the leaves have the desired shape. ;D 6. At this point you need to decide what you want to do with the leaves. In my case, I need to solder rings onto each end of each leaf so they can be linked together. I will have to open up each leave now and then solder. I use a razor blade to slip between the folds of metal and open up the leaves. Here, I have opened a leaf, admired it's awesome natural patina and then became depressed again after realizing I will lose this patina in the soldering process. I'll make use of this natural patina in another project down the road... I've also rippled the leaf edge using pliers. 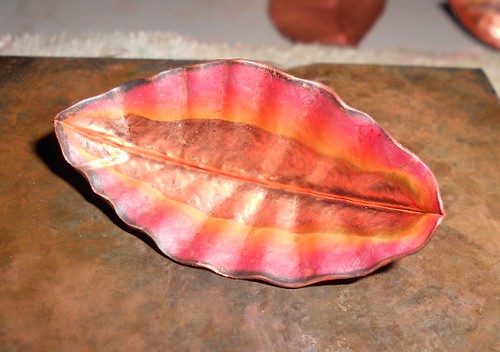 7. soldering on the rings so I can link the leaves together. 5 down, 3 to go. 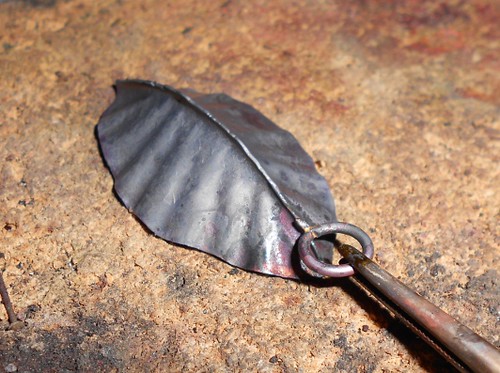 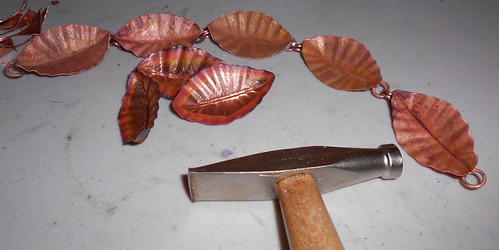 to be continued... |
|
|
|
Post by christopherl1234 on Aug 30, 2012 0:21:06 GMT -5
Amazing!
|
|
Don
Cave Dweller  He wants you too, Malachi.
Member since December 2009
Posts: 2,616
|
Post by Don on Aug 30, 2012 0:42:42 GMT -5
Thanks Christopher! Here's the completed chain with leaf clasp and chain mail extensions. now it just needs finishing, and a pendant...earrings...hmm... 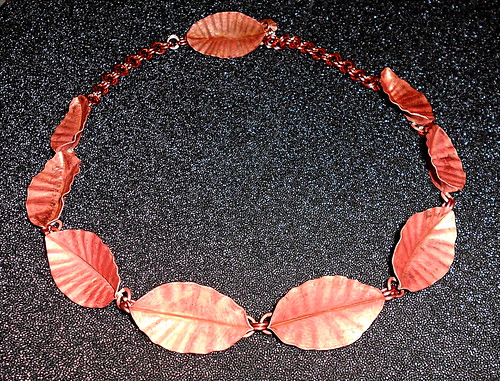 |
|




 Beautiful work!!! Very fashionable!! Love the lapis in the leaf!! Look forward to seeing matching earrings!!


