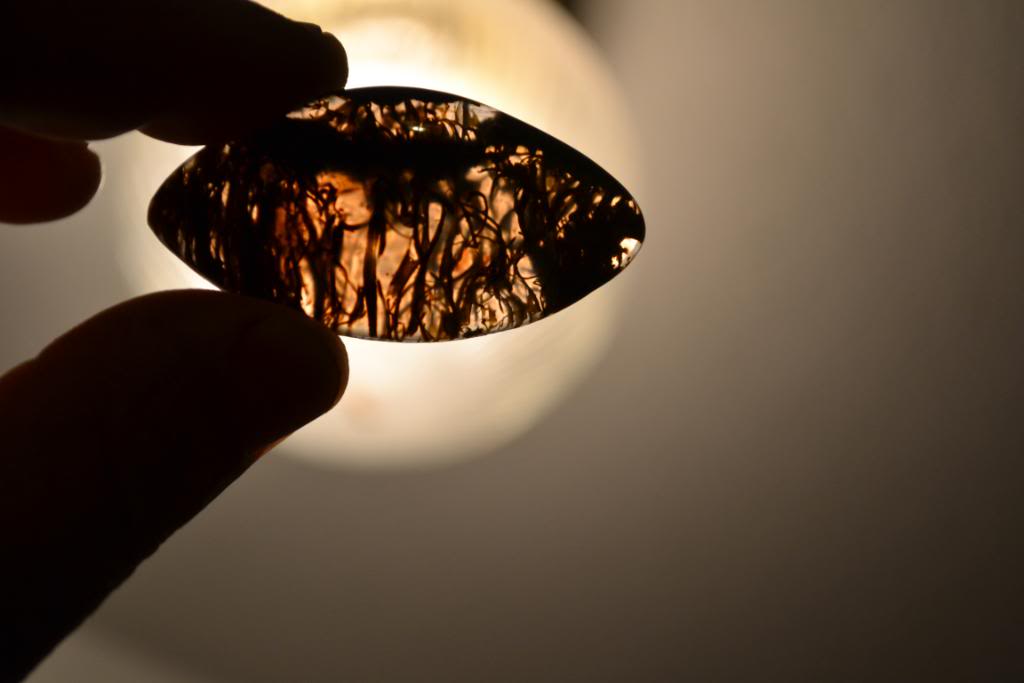
Plume Agate Cab - How it was done
Jun 10, 2013 17:45:05 GMT -5
QuailRiver, drocknut, and 3 more like this
Post by bobby1 on Jun 10, 2013 17:45:05 GMT -5
How it began. I initially used a long oval template and roughed out the cab from this piece.
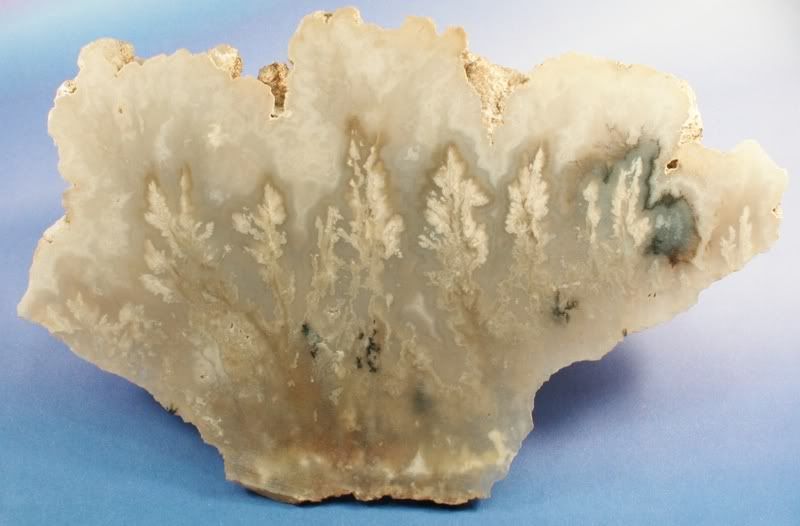
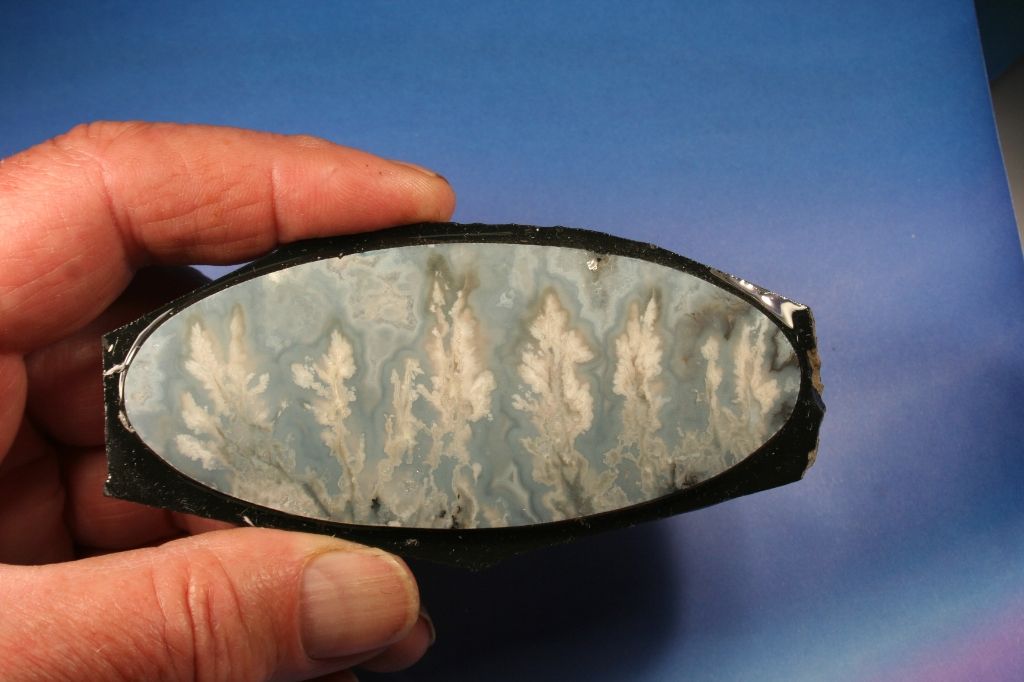
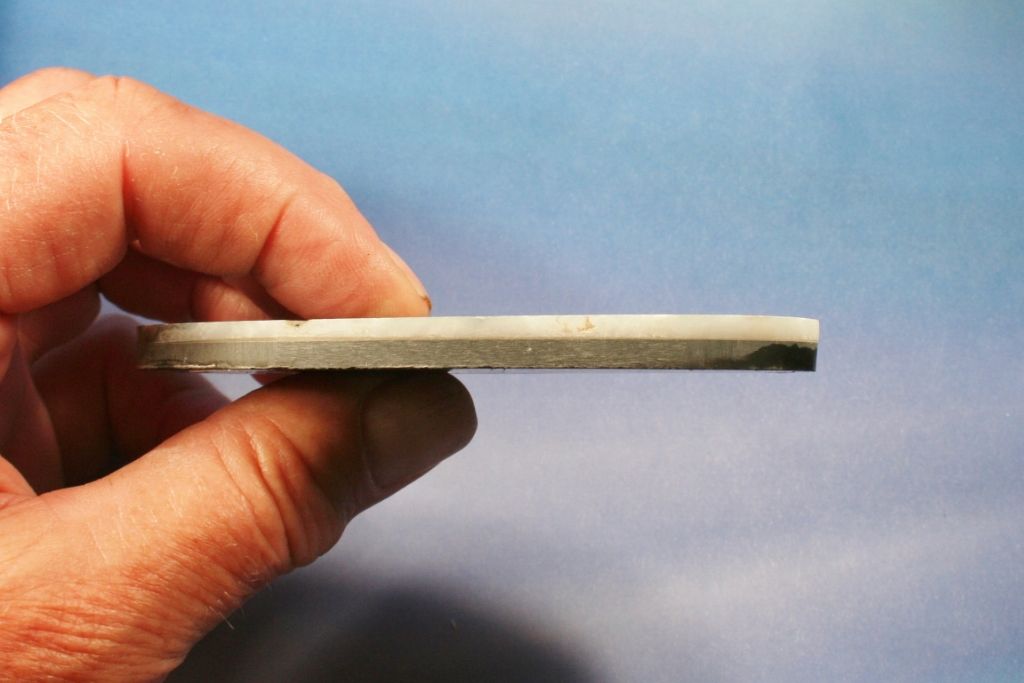
The preform back had lots of vugs, pits and such that I had to remove to make the cab but in removing them the cab preform ended up rather thin to cab and still expect it to be durable as a large cab. I decided to back it with a slab of Basenite which would make it durable as well as enhancing the contrast of the plumes. Here it is with the Basenite glued to the back. I used a plate of glass and tumbling grit to grind both pieces perfectly flat and then mixed up and applied Epoxy 330 to glue them together. I let it set overnight to allow the adhesive to cure.
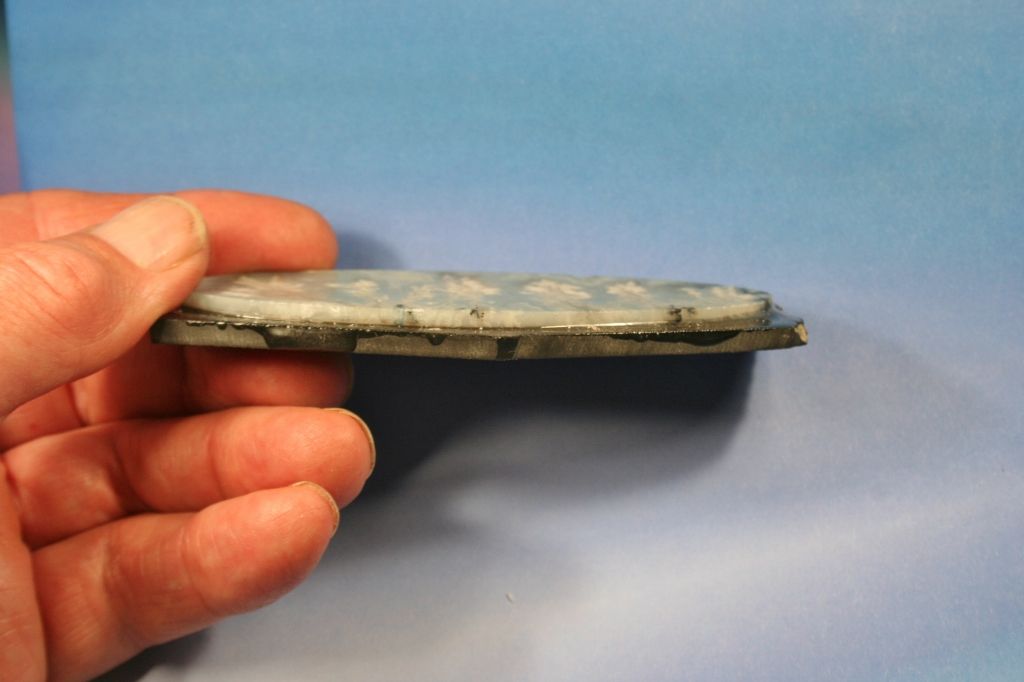
Side view.
I ground the Basenite backing down to the pre-shaped preform's girdle.
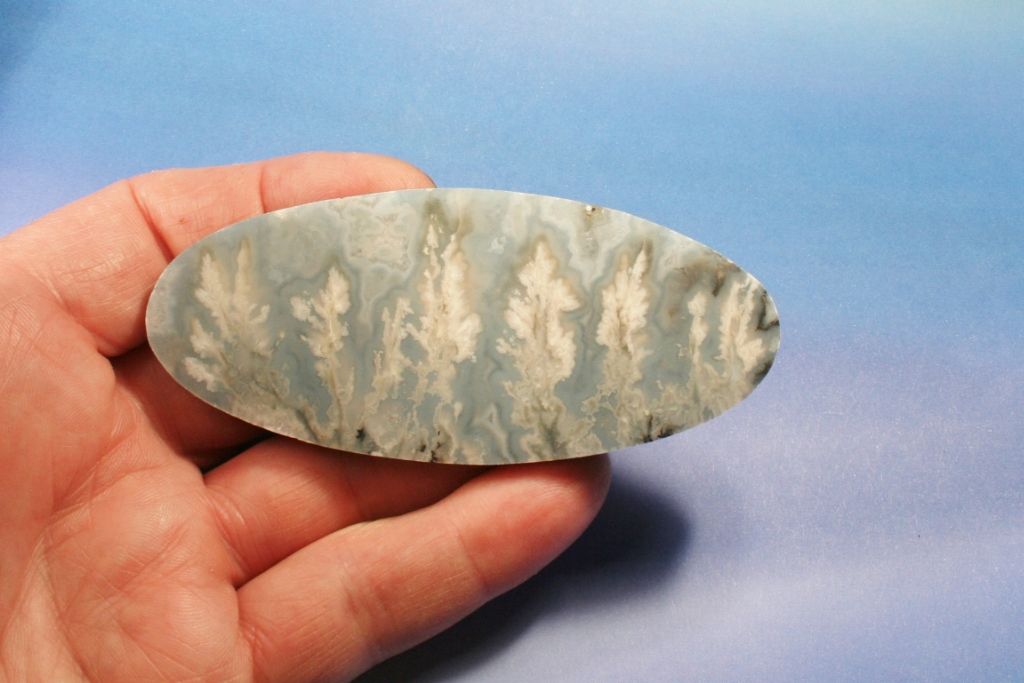
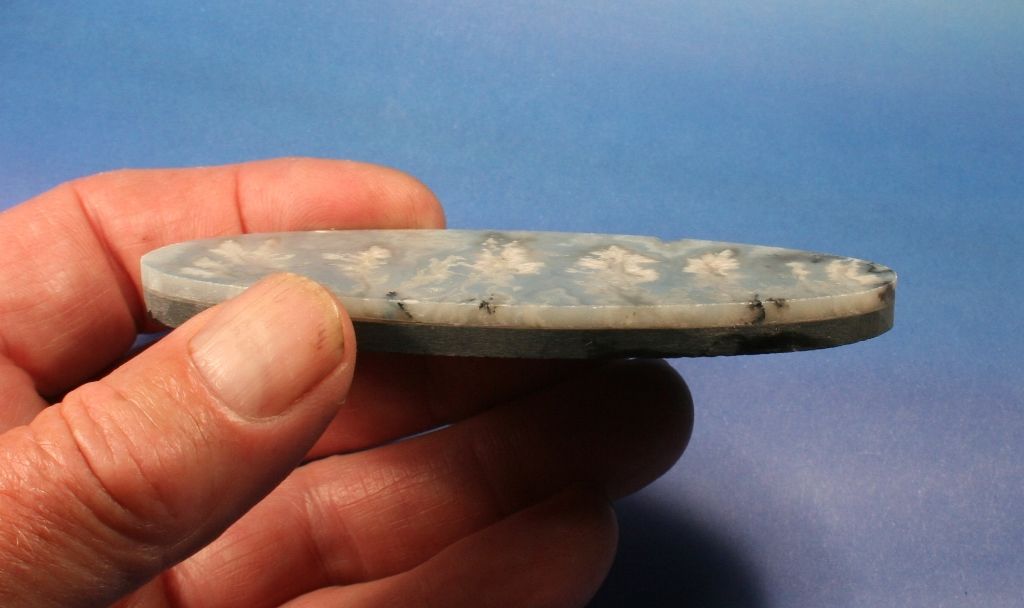
Here I did my first grind in the process of creating the dome. I ground it at a 45 degree angle down to within about a 1/16" from the base of the Agate. I wanted to have a slight straight side on the Agate.
Side view.
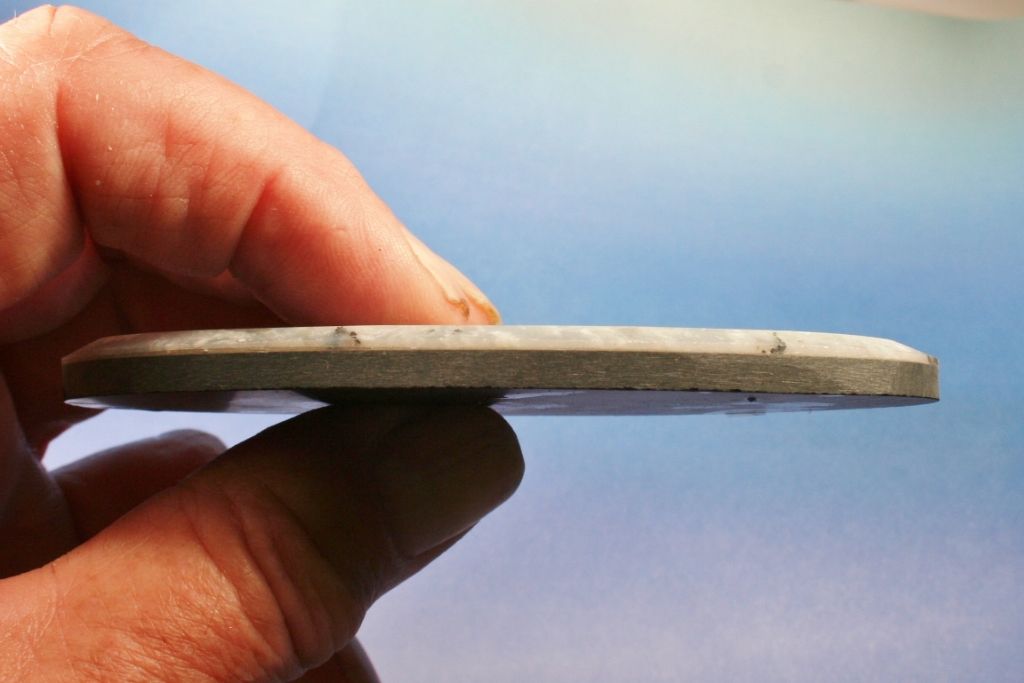
Top view.
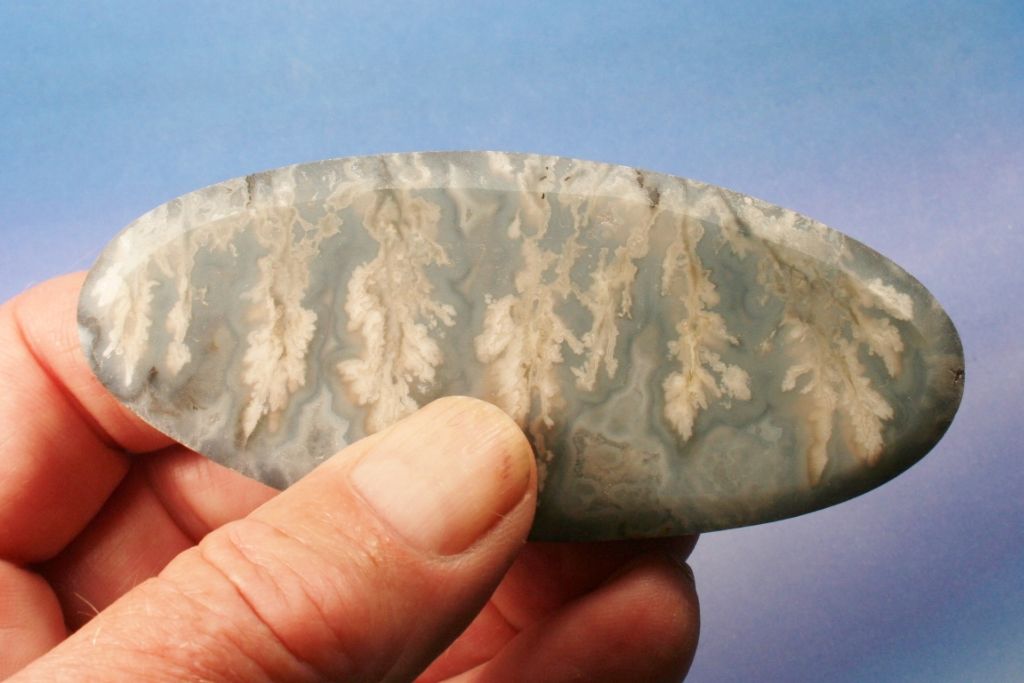
Here is the next pass around the preform. I went in about 1/2" on this pass.
Top view.
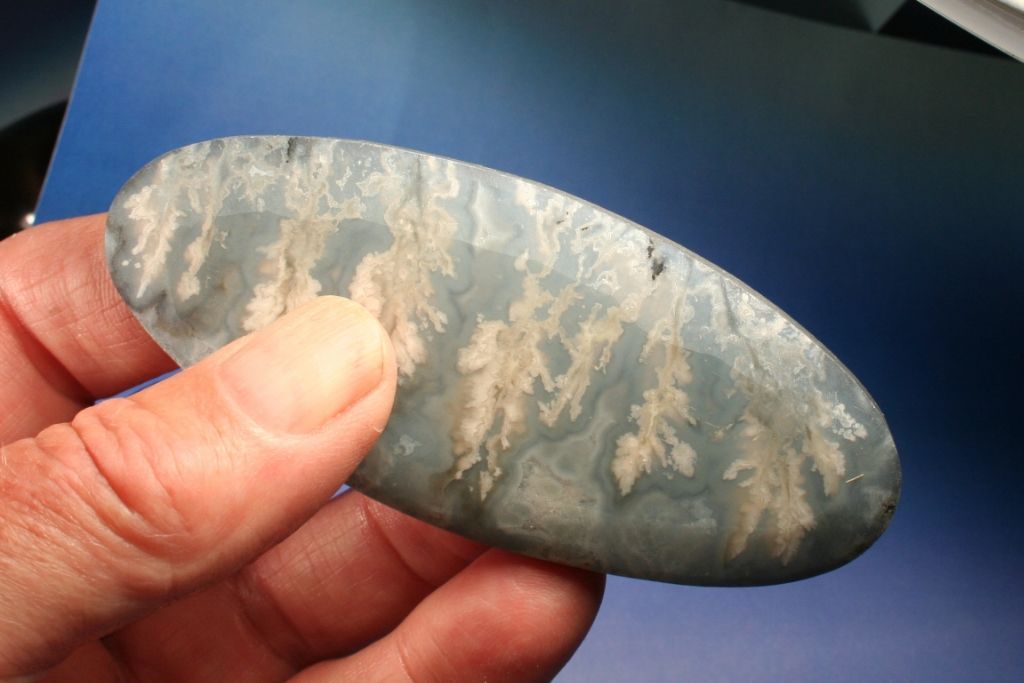
Oblique view showing the area on top that remains flat.
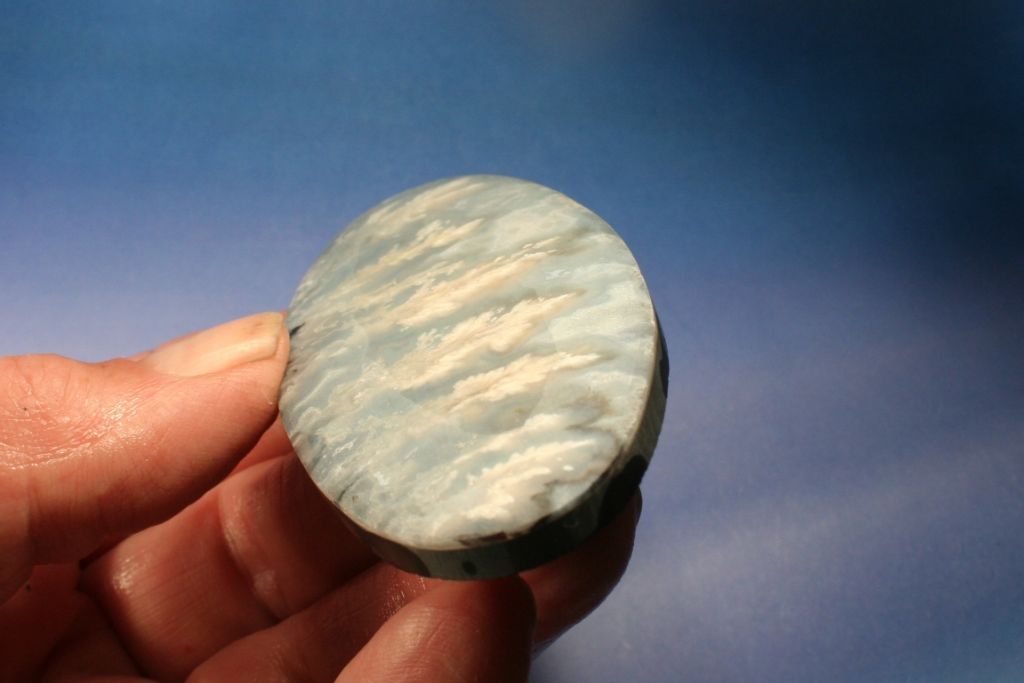
Another view.
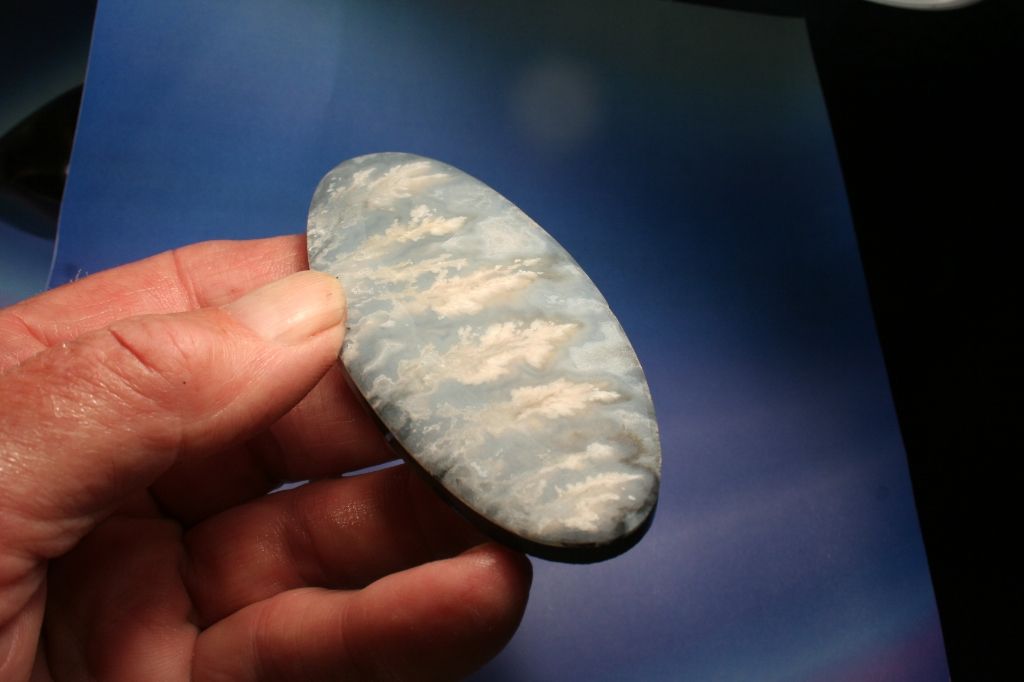
This next step is where I start to remove the flat top. Here I go from grinding to a 60 grit slightly used SiC sanding belt. I will use it to take all the needed material off to complete the dome. Because the preform started out rather thin I have to work carefully to remove the flat but still have a complete dome.
Here it is almost fully shaped.
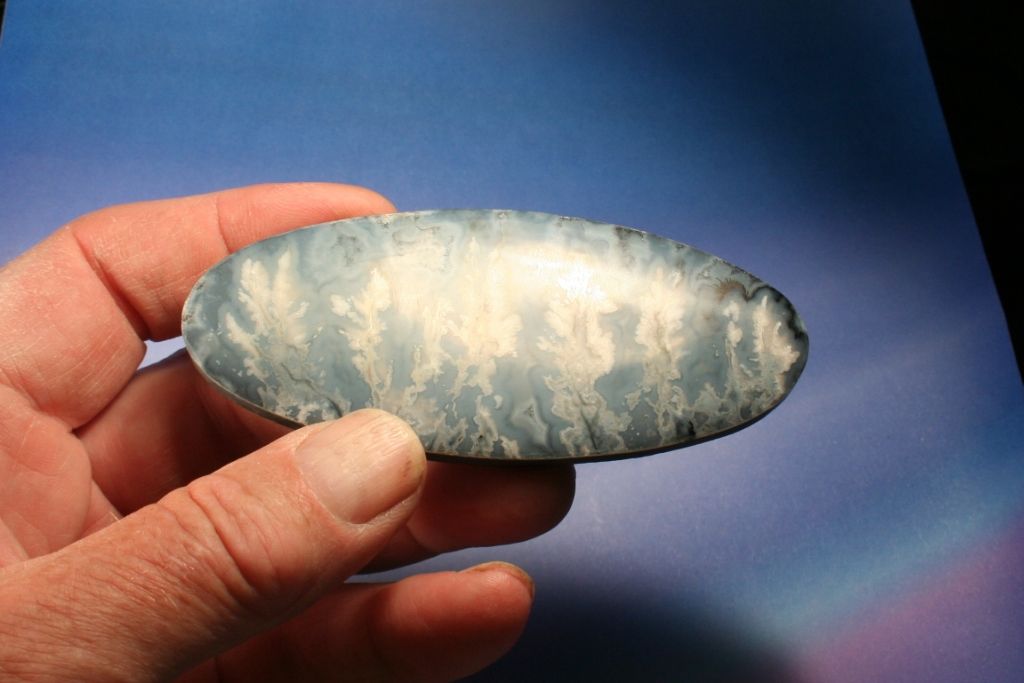
Another view of the finished coarse sanding.
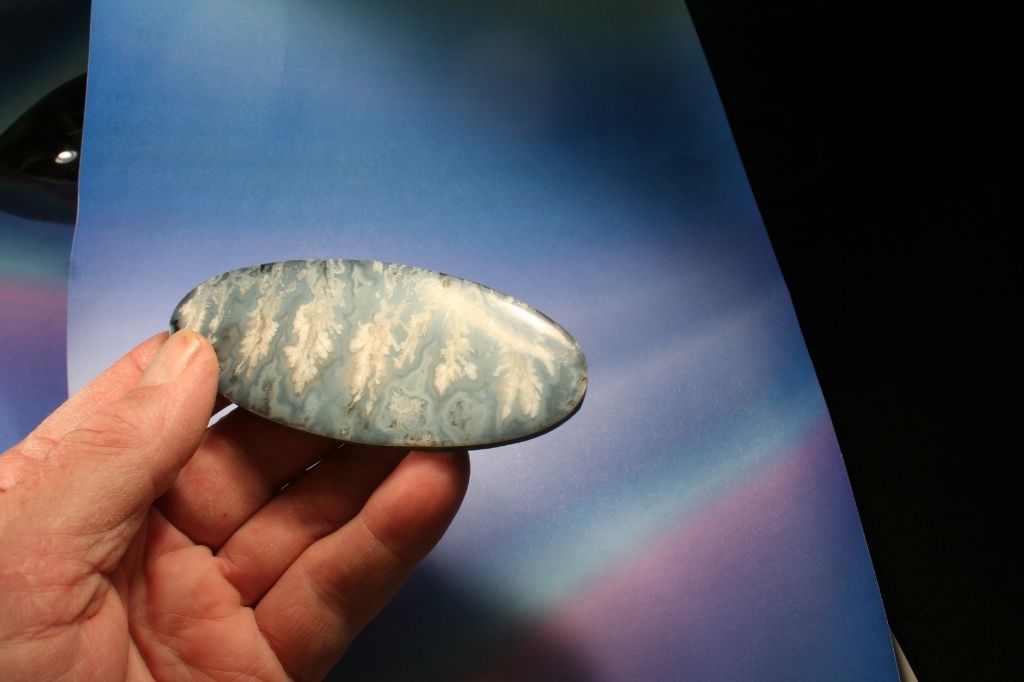
Now I start the work on the girdle. I sanded it perpendicular to the top and bottom of the cab.so that the small edge of the Agate will have a finished surface to polish.
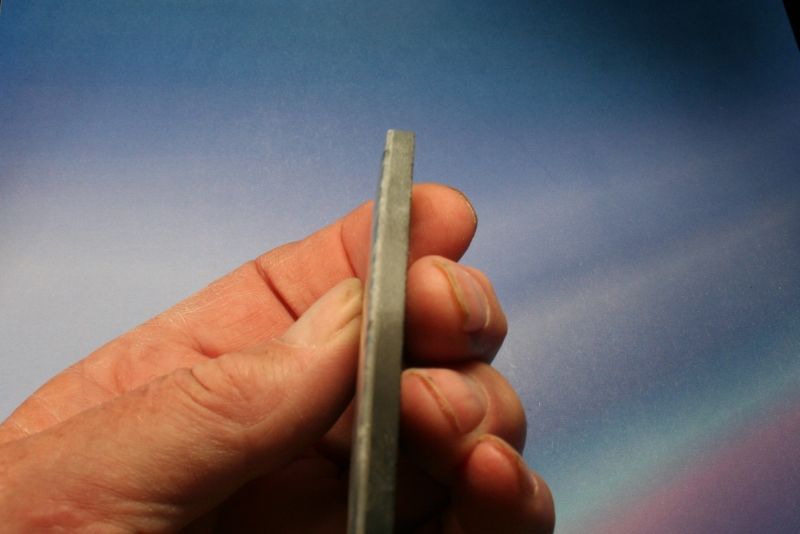
Here it is sanded to a 220 grit surface.
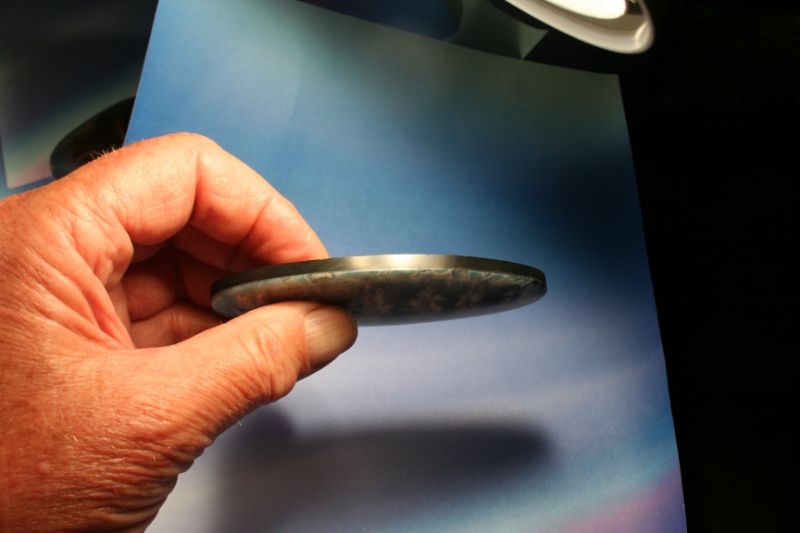
Next I polished the front of the cab.
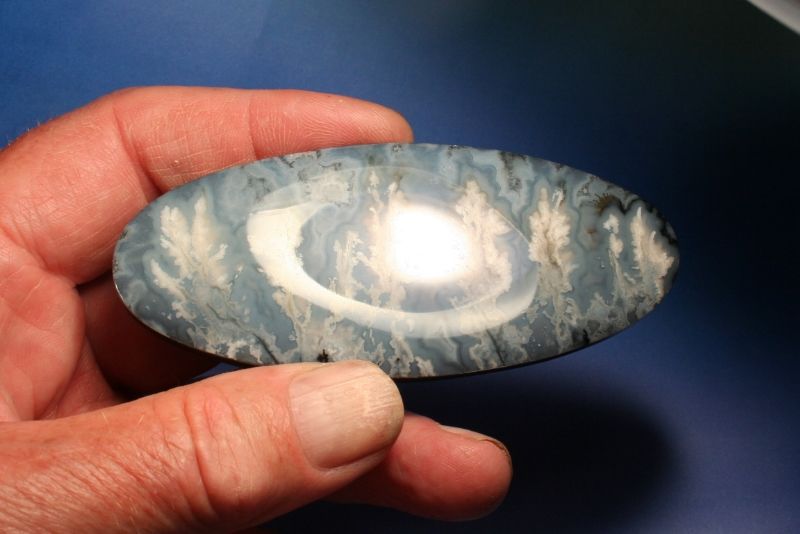
Because I didn't want any of the black from the Basenite to show when the cab is viewed from the front I ground a slight reverse taper to the Basenite, and sanded it.
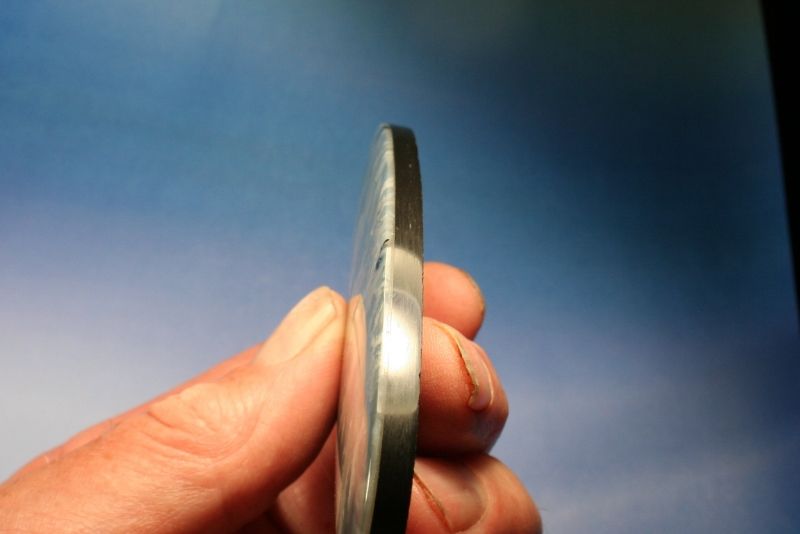
Another view.
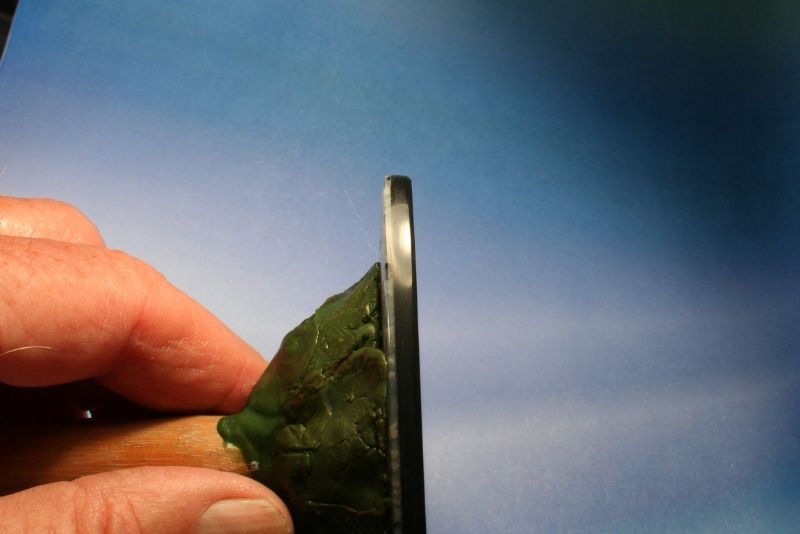
Next I ground a very slight 45 degree bevel to the back edge of the Basanite layer and sanded it. The purpose of this bevel is to remove any chips that had occurred during grinding as well as providing a safer edge if the cab were to be set.
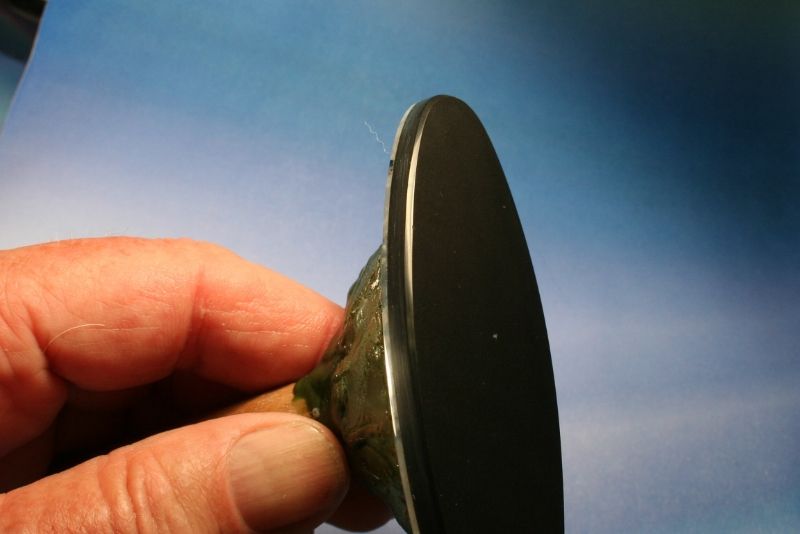
Next I sanded the back in preparation for polishing.
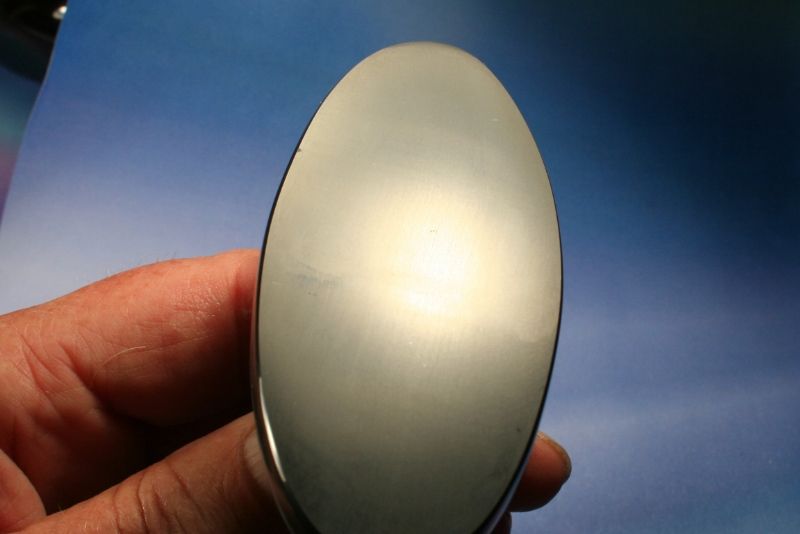
I rechecked the polish on the front.
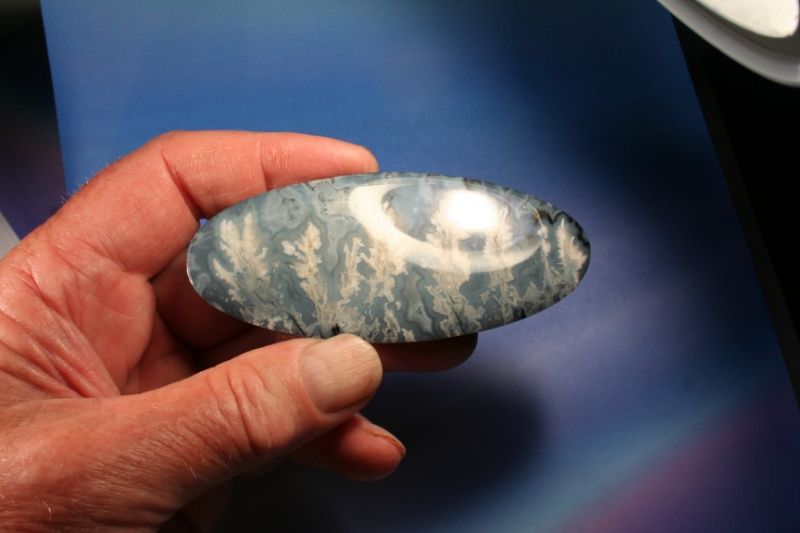
I polished the girdle of the Agate and Basenite.
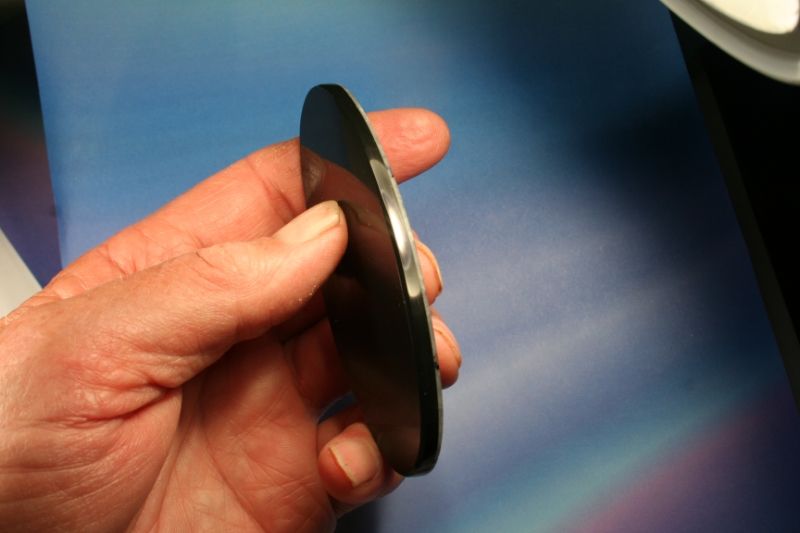
I polished the small bevel.
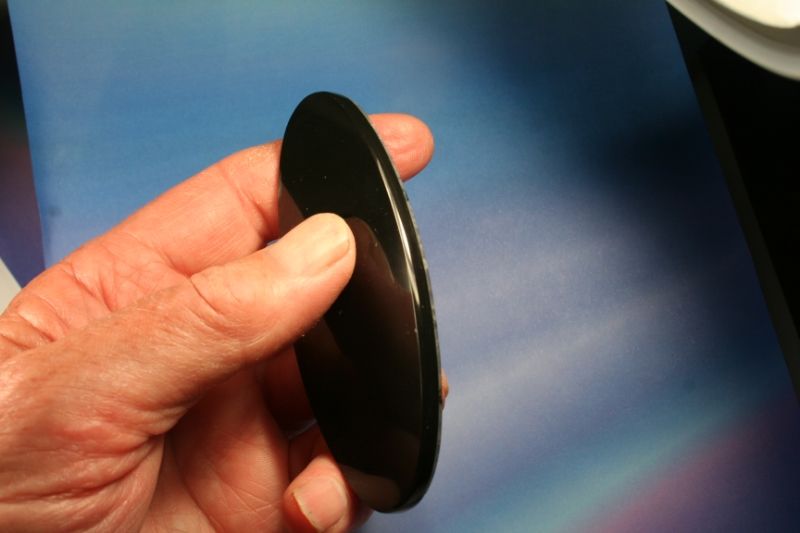
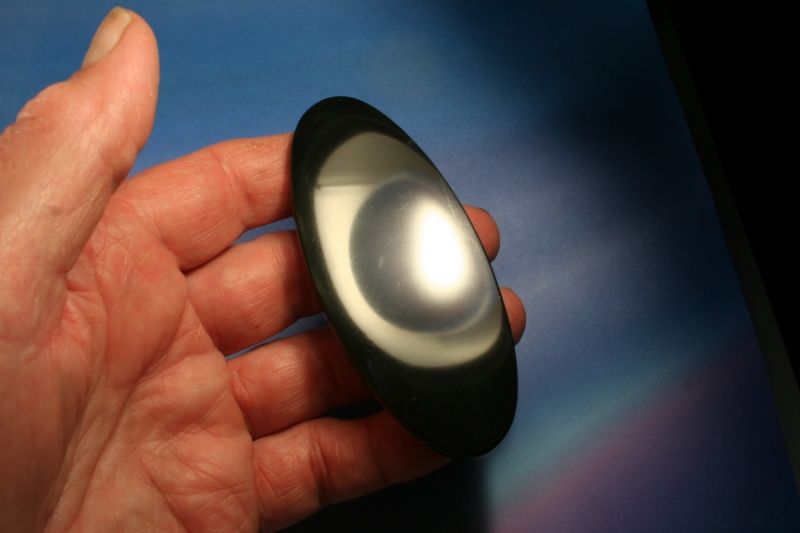
I polished the back.
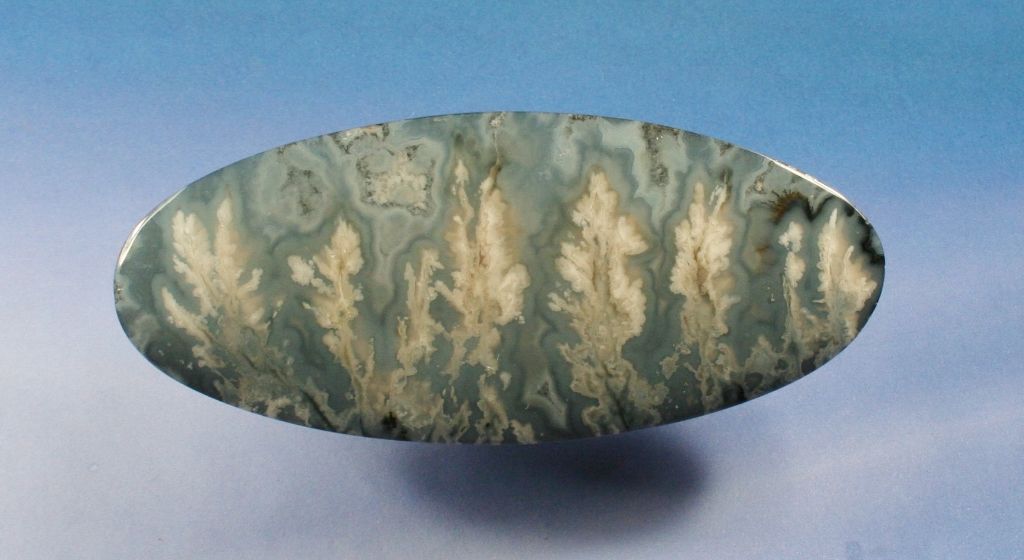
The finished cab.
Bob

The preform back had lots of vugs, pits and such that I had to remove to make the cab but in removing them the cab preform ended up rather thin to cab and still expect it to be durable as a large cab. I decided to back it with a slab of Basenite which would make it durable as well as enhancing the contrast of the plumes. Here it is with the Basenite glued to the back. I used a plate of glass and tumbling grit to grind both pieces perfectly flat and then mixed up and applied Epoxy 330 to glue them together. I let it set overnight to allow the adhesive to cure.

Side view.

I ground the Basenite backing down to the pre-shaped preform's girdle.


Here I did my first grind in the process of creating the dome. I ground it at a 45 degree angle down to within about a 1/16" from the base of the Agate. I wanted to have a slight straight side on the Agate.
Side view.

Top view.

Here is the next pass around the preform. I went in about 1/2" on this pass.
Top view.

Oblique view showing the area on top that remains flat.

Another view.

This next step is where I start to remove the flat top. Here I go from grinding to a 60 grit slightly used SiC sanding belt. I will use it to take all the needed material off to complete the dome. Because the preform started out rather thin I have to work carefully to remove the flat but still have a complete dome.
Here it is almost fully shaped.

Another view of the finished coarse sanding.

Now I start the work on the girdle. I sanded it perpendicular to the top and bottom of the cab.so that the small edge of the Agate will have a finished surface to polish.

Here it is sanded to a 220 grit surface.

Next I polished the front of the cab.

Because I didn't want any of the black from the Basenite to show when the cab is viewed from the front I ground a slight reverse taper to the Basenite, and sanded it.

Another view.

Next I ground a very slight 45 degree bevel to the back edge of the Basanite layer and sanded it. The purpose of this bevel is to remove any chips that had occurred during grinding as well as providing a safer edge if the cab were to be set.

Next I sanded the back in preparation for polishing.

I rechecked the polish on the front.

I polished the girdle of the Agate and Basenite.

I polished the small bevel.

I polished the back.

The finished cab.

Bob


