|
|
Post by Rockoonz on Jun 15, 2013 0:22:05 GMT -5
So here's the steps to check alignment on your slab saw. I can't really tell you how to adjust every brand of saw there is but here's the most accurate way to check. 1) Attach a dial gauge firmly to your vice, as low as you can get it, and in a place where it will come close to the back of the blade. A magnet base will work if your vice carriage isn't aluminum. 2) Mark your blade as shown in a place where it can be against the dial gauge at the front or rear of the saw. Not too close to the edge of the blade. 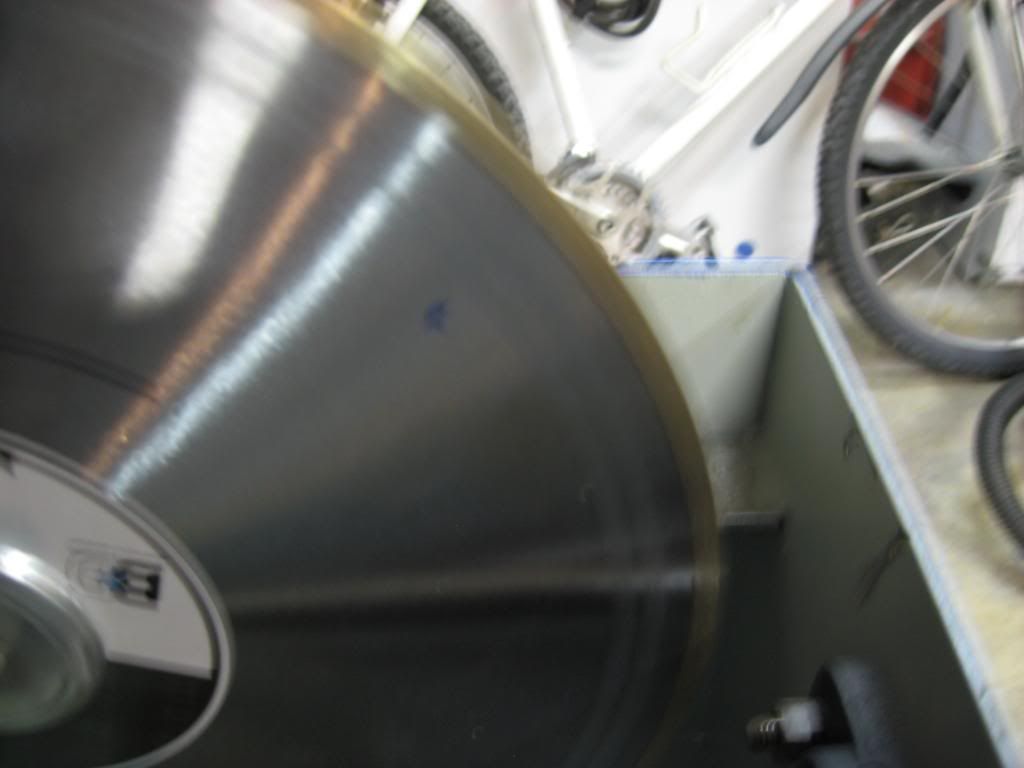 3) With the mark towards the front of the saw use the cross feed on the vice to move towards the blade till it contacts the blade at the mark. move the carriage and blade as needed to do this. Make sure it moves the needle on the gauge and either observe the reading or zero it depending on your gauge. 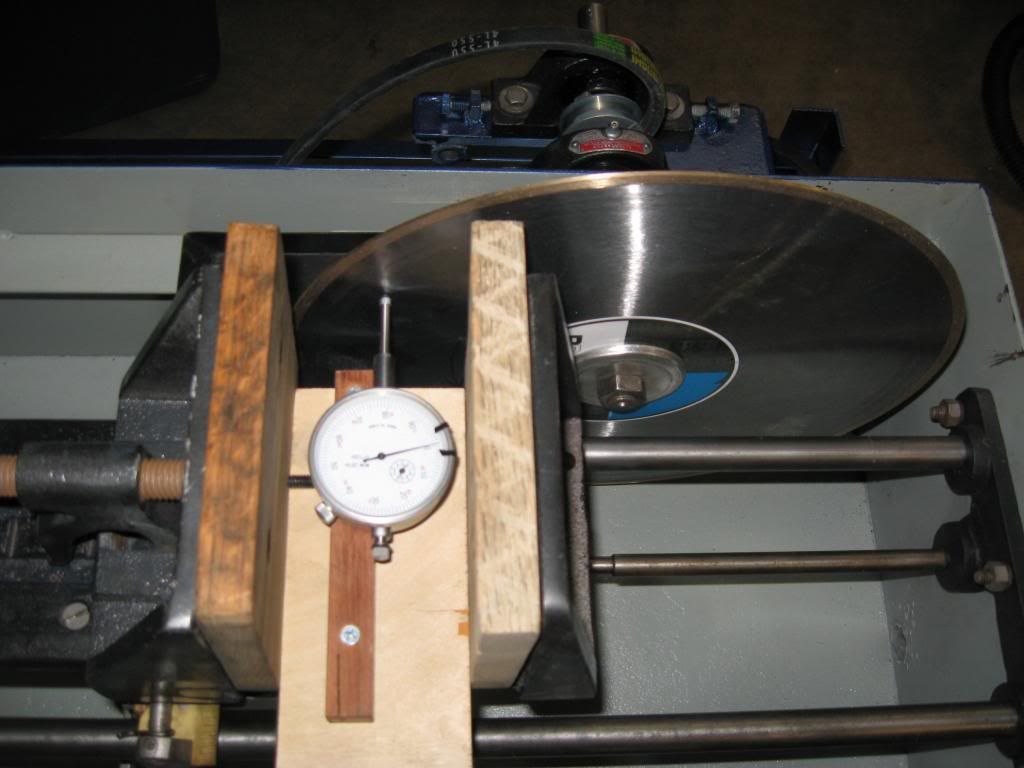 4) Now carefully move the carriage back to the rear of the saw without disturbing the crossfeed, then slowly spin the blade back till it is again on the mark, and note the reading. If it is less than .005" or so it's fine.  Repeat the alignment check a couple times if it seems to be off to make sure it wasn't operator error. If it's off it will need to be aligned. The method for doing it varies saw to saw, as the ability to do it varies person to person. If you can't look at the photo below and quickly see how this arbor is adjusted I suggest you get help. 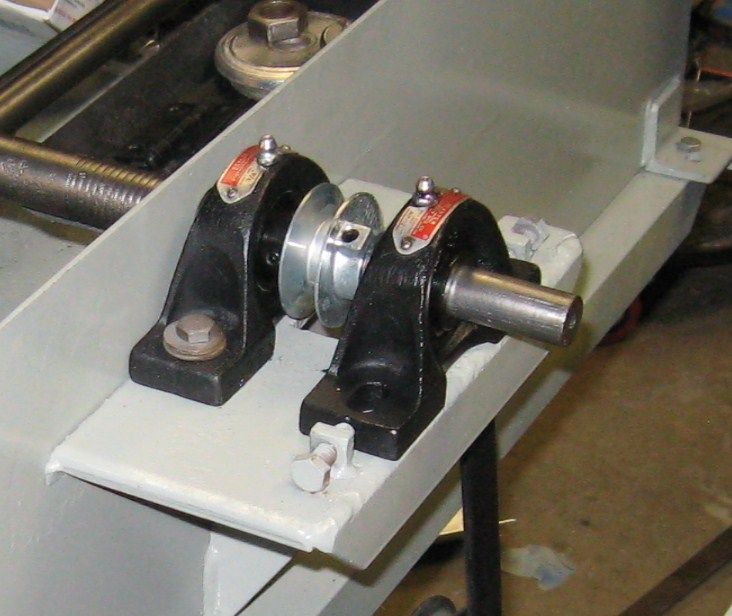 Hope this is helpful. Lee |
|
|
|
Post by johnjsgems on Jun 15, 2013 9:41:03 GMT -5
Nice job Lee. And, if you don't have a dial indicator, the sharpie used the same way is usually "close enough".
|
|
|
|
Post by sheltie on Jun 15, 2013 11:14:57 GMT -5
How did you get the arbor cover removed? See my post above yours for pix of mine and the point at which I'm stuck.
|
|
|
|
Post by Rockoonz on Jun 15, 2013 17:28:19 GMT -5
On the old HP saws the arbor is on the outside.
Another thing you can do w/o a dial gauge is use double sided tape to stick a piece of sheetmetal to your measuring point, clamp a dop stick with one end rounded into your jaws, and use feeler gauges, preferrably the valve adjustment type with bent ends. The most important thing to remember is to take all your measurements at the same place on the blade. No blade is perfectly flat even when brand new.
Lee
|
|
robsrockshop
has rocks in the head

Member since August 2012
Posts: 715
|
Post by robsrockshop on Jun 15, 2013 18:18:58 GMT -5
"The most important thing to remember is to take all your measurements at the same place on the blade"
No doubt.
I like the welded nut pillow block adjustment. God forbid if a new mfg spent an extra $5 to do that.
|
|
QuailRiver
fully equipped rock polisher

Member since May 2008
Posts: 1,640
|
Post by QuailRiver on Jun 15, 2013 20:03:03 GMT -5
I agree Rob. I thought that pillow block adjustment screw was a great idea too! Makes adjustments so much easier.
|
|
|
|
Post by paulshiroma on Jun 16, 2013 21:36:33 GMT -5
Great write up, Lee. Thanks. My 14 inch is out of alignment and I spent the afternoon fiddling with it. Messed with the rails a bunch of times, going to try to see if I can move the arbor bushings around next. PITA.
|
|
|
|
Post by Rockoonz on Jun 17, 2013 0:13:49 GMT -5
If you were able to move the rails you will want to make sure they are parallel and level. If they are not parallel it's easy to check, the carriage will be sticky at one end or the other. If not level it will make the rock rotate as it goes through the blade, worse than misalignment. Easy to check, put a magnetic level, preferrably one with a degree indicator and shim under the saw until it reads level, then move the level to the other rail. Should be very close to identical readings.
With some saws you may have to use shims or even modify the mounting to get adjustment on the arbor. I rebuilt the arbor on the home made 16 inch saw at our clubs shop and I had to use a dremel on the mounting holes, snug it down partially, and keep tapping it around with a wooden drift and hammer to get it straight.
|
|


