jamesp
Cave Dweller 
Member since October 2012
Posts: 36,602
|
Post by jamesp on Nov 16, 2013 9:42:46 GMT -5
I have made a few railroad track anvils over the years for the local jewelry school. I sand and polish them w/wet diamond pads. Saw them with a cut off to not heat them and soften them. Purchase all the silver plate that i find cheap. The base metal in that old stuff is highest quality white brass, brass and copper. Hammers very well on the anvil. ALL people going into silver/mixed metal should practice on copper roofing/wire/silver plated trays. Soft stainless too. These are the edges of a silver plate tray. Floral is pewter. Base is brass. Coating is silver.  All of these were made out of copper wire and silver plate trays. Skip the grits and polish direct with 1 HP grinder and 8 inch buffer pads constantly coated w/fresh tripoli. They do get hot 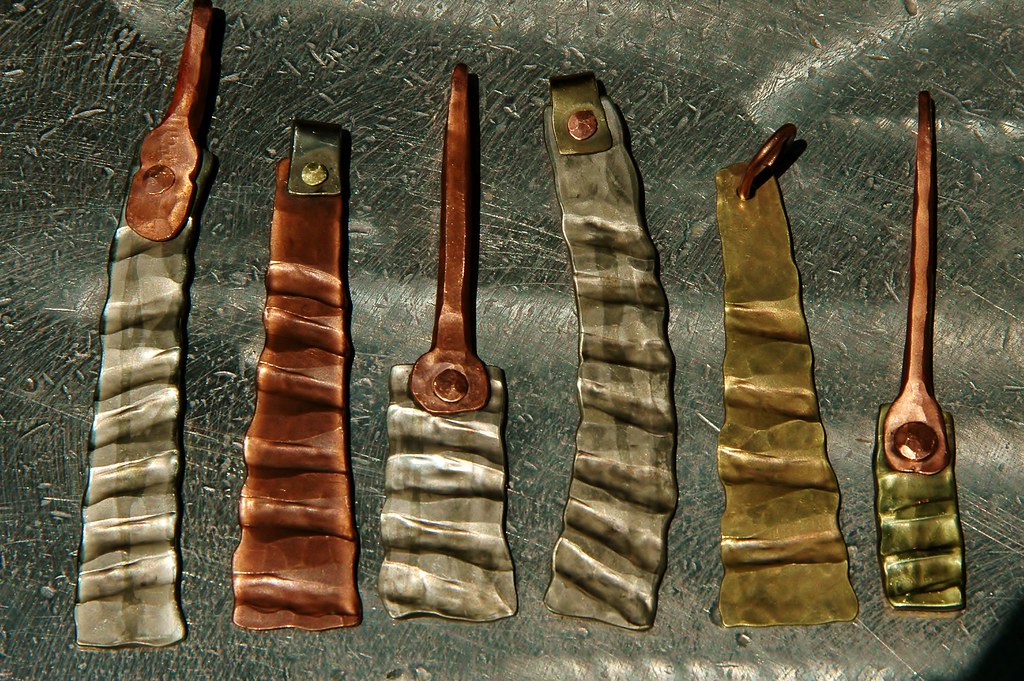 virus 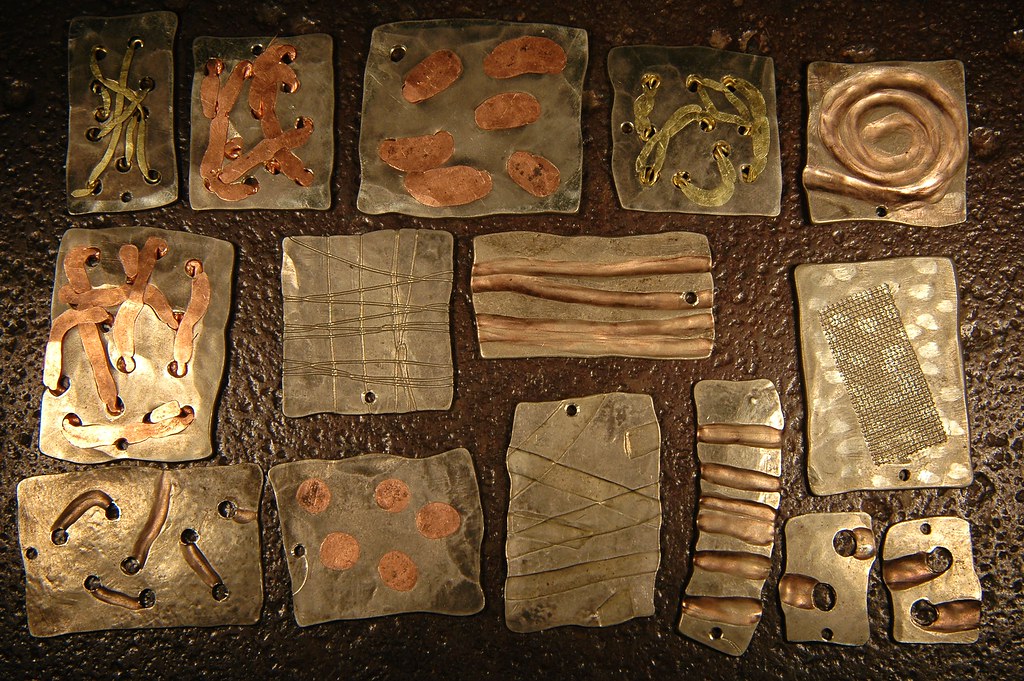 disease 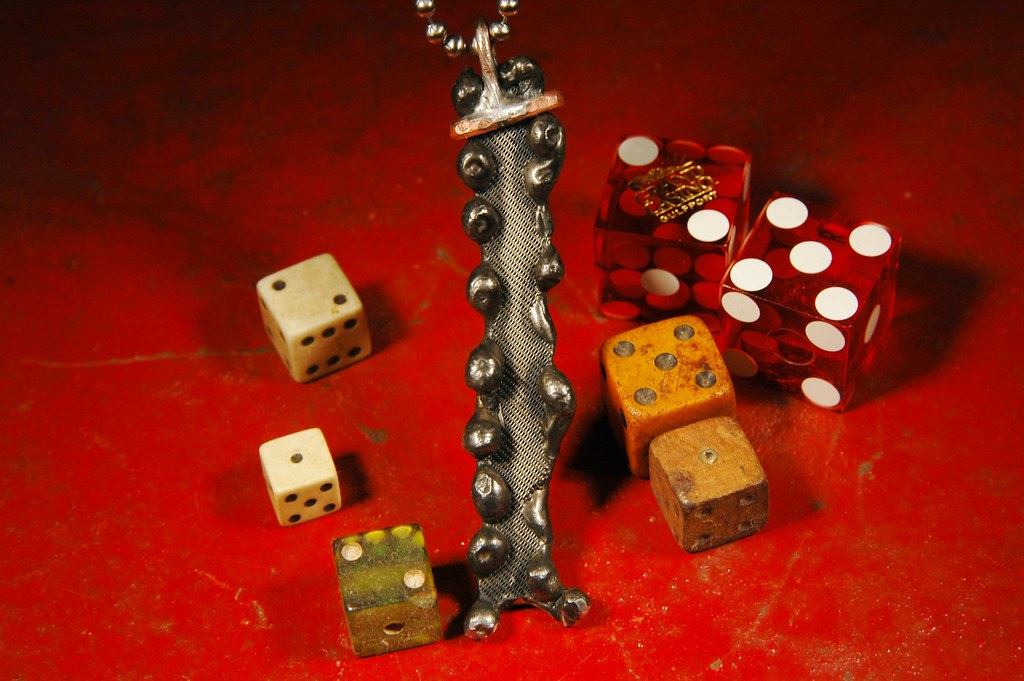 a trachea 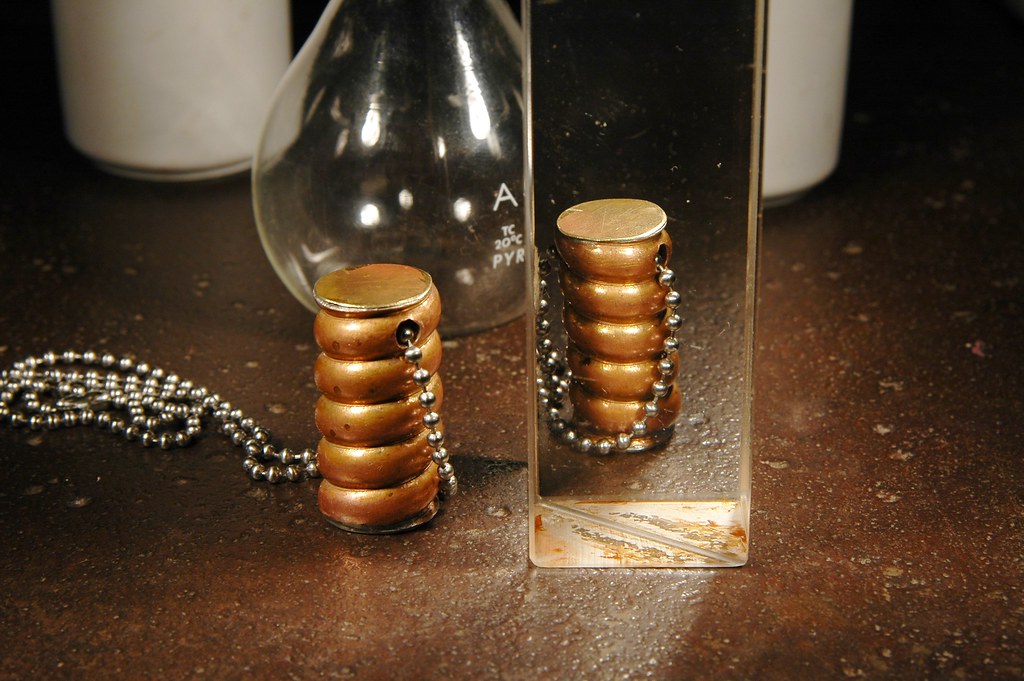 |
|
|
|
Post by pghram on Nov 16, 2013 12:12:54 GMT -5
James, nice work, very artistic!
Dave, have you taken the online training "Sliver classes 1" in the link & do you recommend it?
Rich
|
|
|
|
Post by 1dave on Nov 16, 2013 13:07:03 GMT -5
James, nice work, very artistic! Dave, have you taken the online training "Sliver classes 1" in the link & do you recommend it? Rich No, I never took his class, but he does good work. In 1960 I wired Bob Rollin's new home in Orem Utah. In trade for helping him build and wire his lapidary and gold/silver workshop, he gave me lessons in both. That is where all my skills (such as they are) came from. Remember, every technique was invented by someone on their own. You can do it to! Continuing with the burnisher I introduced above, I finished grinding and polishing it this morning. Note that I made each corner different so I have dreaded choices to make when I start burnishing a bezel around a stone. 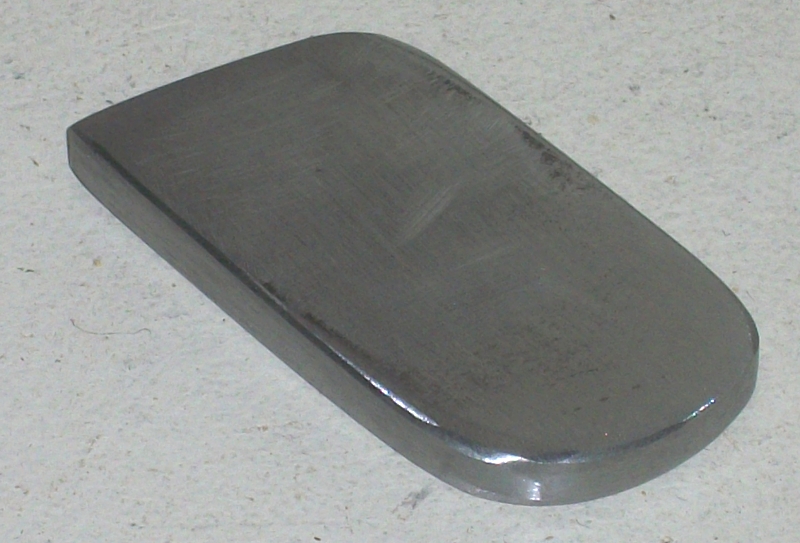 |
|
|
|
Post by 1dave on Nov 16, 2013 13:12:42 GMT -5
jamesp,LOVE your work! Failure comes from fear to experiment! No matter what you do, some will love it and others will hate it. If YOU like it, that is all that matters!
|
|
|
|
Post by Pat on Nov 16, 2013 14:44:28 GMT -5
Years ago, I took the Norris class. It was awful!
I suggest another book: Soldering Made Simple: Easy techniques for the kitchen-table jeweler.
By Joe Silvera. He has his own school in Berkeley.
|
|
gemfeller
Cave Dweller 
Member since June 2011
Posts: 4,059 
|
Post by gemfeller on Nov 16, 2013 15:27:36 GMT -5
I suggest another book: Soldering Made Simple: Easy techniques for the kitchen-table jeweler. By Joe Silvera. He has his own school in Berkeley. It's just my opinion based on personal experience but I think soldering silver can be a big challenge for beginners. Soldering gold is simple in comparison IMO. Silver requires that the entire workpiece reach soldering temperature, not just the area to be soldered. That involves careful torch work and heat control as well as pre-planning if you're working on a piece that combines multiple solder joints. I'm not familiar with the Silvera book but I'll strongly recommend one by Sara M. Sanford: "The Complete Guide to Jewelry Soldering: What Works, What Doesn't, and Why." Hard copies seem scarce based on my brief search but it's downloadable as an eBook from Lapidary Journal. Rick |
|
bsky4463
fully equipped rock polisher
  
Member since September 2013
Posts: 1,696
|
Post by bsky4463 on Nov 16, 2013 19:28:02 GMT -5
Railroad track anvil......hmmmm I see another winter project for the list. Thanks James. Cheers.
|
|
|
|
Post by 1dave on Nov 16, 2013 22:31:49 GMT -5
I suggest another book: Soldering Made Simple: Easy techniques for the kitchen-table jeweler. By Joe Silvera. He has his own school in Berkeley. It's just my opinion based on personal experience but I think soldering silver can be a big challenge for beginners. Soldering gold is simple in comparison IMO. Silver requires that the entire workpiece reach soldering temperature, not just the area to be soldered. That involves careful torch work and heat control as well as pre-planning if you're working on a piece that combines multiple solder joints. I'm not familiar with the Silvera book but I'll strongly recommend one by Sara M. Sanford: "The Complete Guide to Jewelry Soldering: What Works, What Doesn't, and Why." Hard copies seem scarce based on my brief search but it's downloadable as an eBook from Lapidary Journal. Rick I've never read either soldering book, but know from personal experience that in working large pieces of silver (back when it was $3/oz) SOLDER FOLLOWS HEAT. Heat from underneath and you can draw the solder around a bezel. |
|
gemfeller
Cave Dweller 
Member since June 2011
Posts: 4,059 
|
Post by gemfeller on Nov 16, 2013 23:39:41 GMT -5
Hi Dave, yes solder follows heat -- but silver's a little different than other metals which can be spot-soldered. I generally apply just enough heat initially to set the flux up and hope the silver solder pallions don't go flying when it boils (I use pallions because my hands aren't steady enough to feed wire solder.) Then I start heating the piece from the spot most distant from the intended solder joint but playing the flame over the whole piece slowly to heat it uniformly. I turn the overhead lights down low and watch the color of the metal as it heats.
When it reaches a certain hue (learned from experience) it's time to move the flame closer to the intended joint. If it's bezel wire being attached to a plate you need to move the flame in circles around the outside of the bezel to draw solder under it. The solder will suddenly "puddle" then should be quickly drawn under the bezel. That's when your reflexes should be trained to pull the flame away *instantly.* Otherwise melted bezels and temporary heartbreak await.
If you heat just the area around the intended joint without gradually heating the entire piece, you'll quickly learn about firescale and balled-up solder that won't flow. At least that's my experience.
Rick
|
|
|
|
Post by 1dave on Nov 17, 2013 2:57:57 GMT -5
Good points Rick.
I paint my silver with flux, lay snips of solder then place bezel on top.
Heat from underneath in circles as you say, when the metal reaches the melting point of solder, it balls up and the bezel drops down into position as it reaches solder melting point.
|
|
jamesp
Cave Dweller 
Member since October 2012
Posts: 36,602
|
Post by jamesp on Nov 17, 2013 10:25:10 GMT -5
Railroad track anvil......hmmmm I see another winter project for the list. Thanks James. Cheers. I have three sizes bsky. The hard steel resists hammer dents well. But power sanding this crap is hell. Just like a cab- 50,100,200,400,800,and then 1500 wet diamond sanding. Still got scratches which will transfer to you work. Freight train rail is real heavy and about 6 inches tall 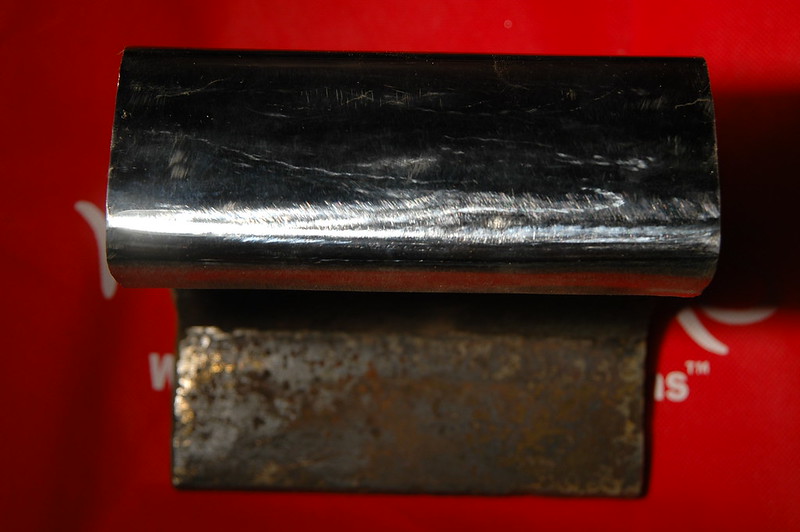 This tiny rail is perhaps for mining or timber. Only 2 1/2 inches tall. So hard that it cracks like a file. Sweet  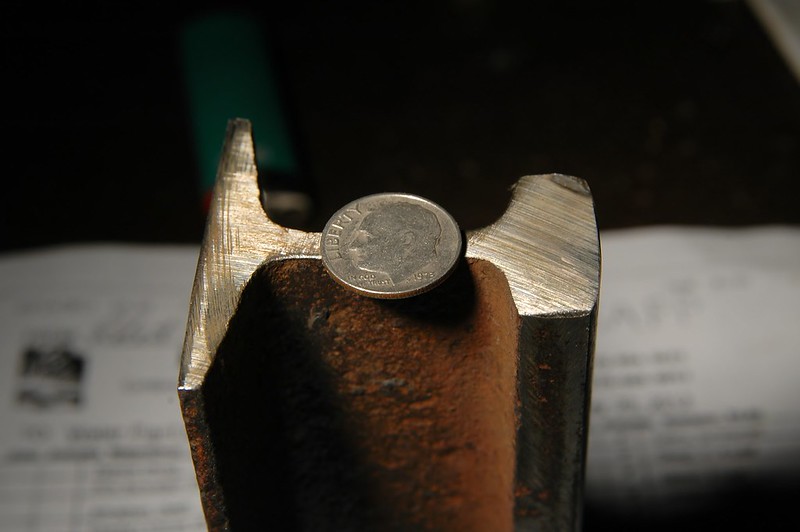 See the chip in the lower right. Haaaard steel. Resists hammer dents well. 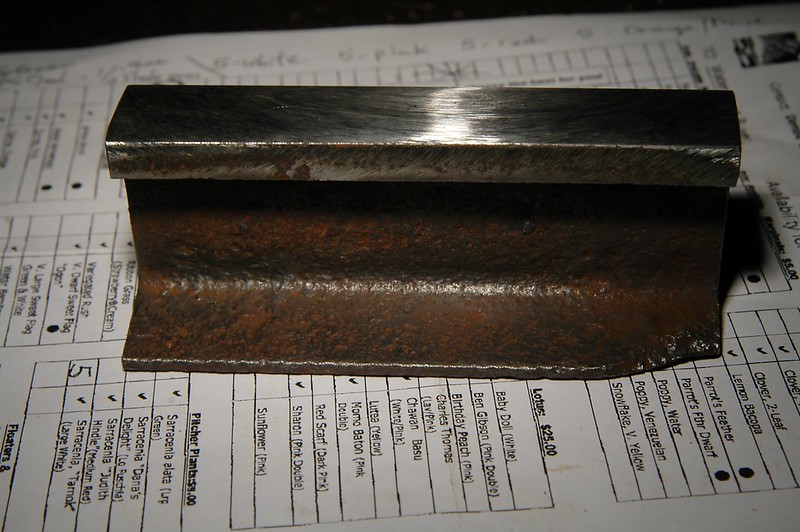 Also found some medium rail about 4 1/2 inches tall. I sold them for $75. But quit. To much work and to hard on the cut off saw. The 14 inch chop saw did not like seeing that rail put in it's vice.... They can be bought on Ebay with a horn cut into it. |
|
Tom
fully equipped rock polisher
   My dad Tom suddenly passed away yesterday, Just wanted his "rock" family to know.
Member since January 2013
Posts: 1,557
|
Post by Tom on Nov 17, 2013 10:58:49 GMT -5
Another important point is that solder follows flux as well as heat. I agree with every word that Rick has said in his last post. Esp. the flying pallions and heartbreak.
So ummm When or if do we get our dedicated metalsmith forum, I started this about a month ago? Anyone buddies with the mods?
Thanks
|
|
|
|
Post by 1dave on Nov 17, 2013 14:16:22 GMT -5
jamesp A friend burned this out for me over 20 years ago. In spite of being in storage during numerous moves, NOTE all the improvements I have made to it! 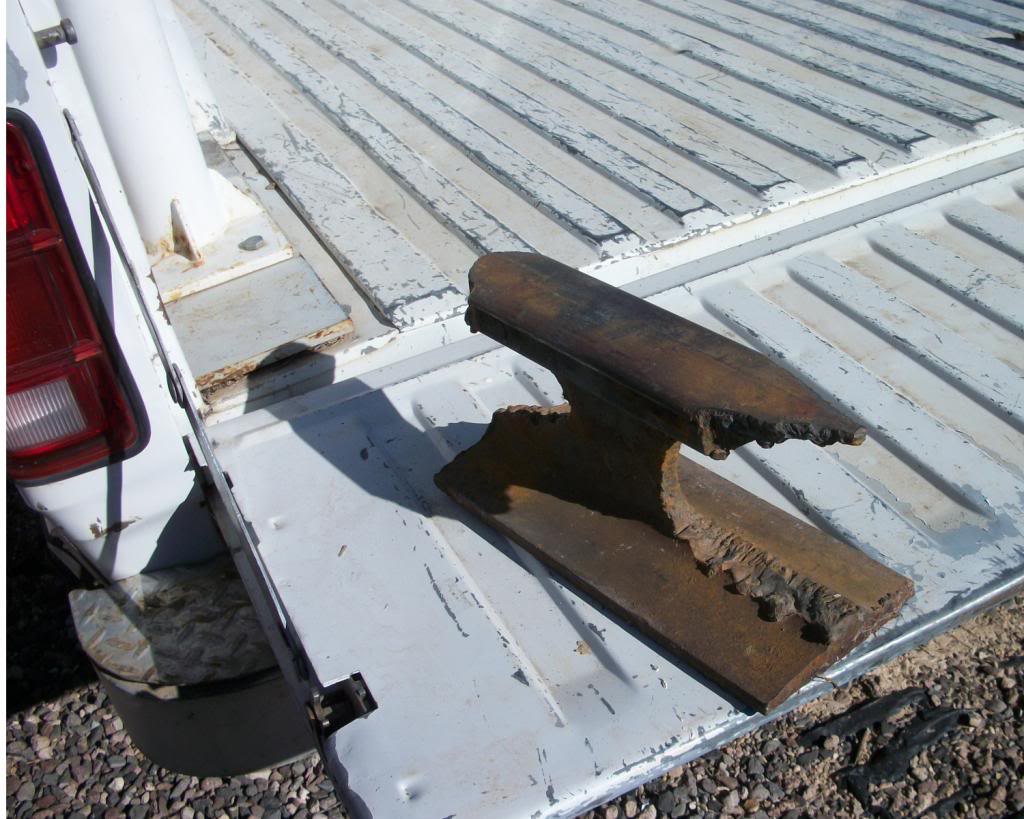 NEVER use force! Get a bigger hammer! 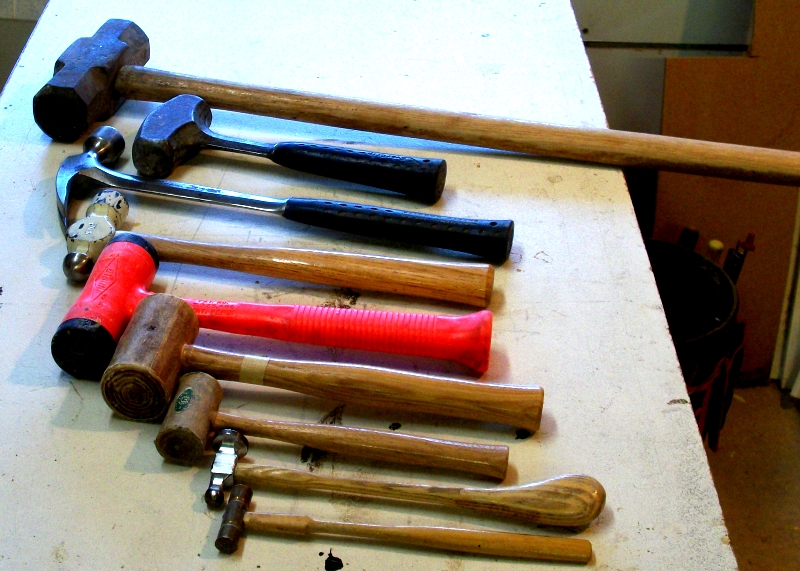
|
|
|
|
Post by 1dave on Nov 17, 2013 14:18:28 GMT -5
Another important point is that solder follows flux as well as heat. I agree with every word that Rick has said in his last post. Esp. the flying pallions and heartbreak. So ummm When or if do we get our dedicated metalsmith forum, I started this about a month ago? Anyone buddies with the mods? Thanks If WE keep posting on this subject, I hope at some point the posts will be collected into a new forum. EDIT: |
|
jamesp
Cave Dweller 
Member since October 2012
Posts: 36,602
|
Post by jamesp on Nov 17, 2013 14:58:14 GMT -5
jamesp A friend burned this out for me over 20 years ago. In spite of being in storage during numerous moves, NOTE all the improvements I have made to it!  NEVER use force! Get a bigger hammer!  Looks as it was:) |
|
gemfeller
Cave Dweller 
Member since June 2011
Posts: 4,059 
|
Post by gemfeller on Nov 17, 2013 15:02:42 GMT -5
NEVER use force! Get a bigger hammer! "Bigger Hammer" is what one of my collecting pals named his gasoline-powered rock drill. It was heavy to pack to the agate/jasper veins, but it sure speeded up our mining efforts!  |
|
Deleted
Deleted Member
Member since January 1970
Posts: 0
|
Post by Deleted on Nov 17, 2013 21:49:06 GMT -5
haha, I have a piece of 6" railroad track. I should post it for sale. Need to move it on.
|
|
|
|
Post by Rockoonz on Nov 18, 2013 1:01:57 GMT -5
Will it fit in a FRB? USPS would love it.  Seriously I would be interested. Lee |
|
|
|
Post by 1dave on Jul 30, 2017 17:36:39 GMT -5
Fixed. a few commenters need to update the images they copied from previous posts.
|
|
|
|
Post by Rockoonz on Feb 6, 2022 13:10:52 GMT -5
With a refreshed interest in metal melting and all the joys accociated, I'm bumping this.
Maybe a little motivation to reassemble my benches.
|
|