|
|
Post by cobbledstones on Jan 2, 2015 22:55:02 GMT -5
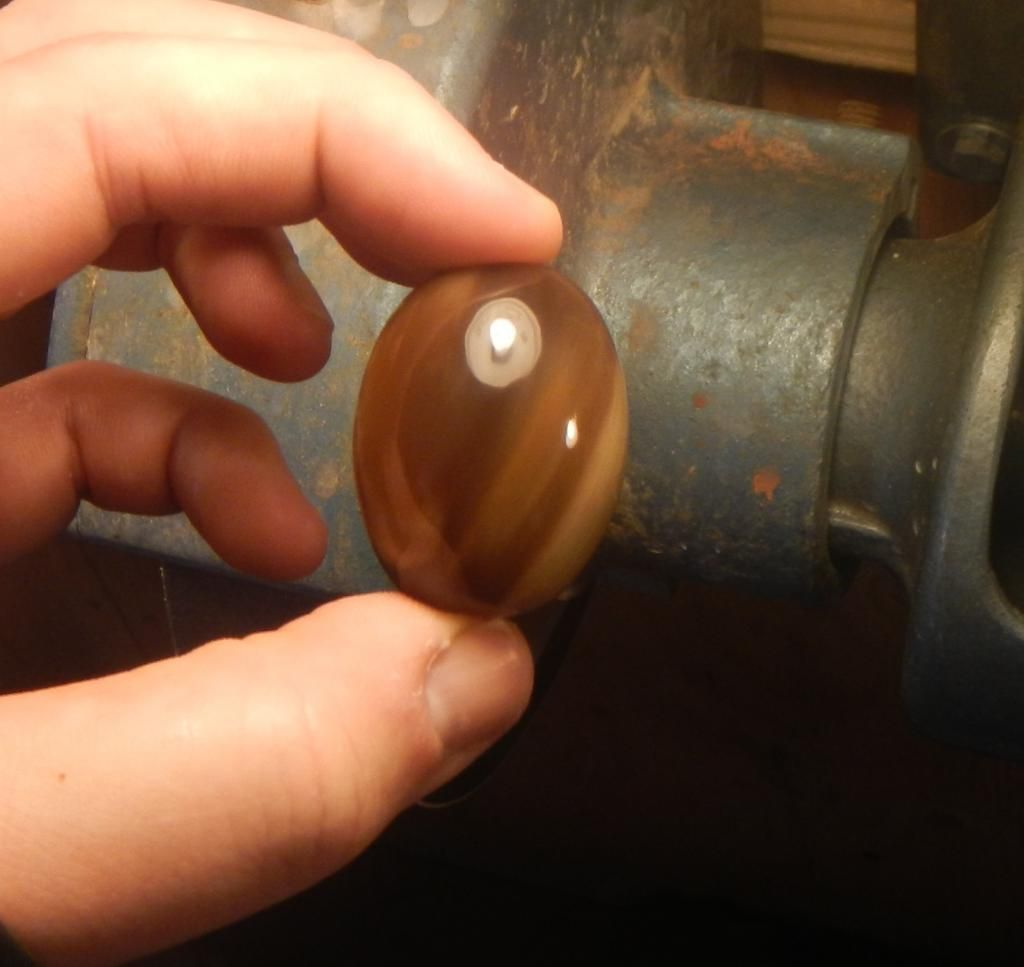
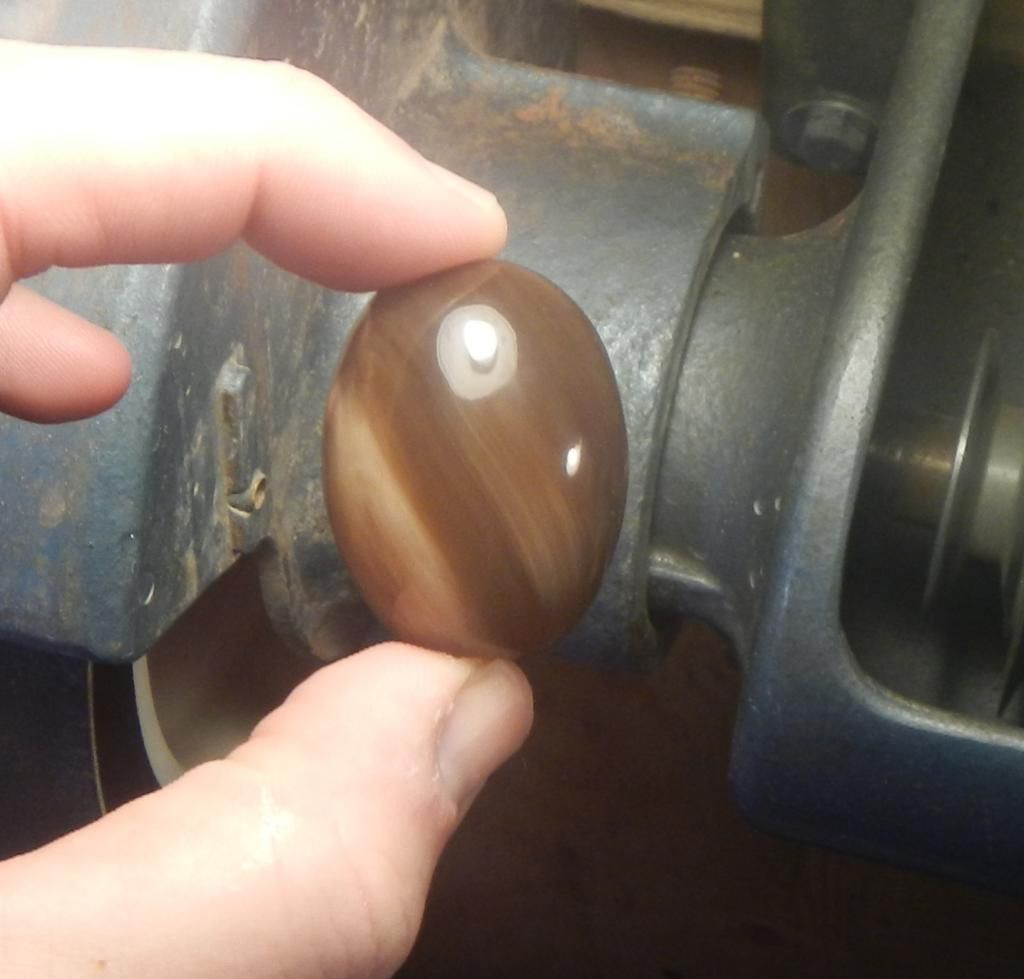
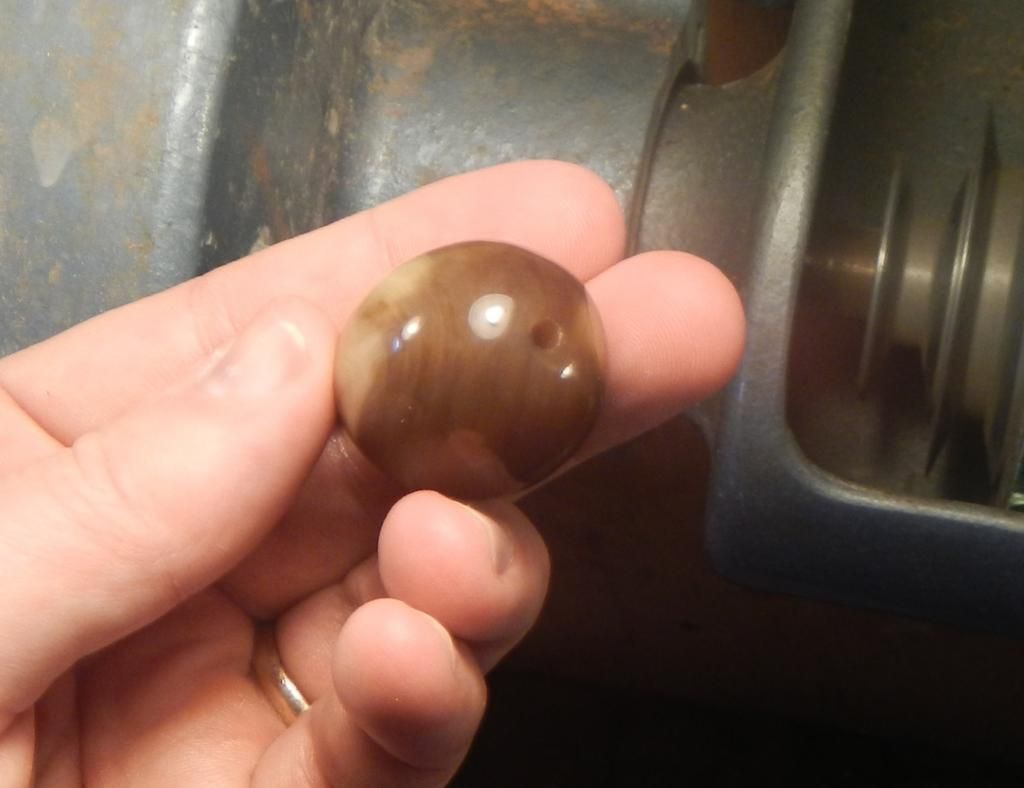
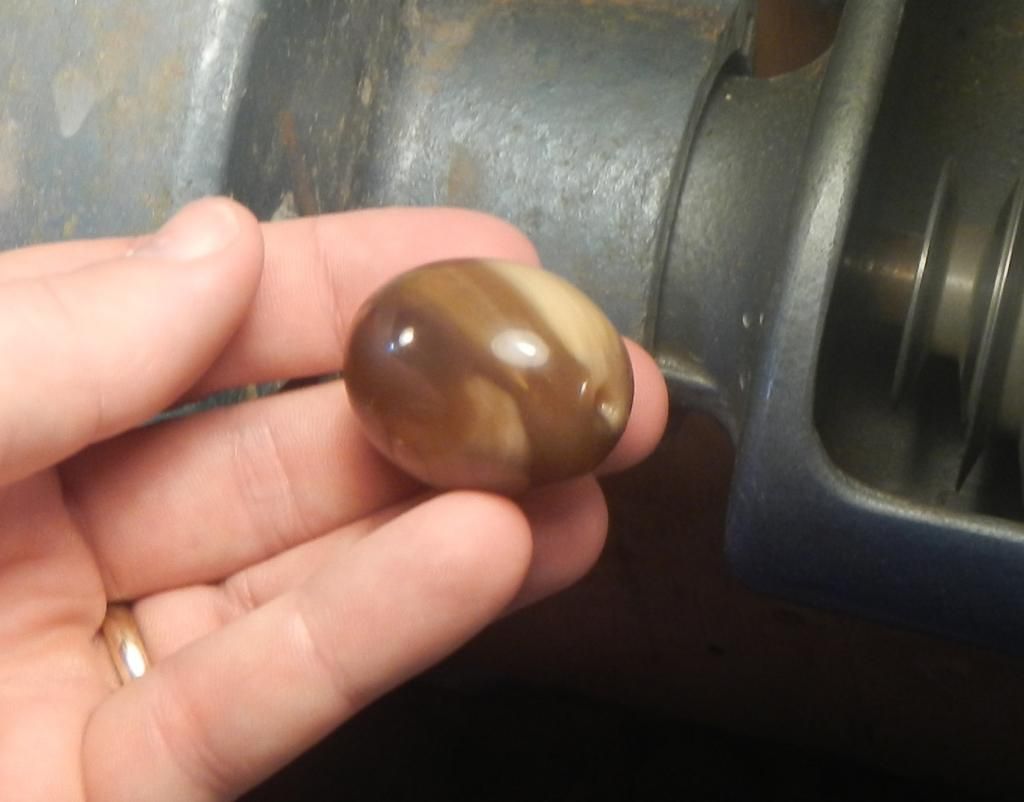
Found a nice solid piece of petrified wood, and always wanted to make a big bead. It measures 1.5" long and 1" in diameter. It took a long time to drill the hole!
|
|
|
|
big bead
Jan 3, 2015 0:14:07 GMT -5
via mobile
Post by Pat on Jan 3, 2015 0:14:07 GMT -5
Interesting! Did you do it under water on a drill press? I'd like to do that.
That's quite a bead!
|
|
|
|
Post by snowmom on Jan 3, 2015 6:47:40 GMT -5
vey nice! Yes, tell us about the process you used to get there! Don't forget to show us what you do with it, as well!
|
|
|
|
Post by connrock on Jan 3, 2015 10:24:24 GMT -5
Wow,,,that is one honker of a bead!
Great job and beautiful shine on it as well!
connrock
|
|
Thunder69
Cave Dweller  Thunder 2000-2015
Member since January 2009
Posts: 3,105
|
Post by Thunder69 on Jan 3, 2015 18:47:13 GMT -5
I can see it as a choker pendant ..nice job.... John
|
|
|
|
Post by cobbledstones on Jan 3, 2015 20:04:28 GMT -5
vey nice! Yes, tell us about the process you used to get there! Don't forget to show us what you do with it, as well! The bead will be a gift to my assistant's mom who loves petrified wood.
I had so much fun making it, I decided to make another bead this afternoon, not as large, but still quite hefty.
Start with a thick slab. This carnelian slab measures just over 1". Using a slab makes later steps easier, and the thickness of the slab now will dictate the final length of the bead. 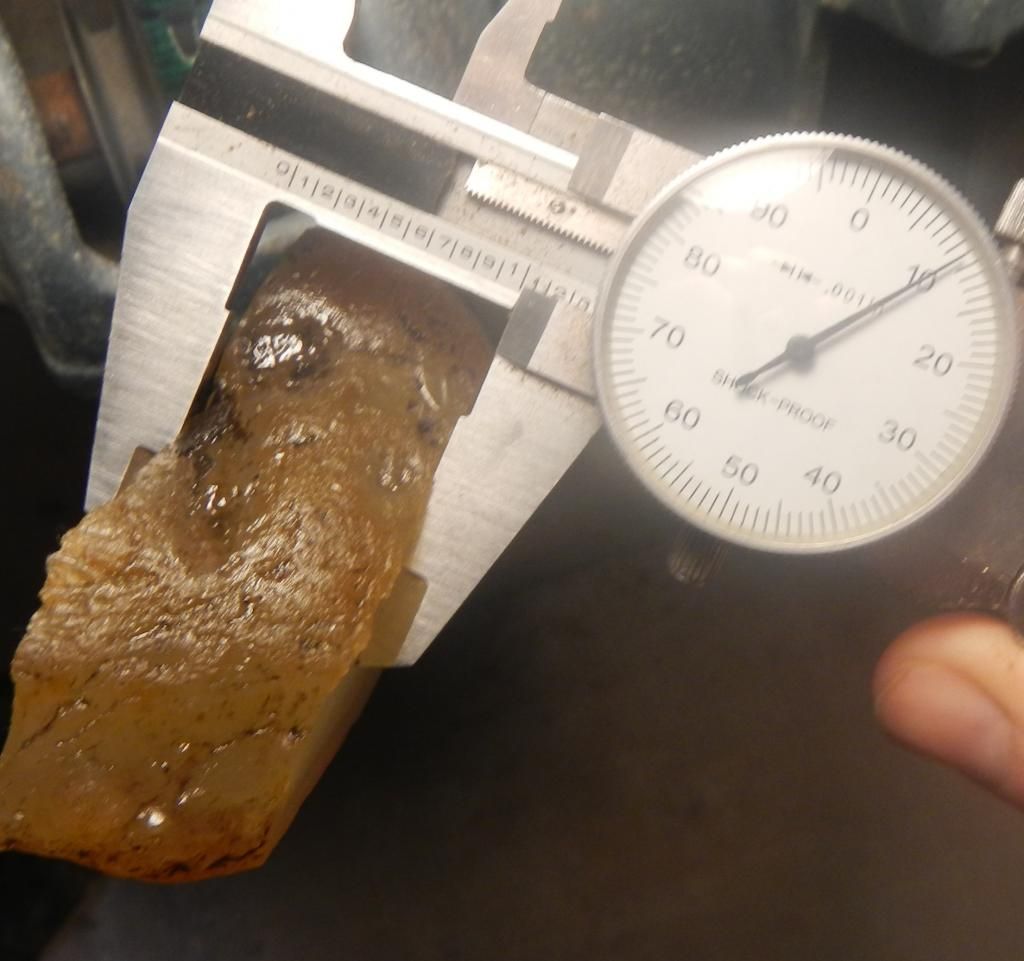
make sure to grind the little nibs off that are left over from the slab saw. Everything is easier if the slab lays flat on both sides. I wanted this bead to be pure milky white, so marked the hole accordingly 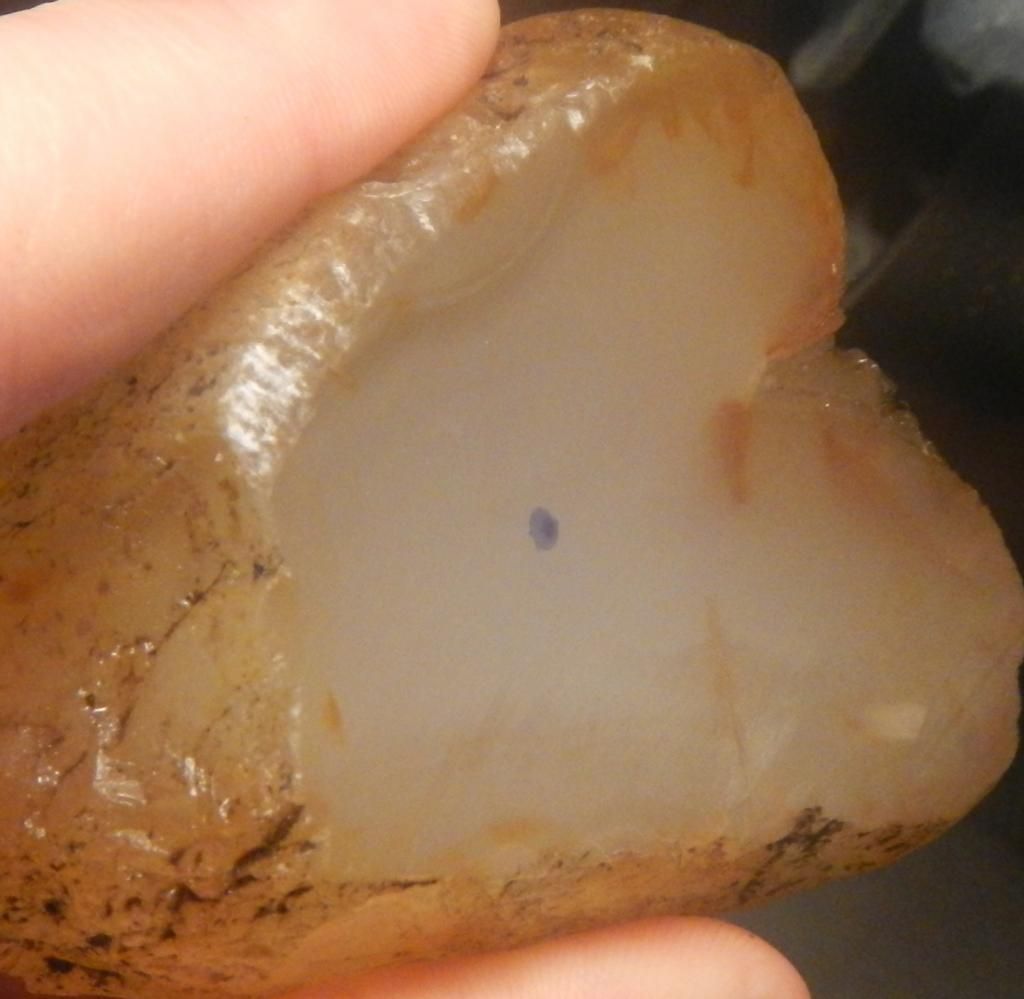
Small (3mm) bit in the drill press, so I set the speed to 3000rpm. The fast speed makes the drilling faster, but eats bits faster as well. Submerge the slab in a little tub of water. 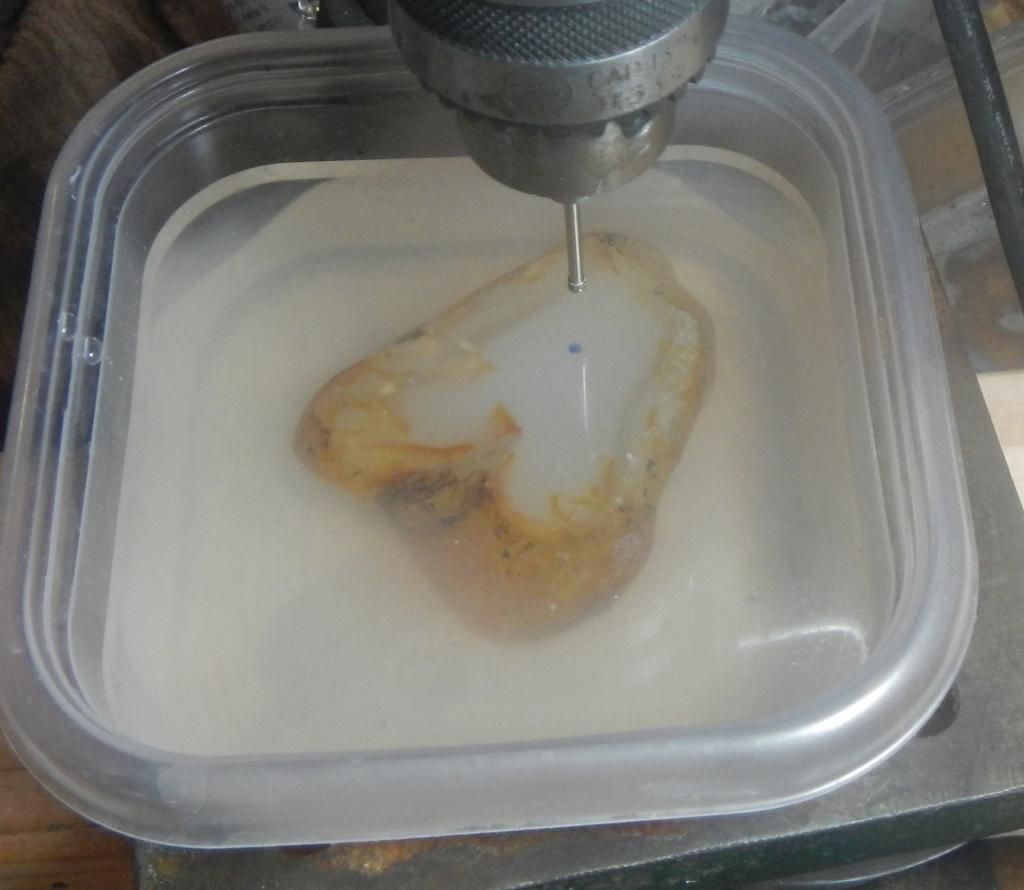
drill slowly, raising the bit every few seconds. At this speed, the first 1/2" will go fast, but if you go past 5/8" the bit will likely burn up. If you need to drill deeper, go from both sides, if that isn't enough you have to slow the drill down so it doesn't get too hot. We are going for a 1" hole so I set my jig to just under 1/2" 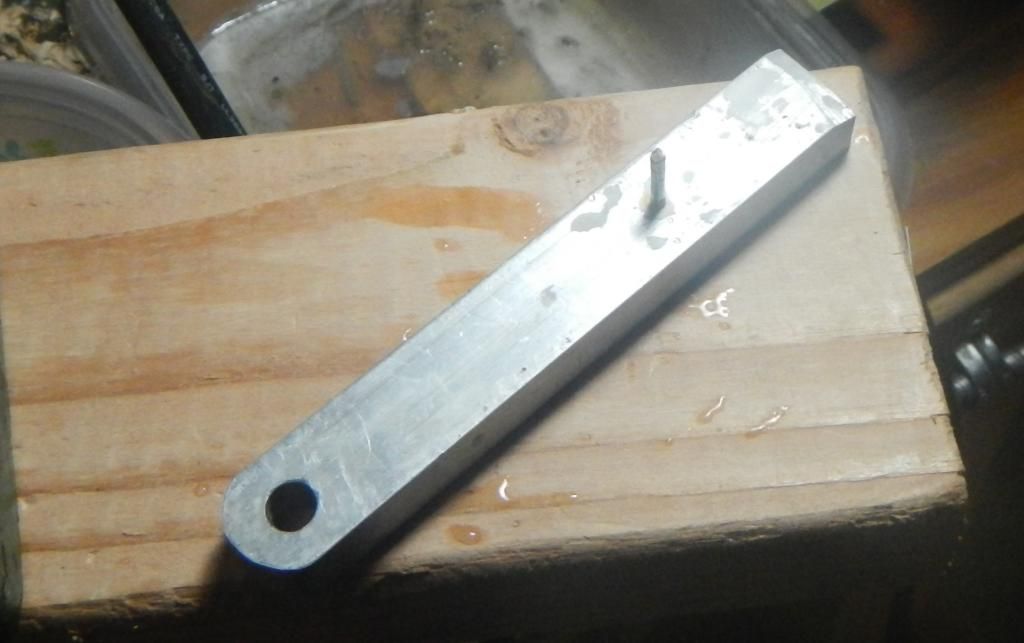
Keep drilling until the slab lays flat on the jig, still a little more to go 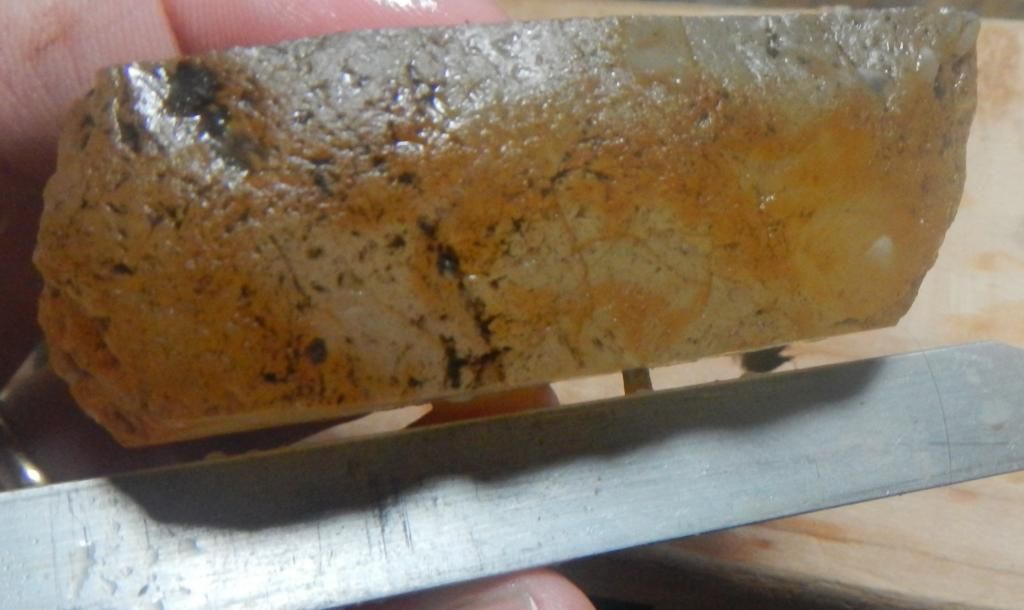
good now 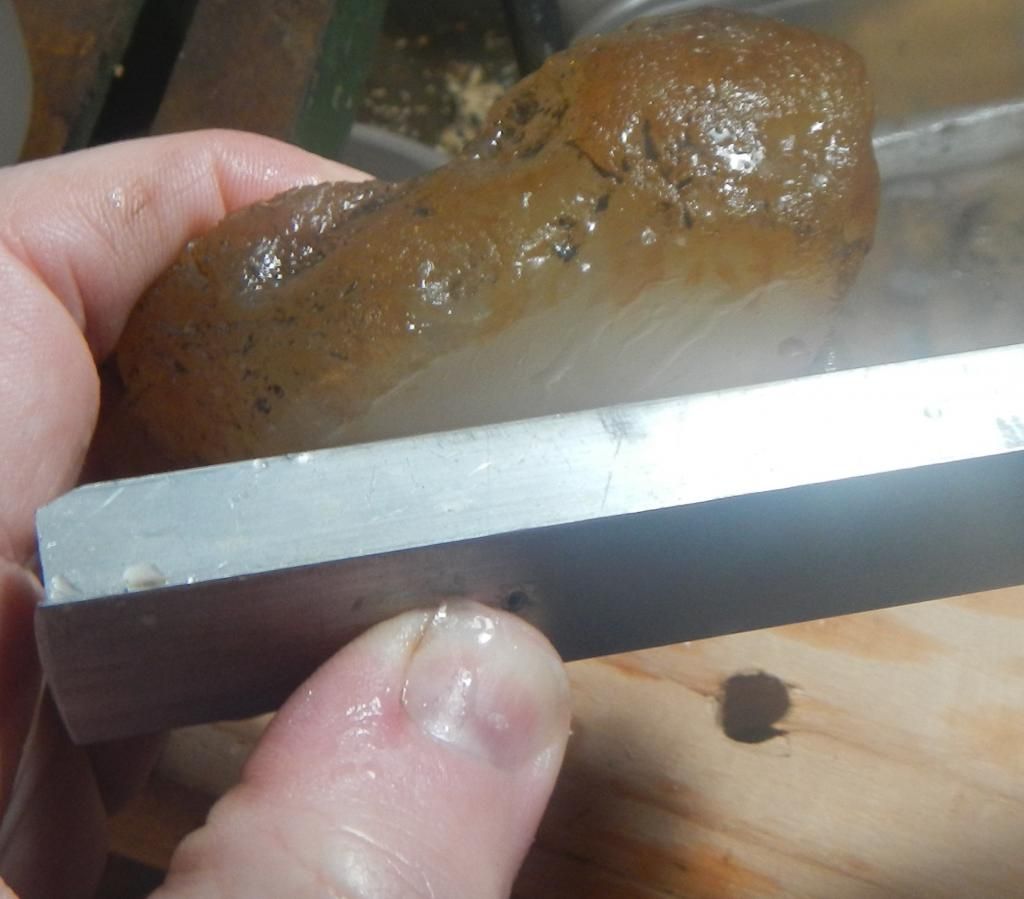
clamp the jig into the tub, line the bit up with the upright. The better the alignment, the better the hole. 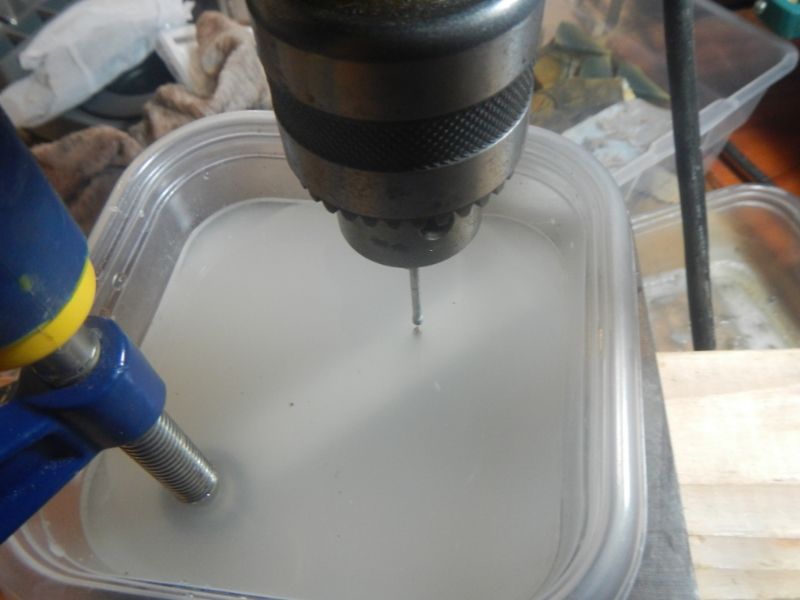
place slab, drill from the other side, 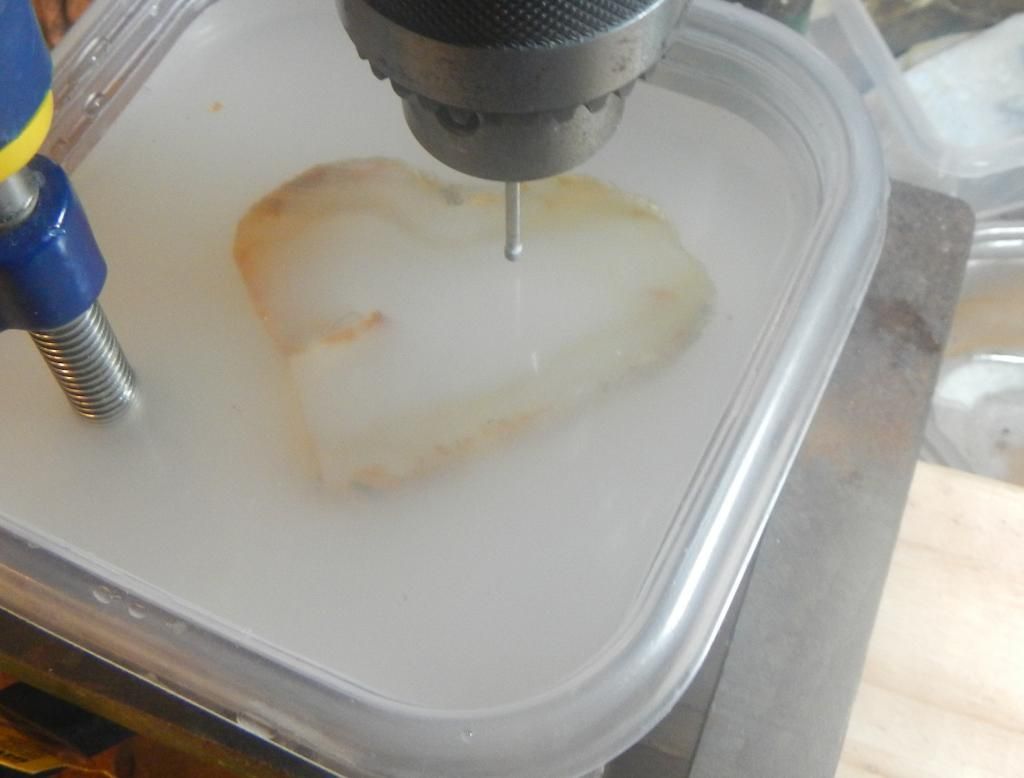
mark out. I cut it out on the 10" saw, scraps to the tumbler. 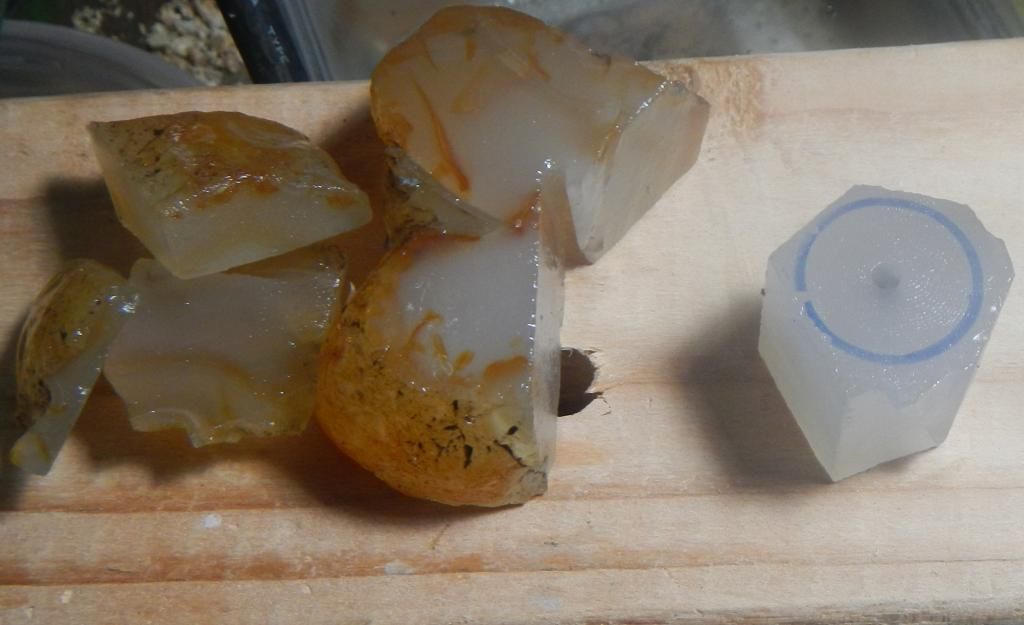
use a pin vice and a spent drill bit for a dop. 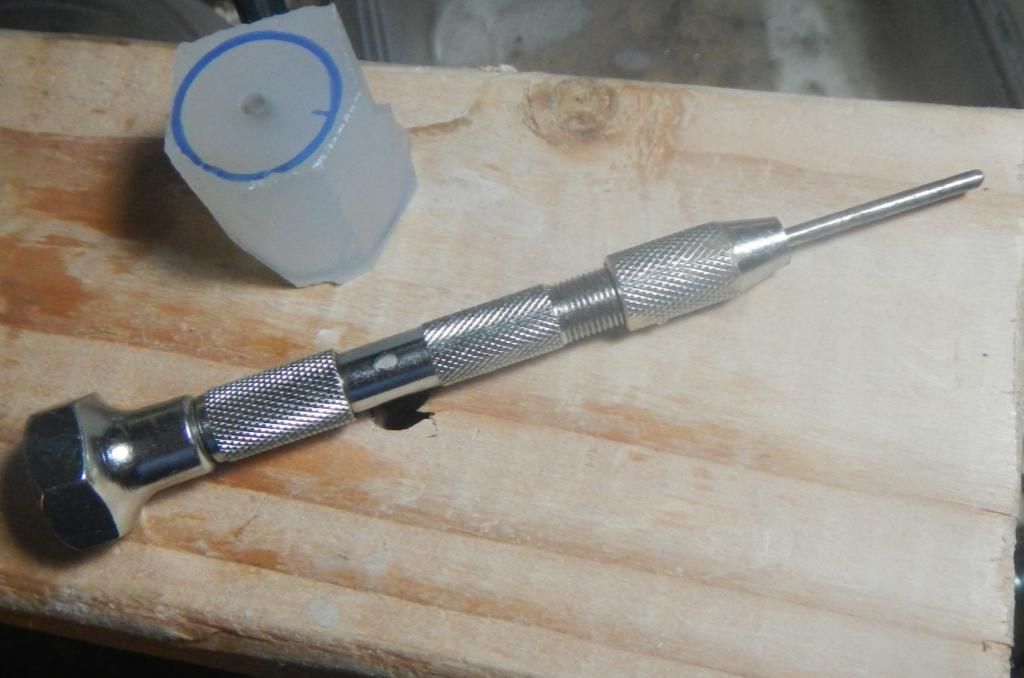
shape on the wheels as you would a double high domed cab. Some sources say to let the bead spin on the pin vice, but I had a bead break once, and the other times, the inside of the bead hole got metallic colored and I couldn't get it clean again. So I just to it freehand. 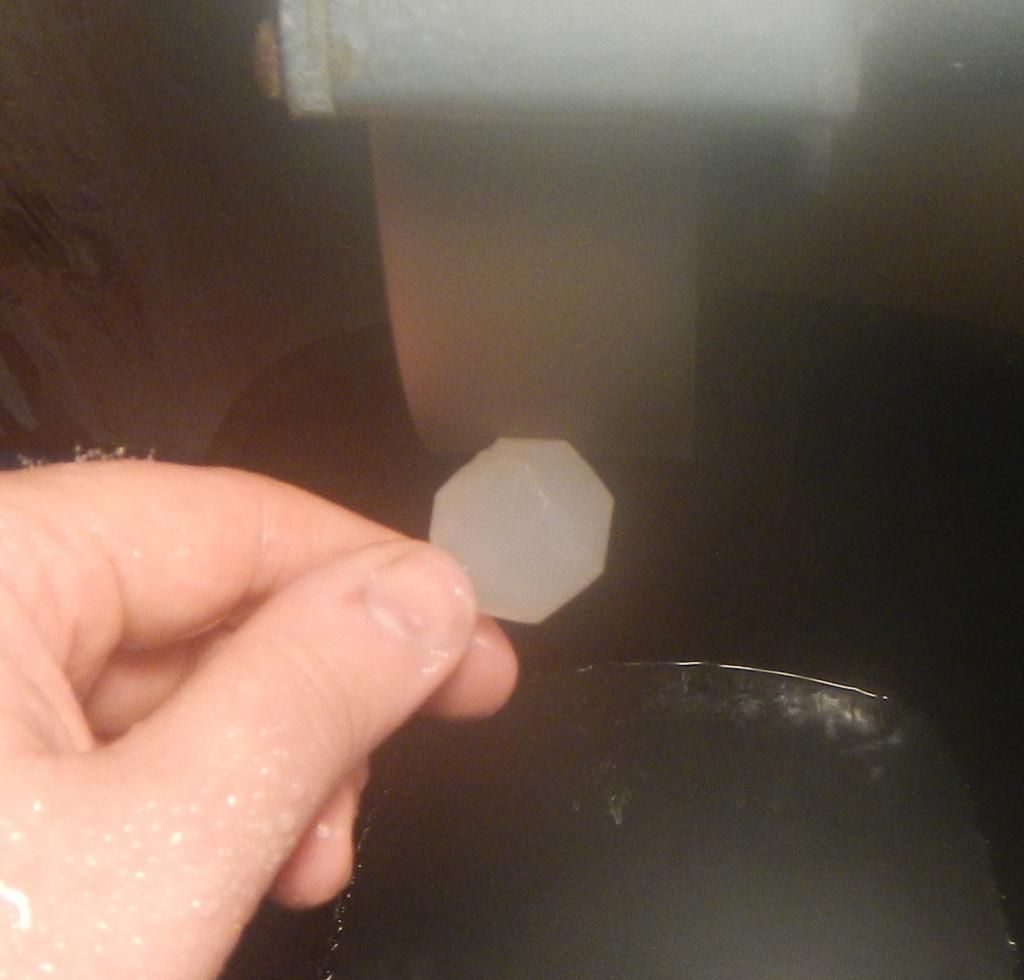
Proceed through grits till shiny, here is the finished bead. I only lost a few hundredths off the length from the shaping process. I rushed this one a little and will have to go back to 600 I think. 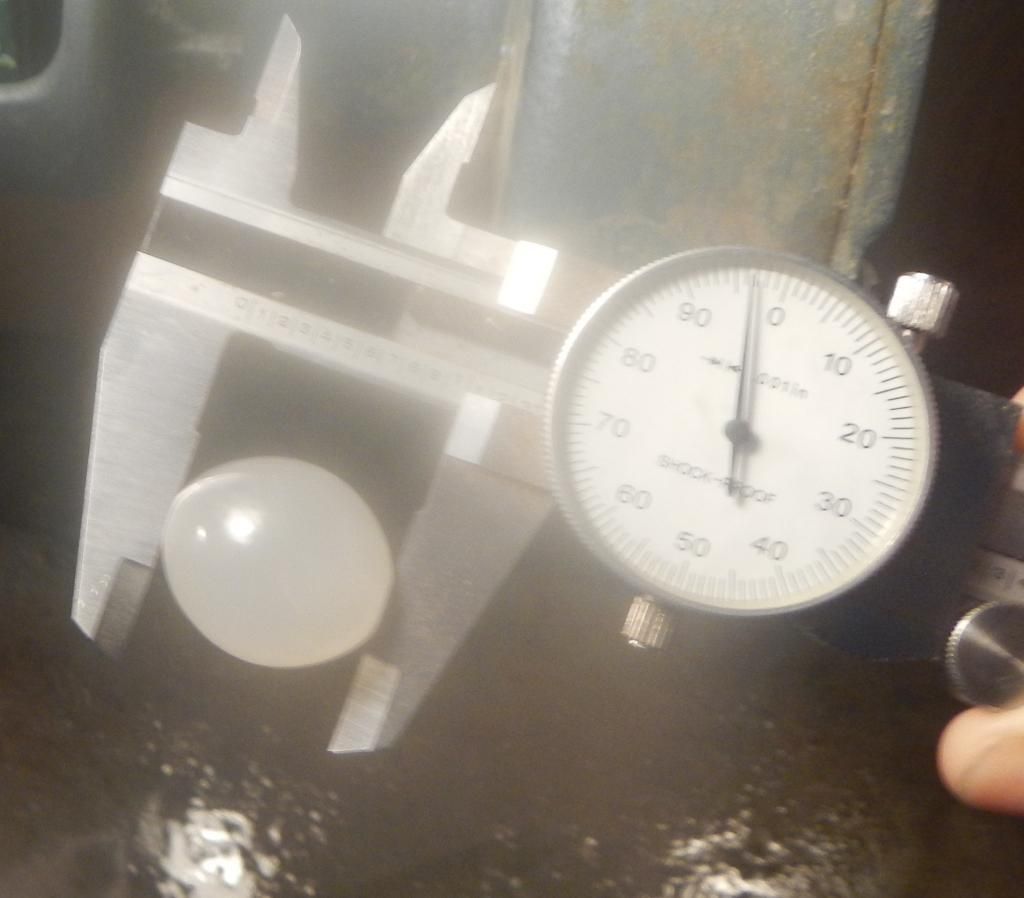
thanks for your interest.
|
|
NDK
Cave Dweller 
Member since January 2009
Posts: 9,440
|
Post by NDK on Jan 3, 2015 20:53:39 GMT -5
That is really cool.
|
|
|
|
Post by snowmom on Jan 4, 2015 4:36:43 GMT -5
wow, somehow I pictured the last step to be the drilling of the hole... reality proved to be something completely different! Thanks for taking the time and trouble to show how this is done, fascinating and really neat!
|
|
Fossilman
Cave Dweller 
Member since January 2009
Posts: 20,718 
|
Post by Fossilman on Jan 4, 2015 10:43:40 GMT -5
Amazing!!! I like it!!! Two thumbs up with those two pieces...!!!
|
|
|
|
Post by pghram on Jan 5, 2015 21:23:18 GMT -5
Nice beads & thanks for the tutorial.
Rich
|
|
matt2432
starting to spend too much on rocks
 
Member since December 2014
Posts: 171 
|
Post by matt2432 on Jan 11, 2015 19:14:45 GMT -5
Nice beads. If you where to tumble finish them instead of on a wheel, would you drill after finishing?
|
|
|
|
Post by drocknut on Jan 11, 2015 19:21:42 GMT -5
Really cool thanks for showing the whole process.
|
|
|
|
Post by cobbledstones on Jan 11, 2015 23:02:58 GMT -5
Nice beads. If you where to tumble finish them instead of on a wheel, would you drill after finishing? its possible, but its hard to center the hole in the bead...easier to center the bead around the hole |
|
matt2432
starting to spend too much on rocks
 
Member since December 2014
Posts: 171 
|
Post by matt2432 on Feb 20, 2015 16:39:34 GMT -5
Nice beads. If you where to tumble finish them instead of on a wheel, would you drill after finishing? its possible, but its hard to center the hole in the bead...easier to center the bead around the hole Gotcha. Do you think grit getting in the hole would be a big problem if I drilled first and then tumbled? I'm just trying to figure out a way I could make beads without a wheel at all. |
|
|
|
Post by cobbledstones on Feb 20, 2015 17:13:04 GMT -5
have some in the tumbler now...stay tuned
|
|
|
|
Post by cobbledstones on Feb 23, 2015 10:42:25 GMT -5
its possible, but its hard to center the hole in the bead...easier to center the bead around the hole Gotcha. Do you think grit getting in the hole would be a big problem if I drilled first and then tumbled? I'm just trying to figure out a way I could make beads without a wheel at all. Matt, I finished tumbling some beads this weekend. They were drilled and roughly shaped on the 80 grit wheel, then sent through the UV10 vibe tumbler. It worked great. Clean out was longer because you have to clean the holes. I tried several things to speed the clean out, and the fastest was a shot of compressed air. It blew debris and grit out of the holes in short order. |
|