Post by herchenx on Dec 23, 2015 3:58:04 GMT -5
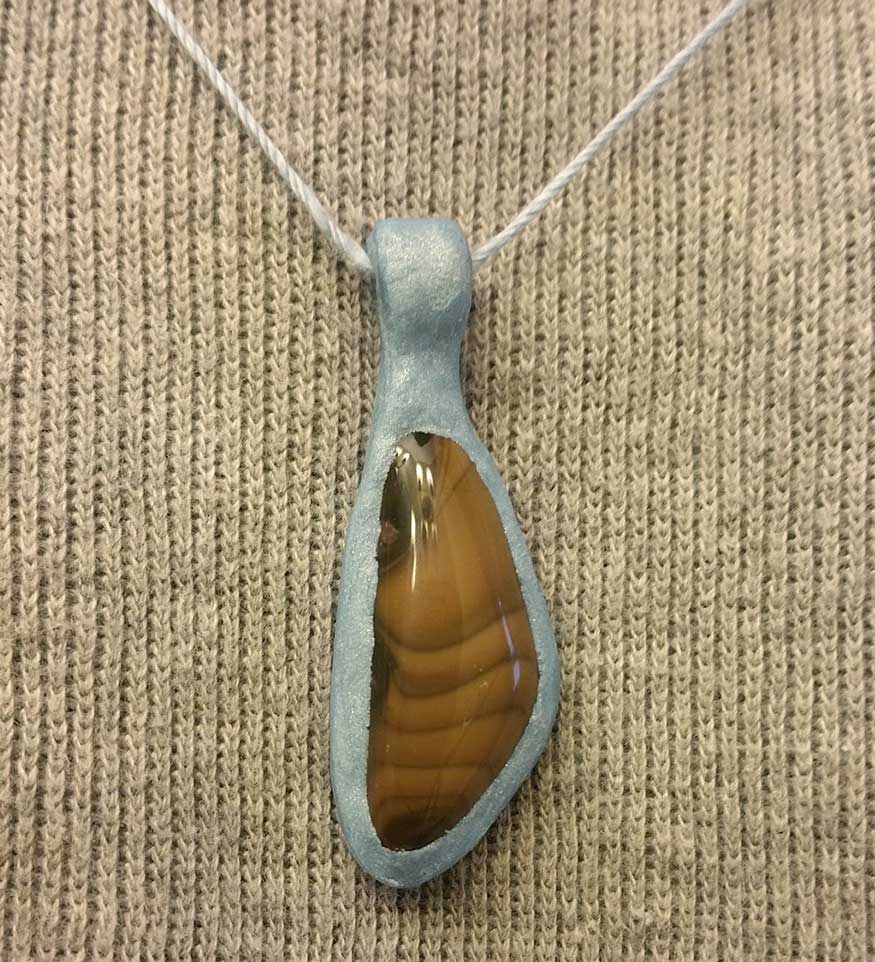
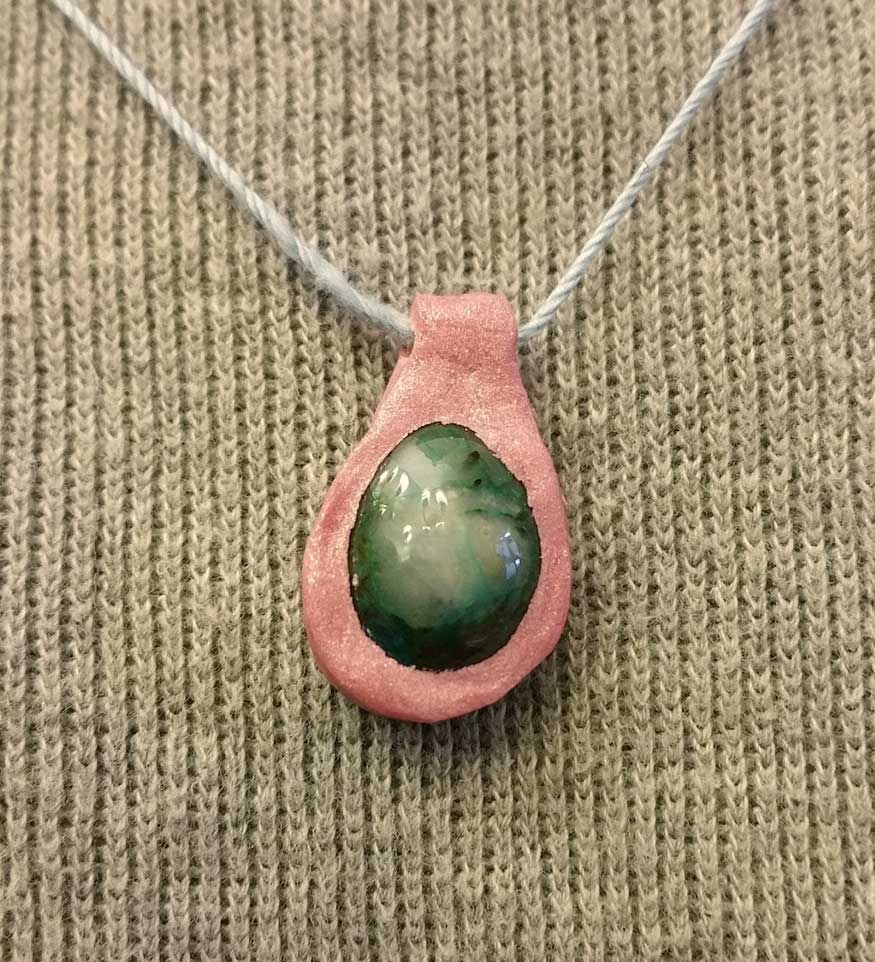
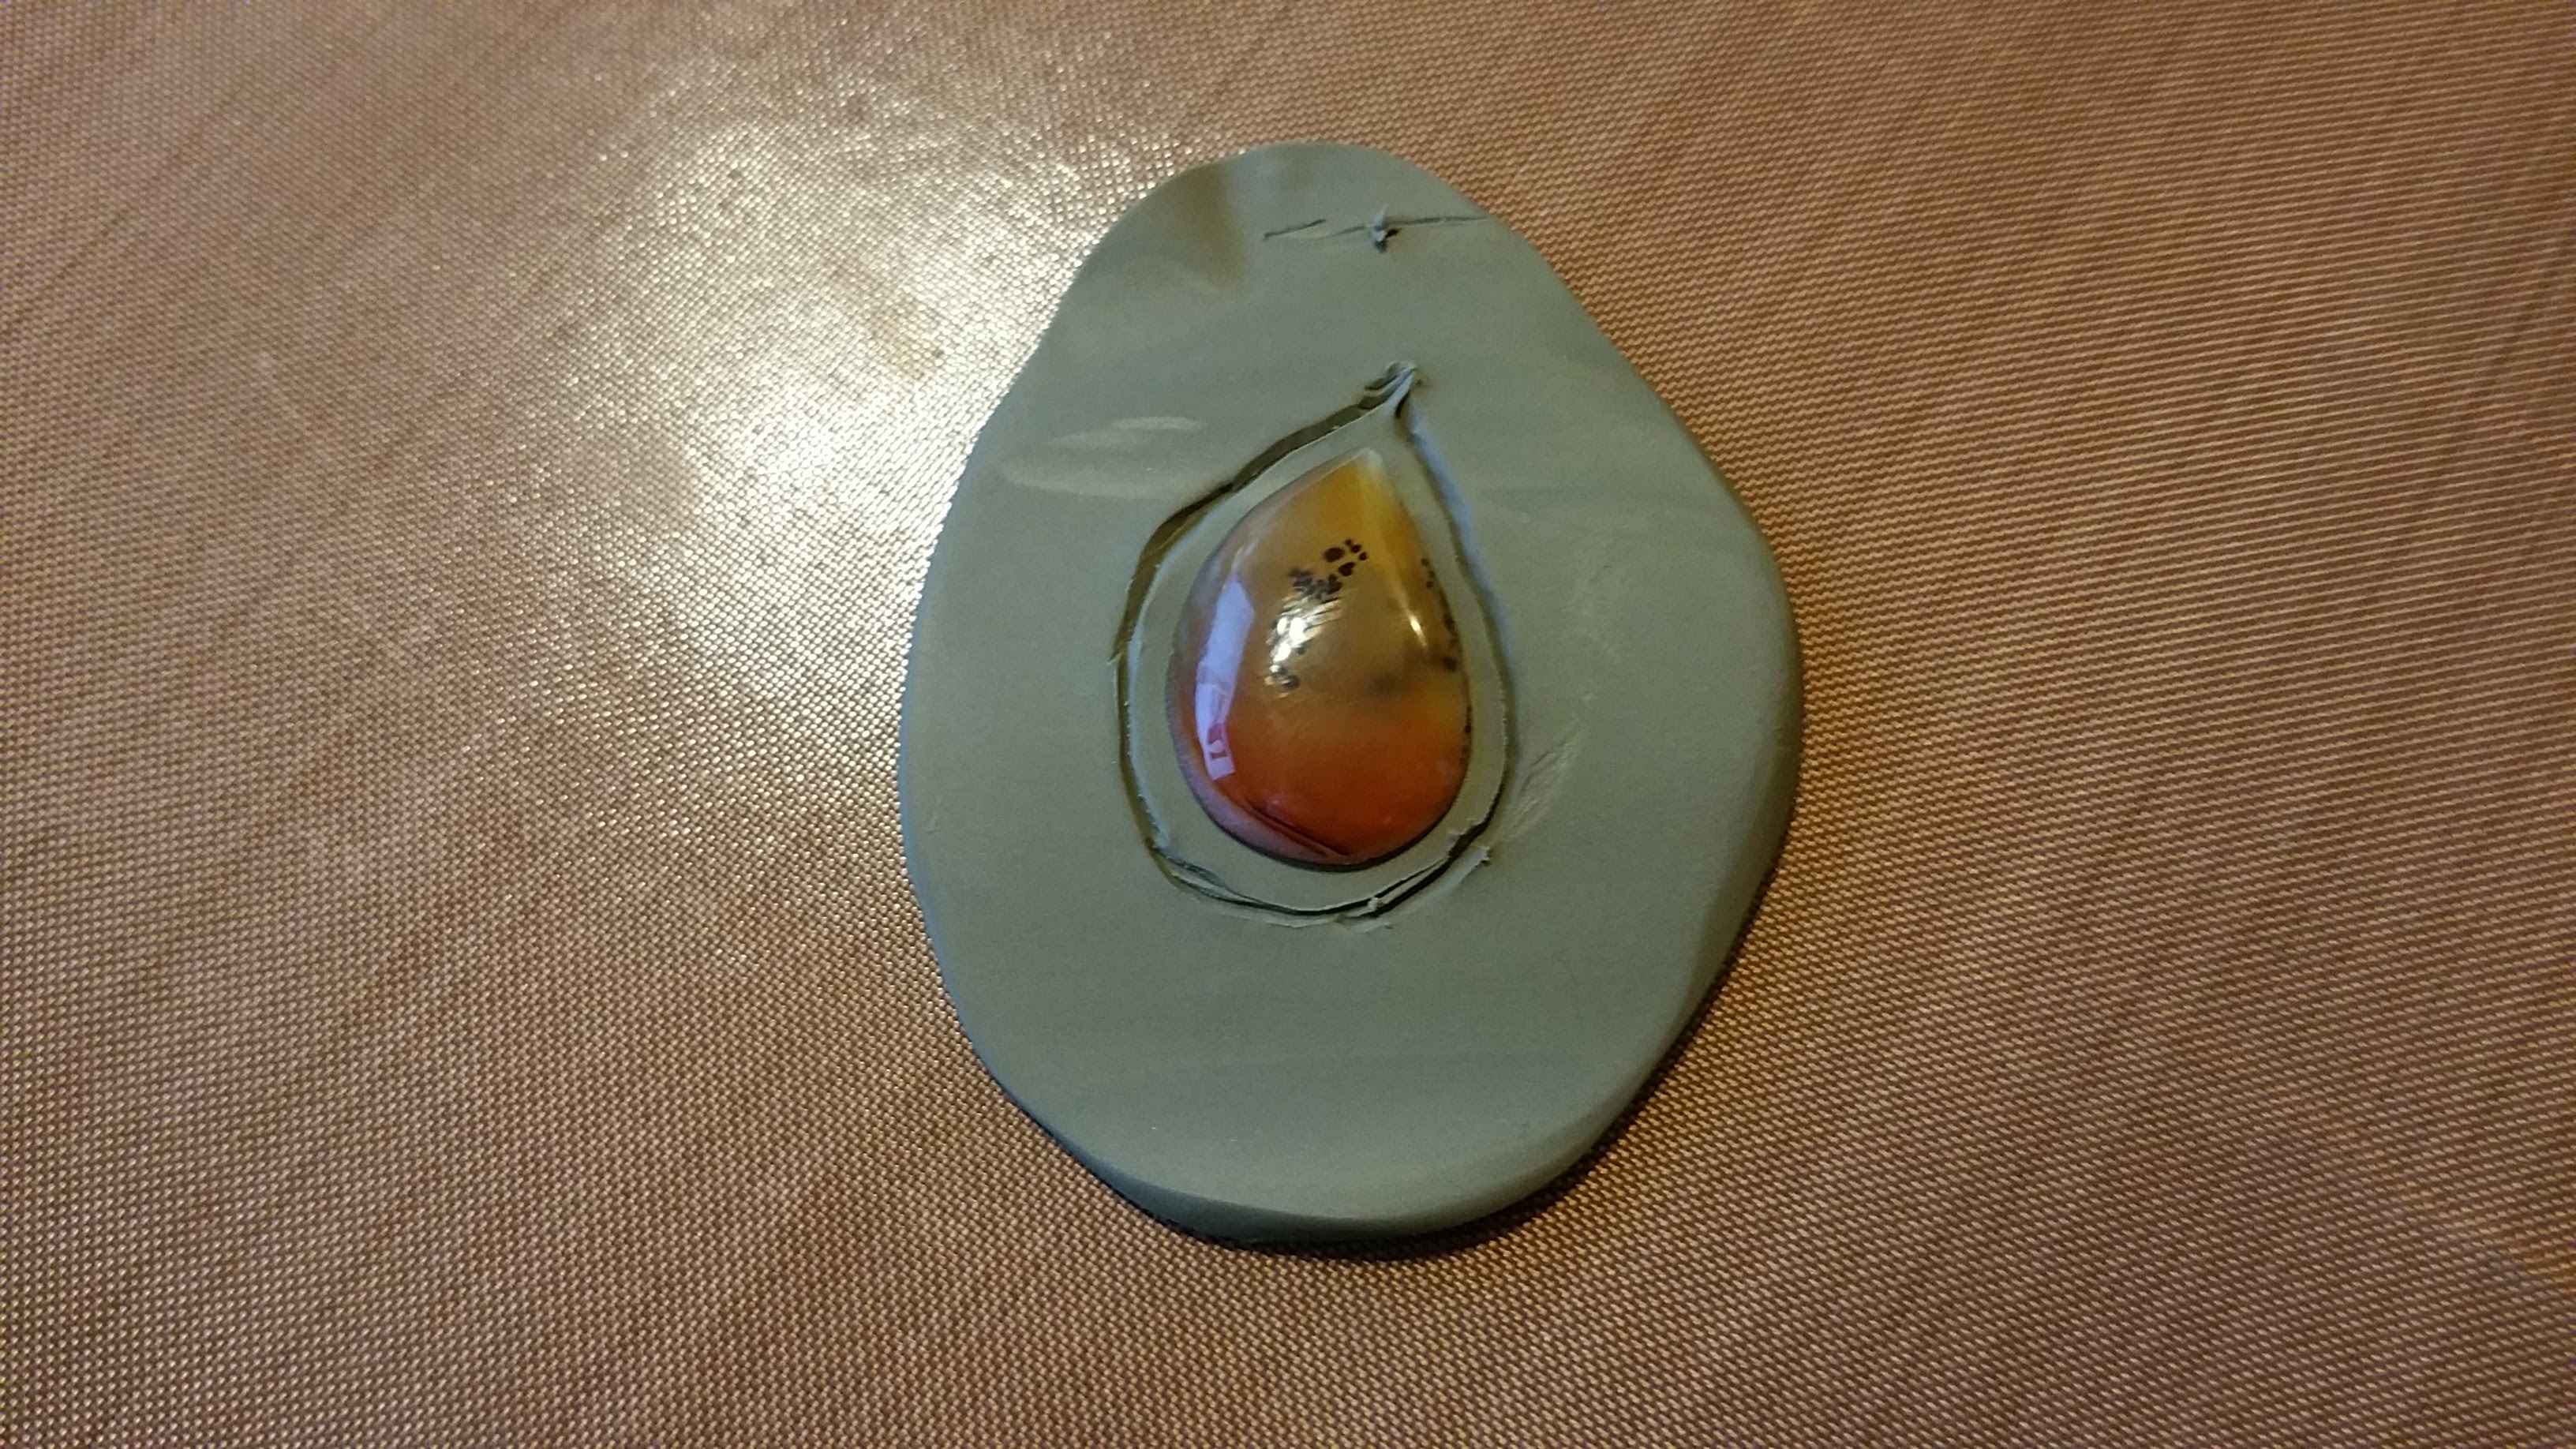
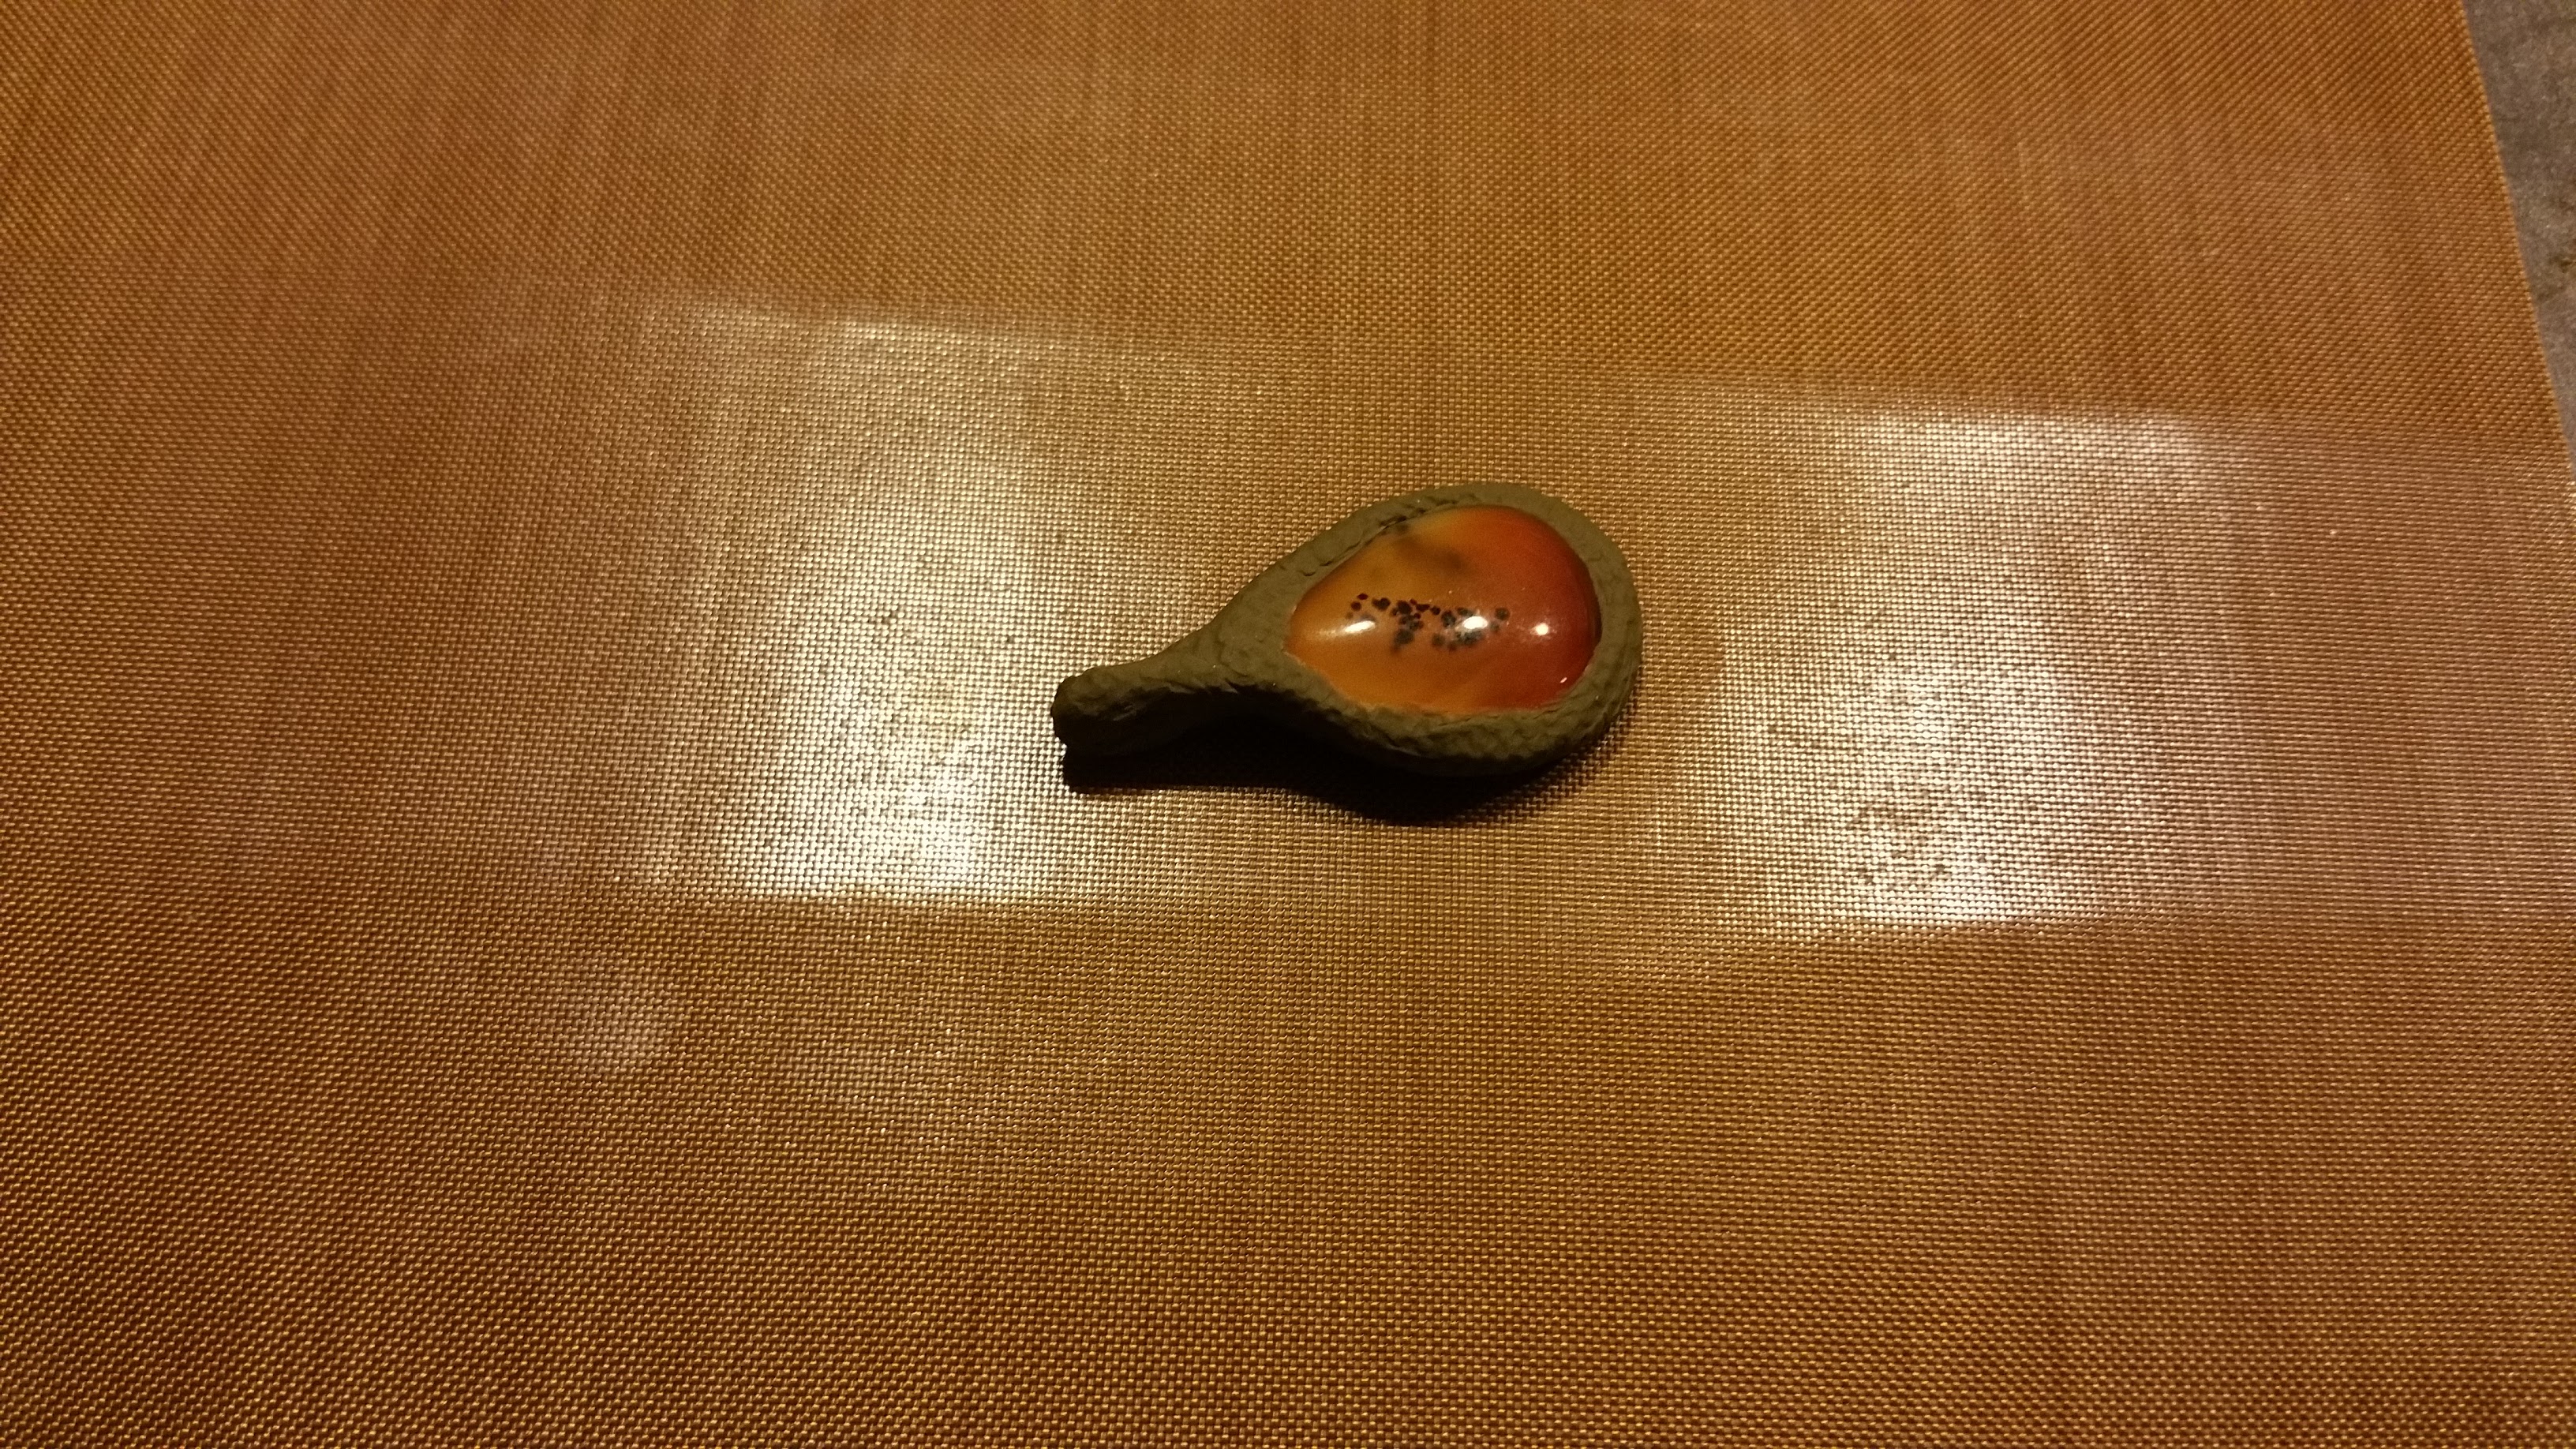
The finished product:
Ever since my first time wire-wrapping I've lamented that the shiny wire distracts from the stone. I've even tried playing with silver and solder (and copper and solder) and always feel like I'm making a piece of jewelry and the stone is secondary to that.
Well I wanted to do something different for my mother-in-law and sisters-in-law for Christmas, and I wondered if I could try using polymer clay. So this morning after taking my daughter to the orthodontist, I stopped by the craft store and got a selection of polymer clays and some basic tools and brought everything home.
I'll say now that this took me a lot longer than wire wrapping would have. Mainly because as per my normal process of trying something new I come armed with a half-baked notion of what I want and little-to-no actual understanding of the process, but also because polymer clay is super-duper sensitive to everything - fingerprints, a warm room, sitting it down on a smooth surface, or a textured surface, smearing (to name a few)
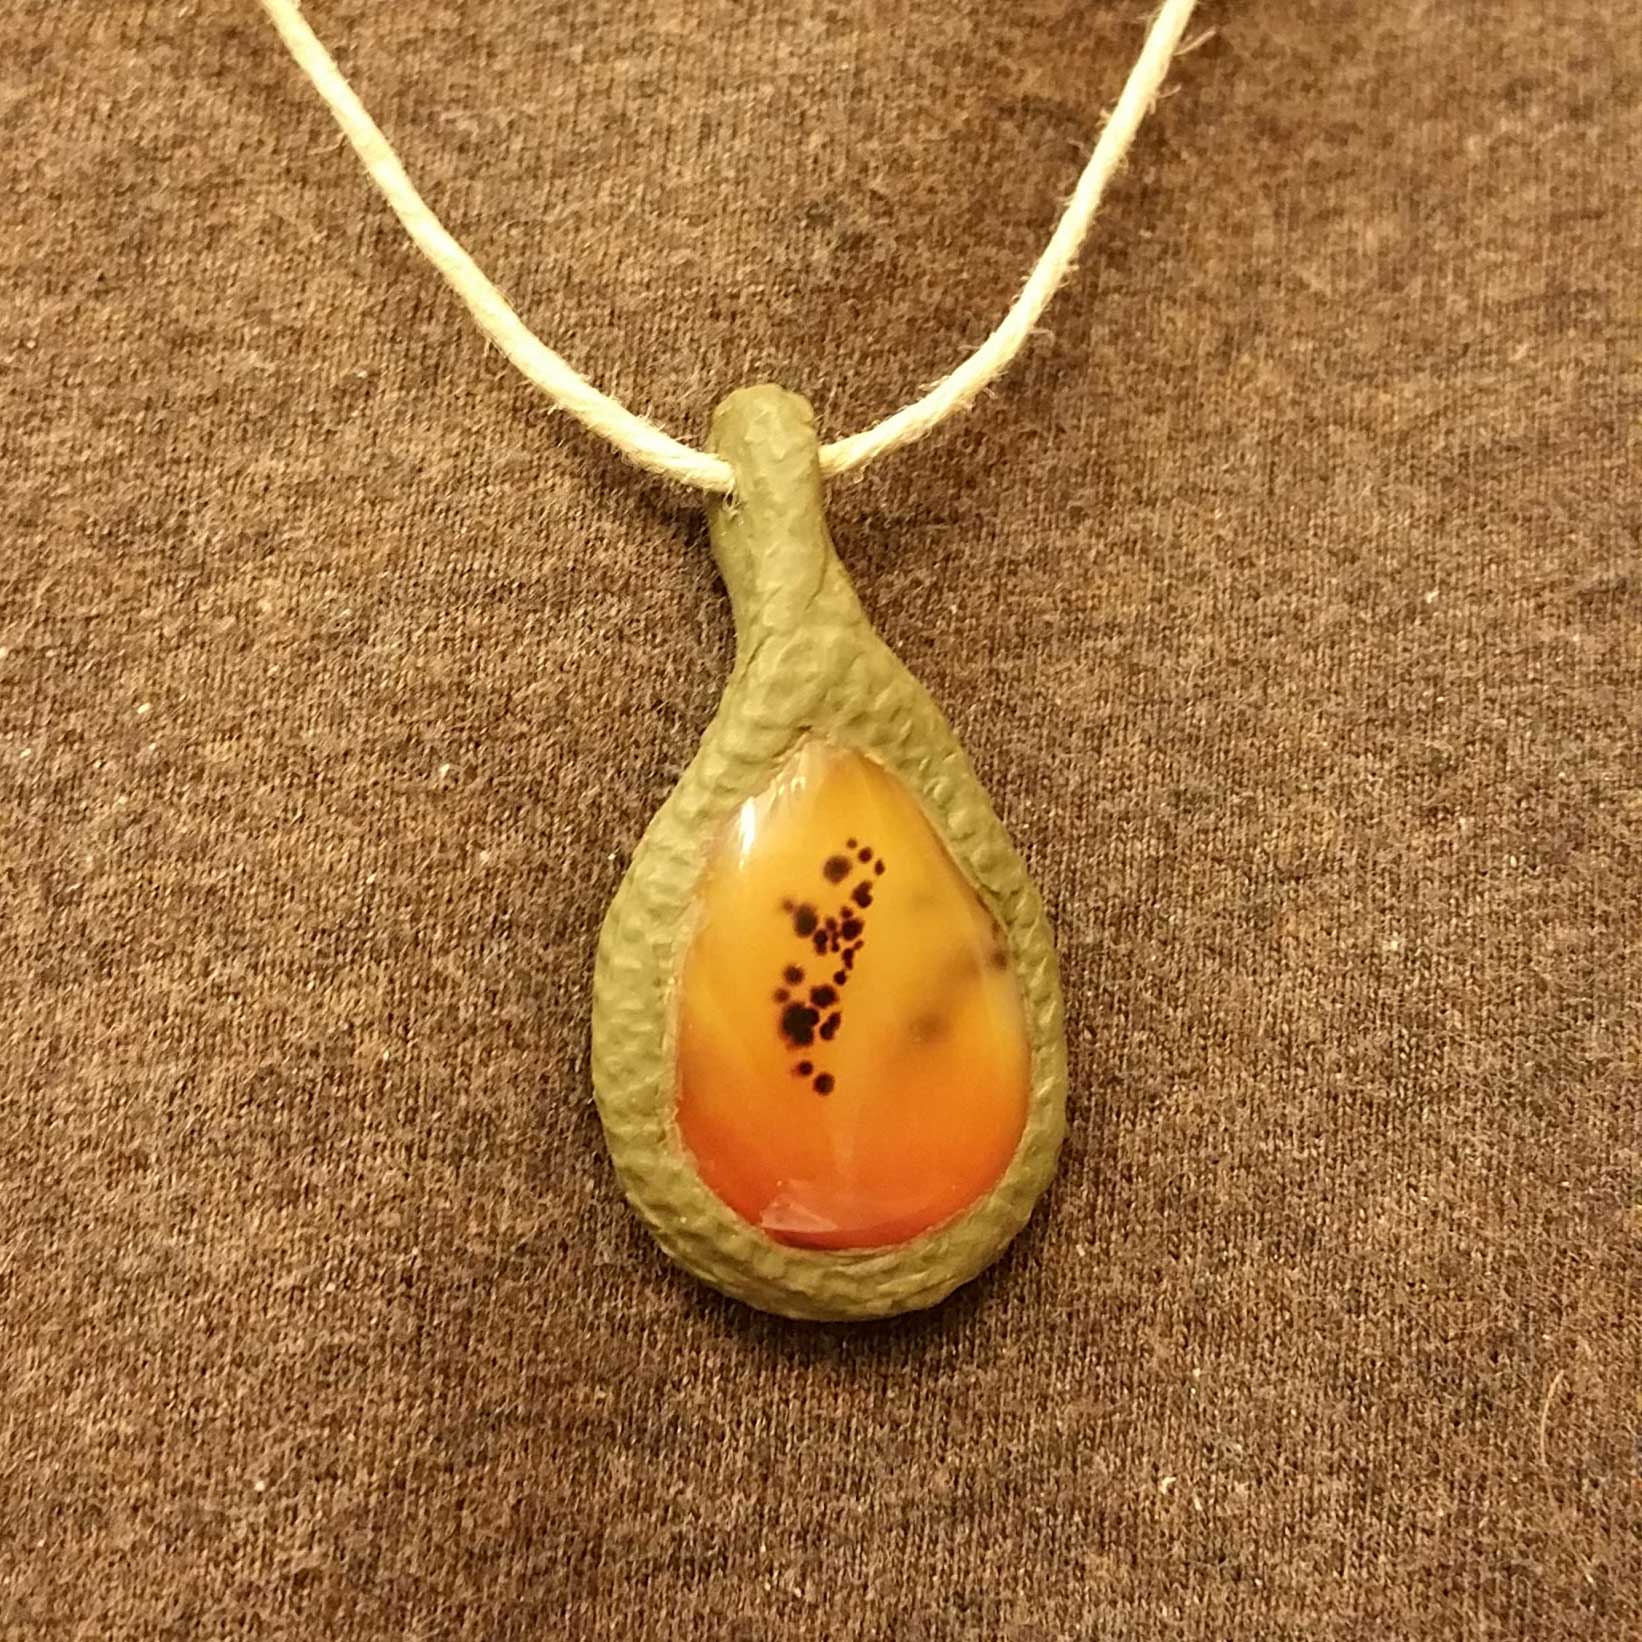
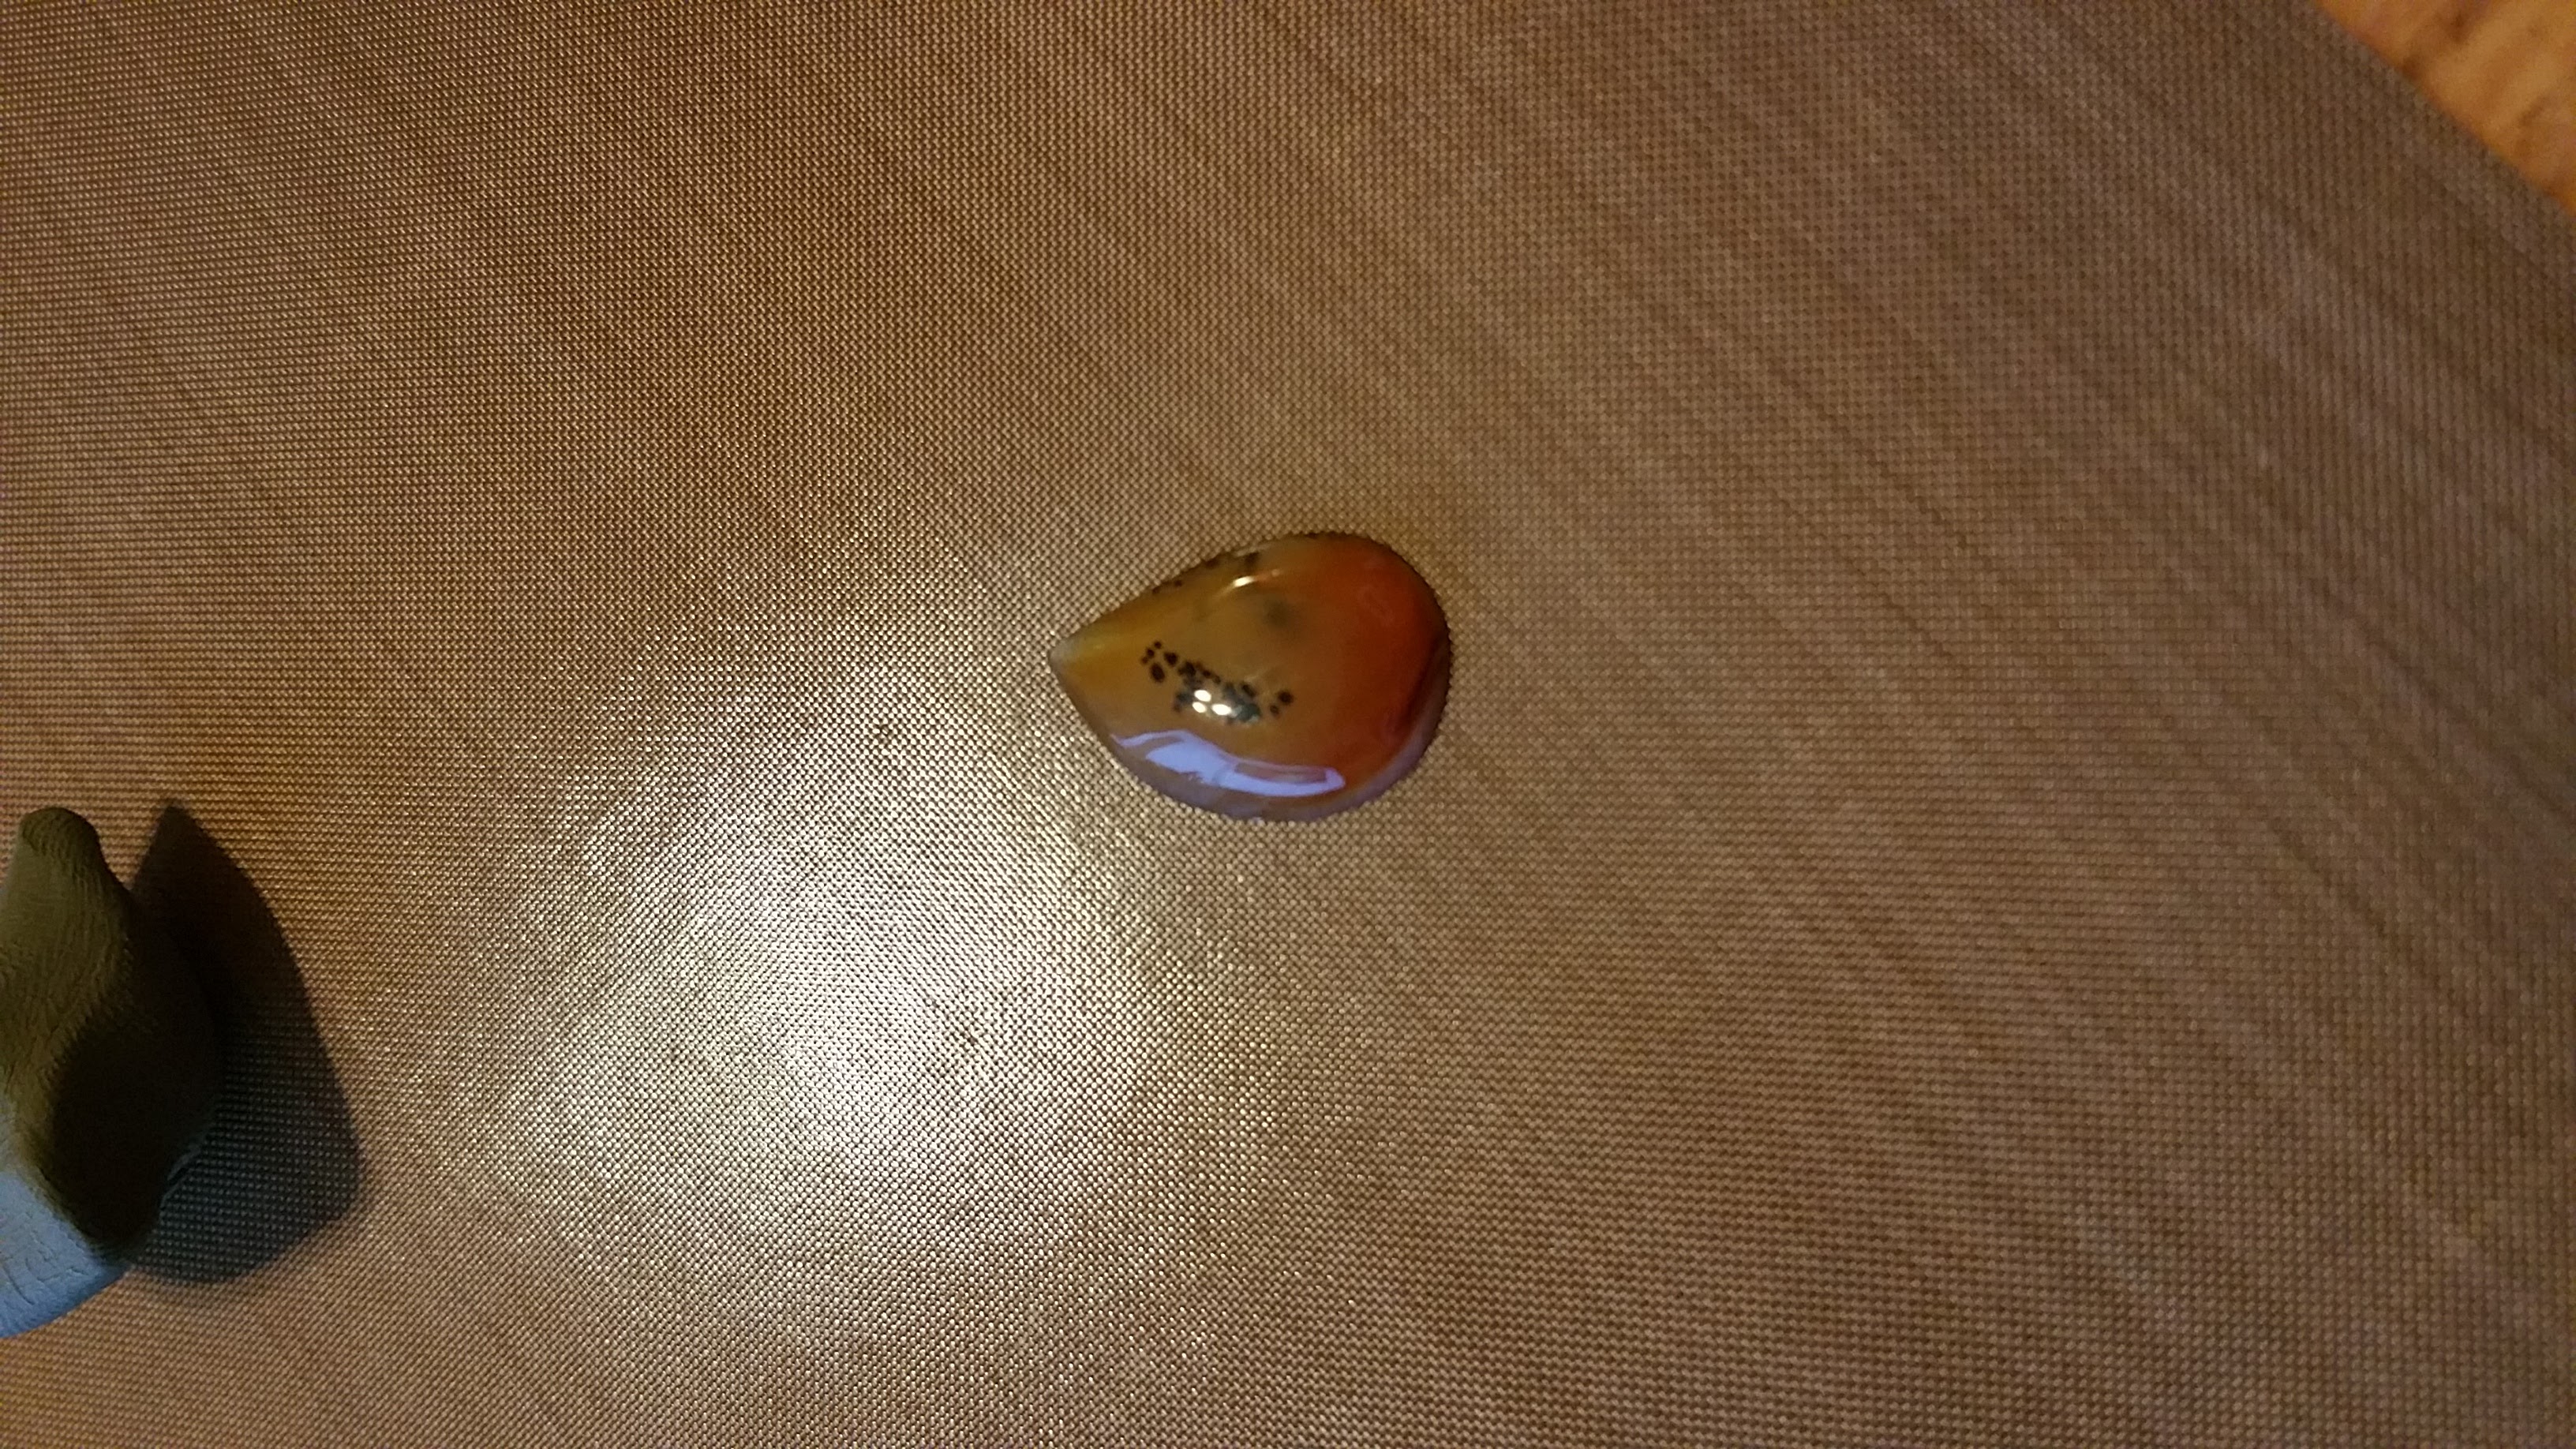
I've had a pretty piece of Montana I cut a few years ago, and thought I'd start with it because it is small and light and wouldn't need much to keep it in place.
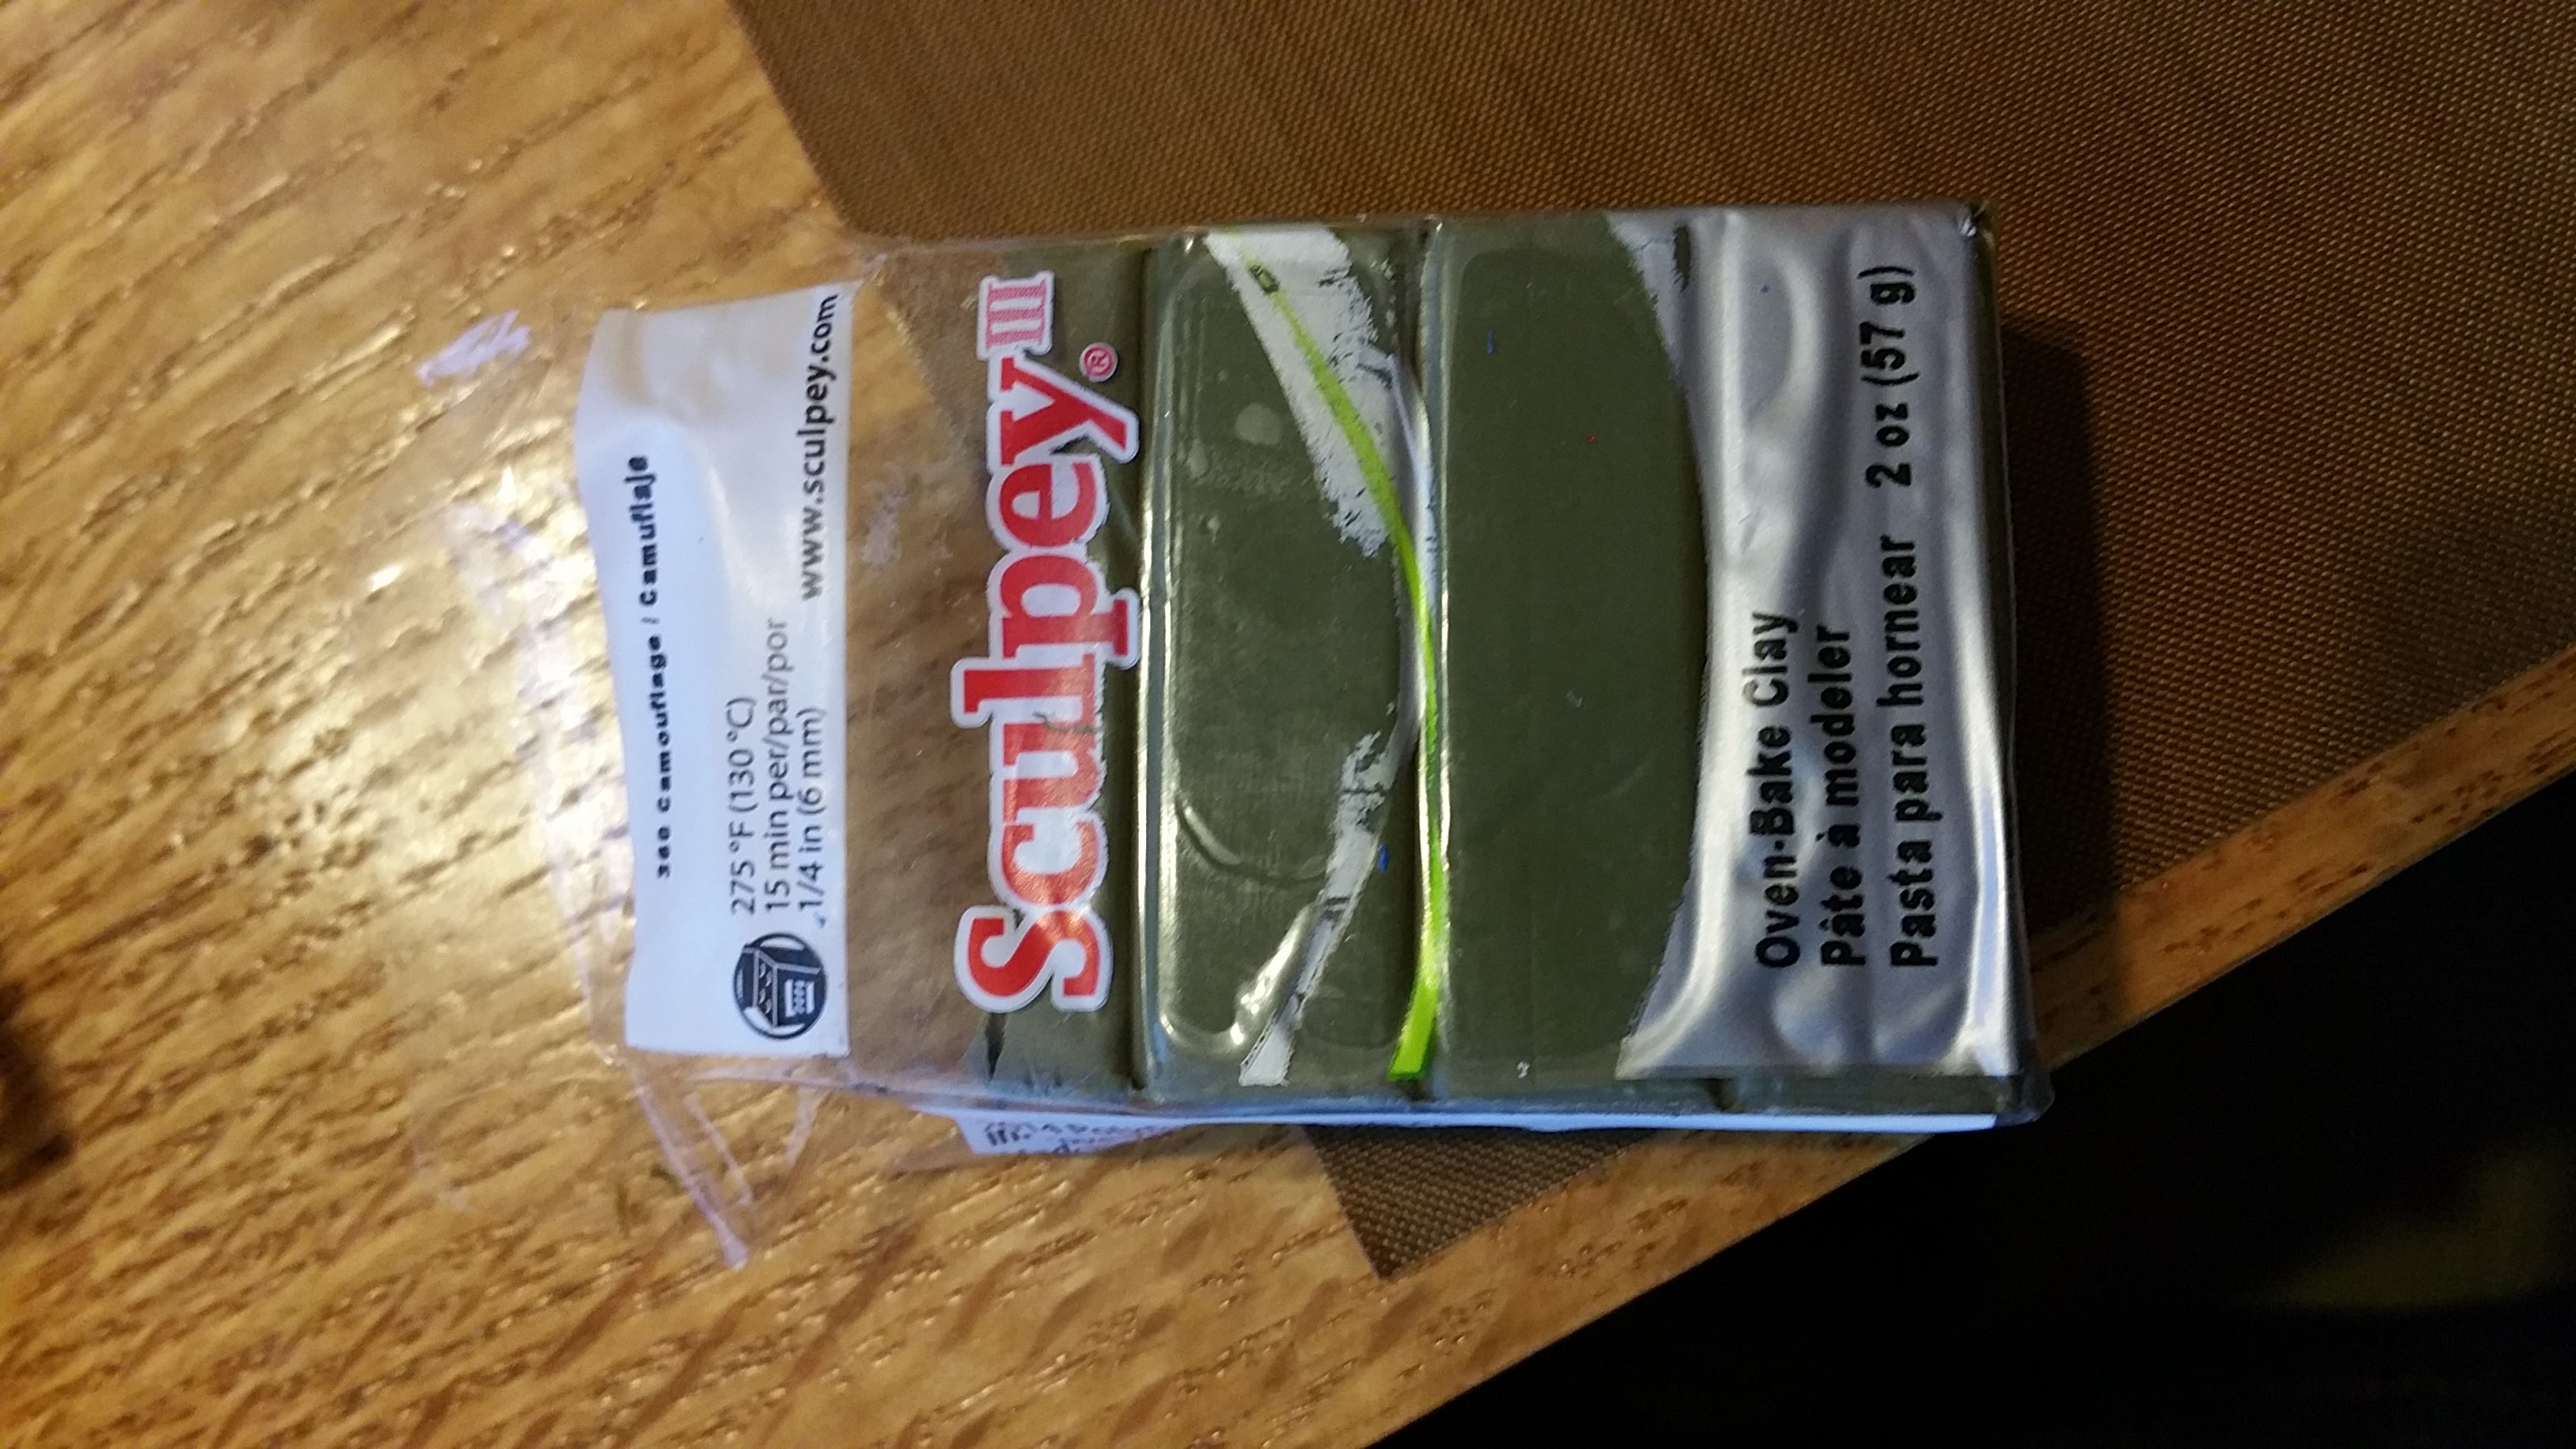
I liked this green color, they called it camoflage, but it was a basic OD-ish green:
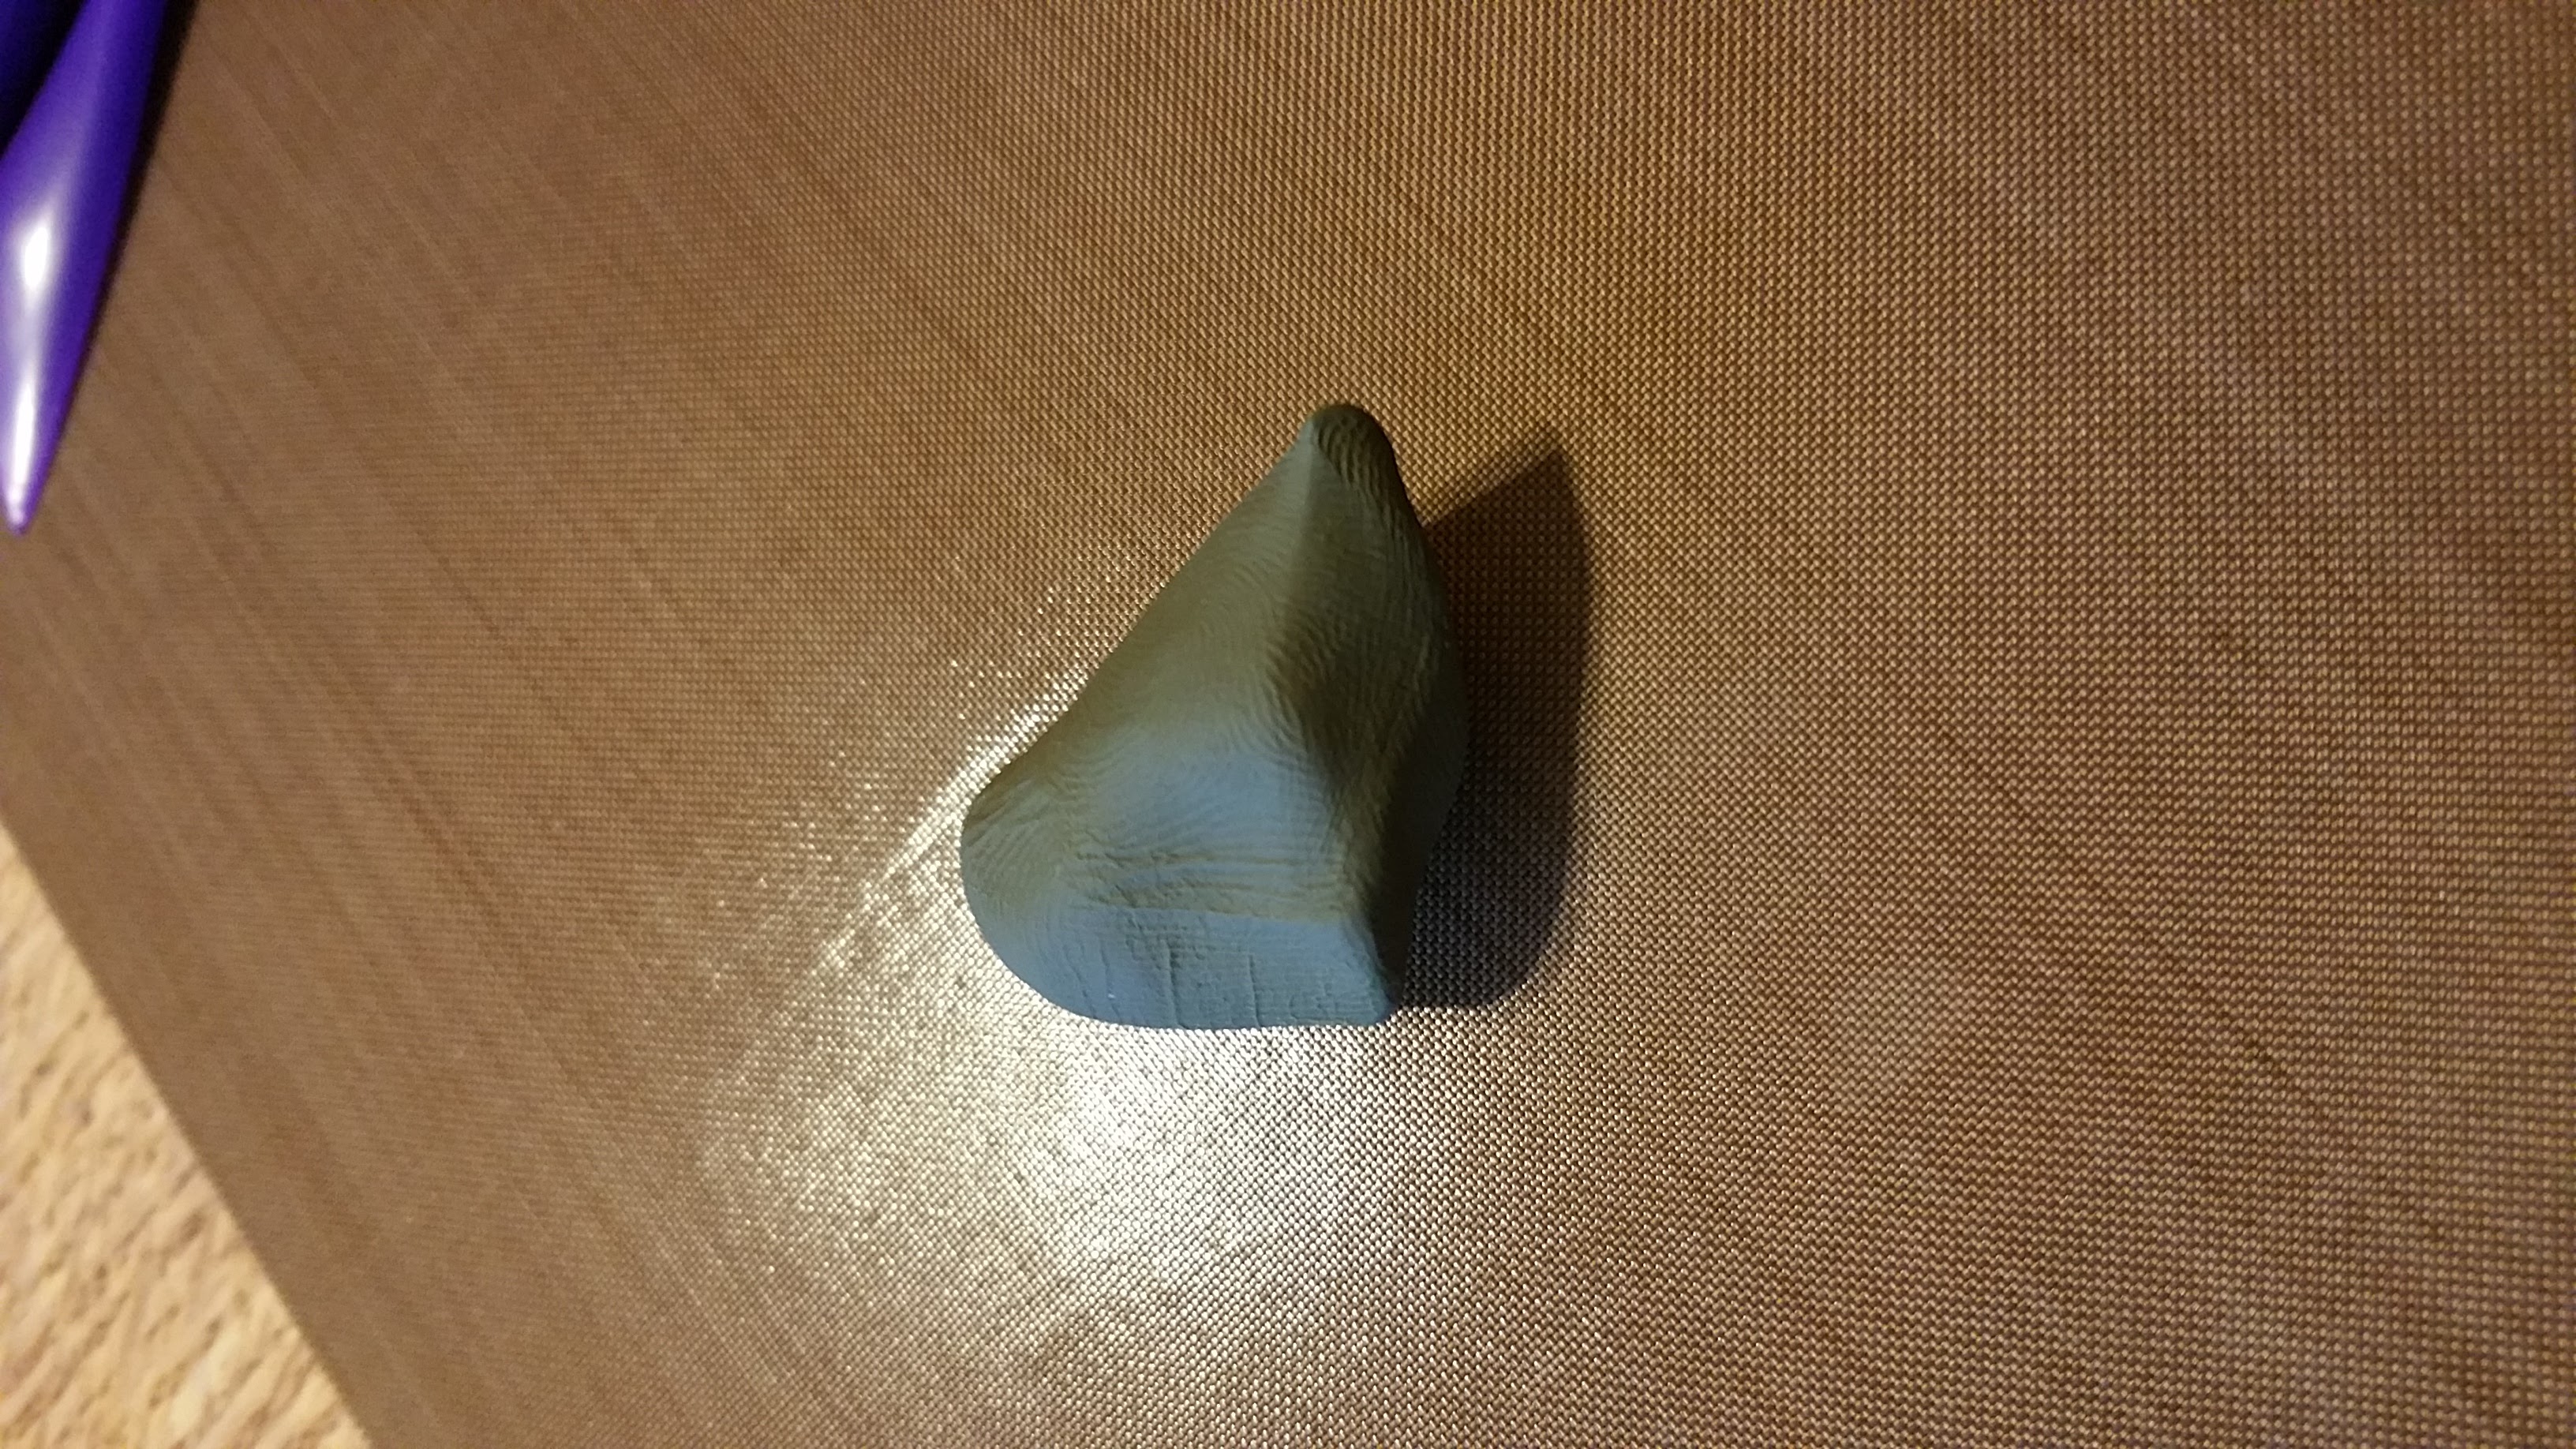
I grabbed a chunk off the end and worked it for a few seconds until it was a warm lump
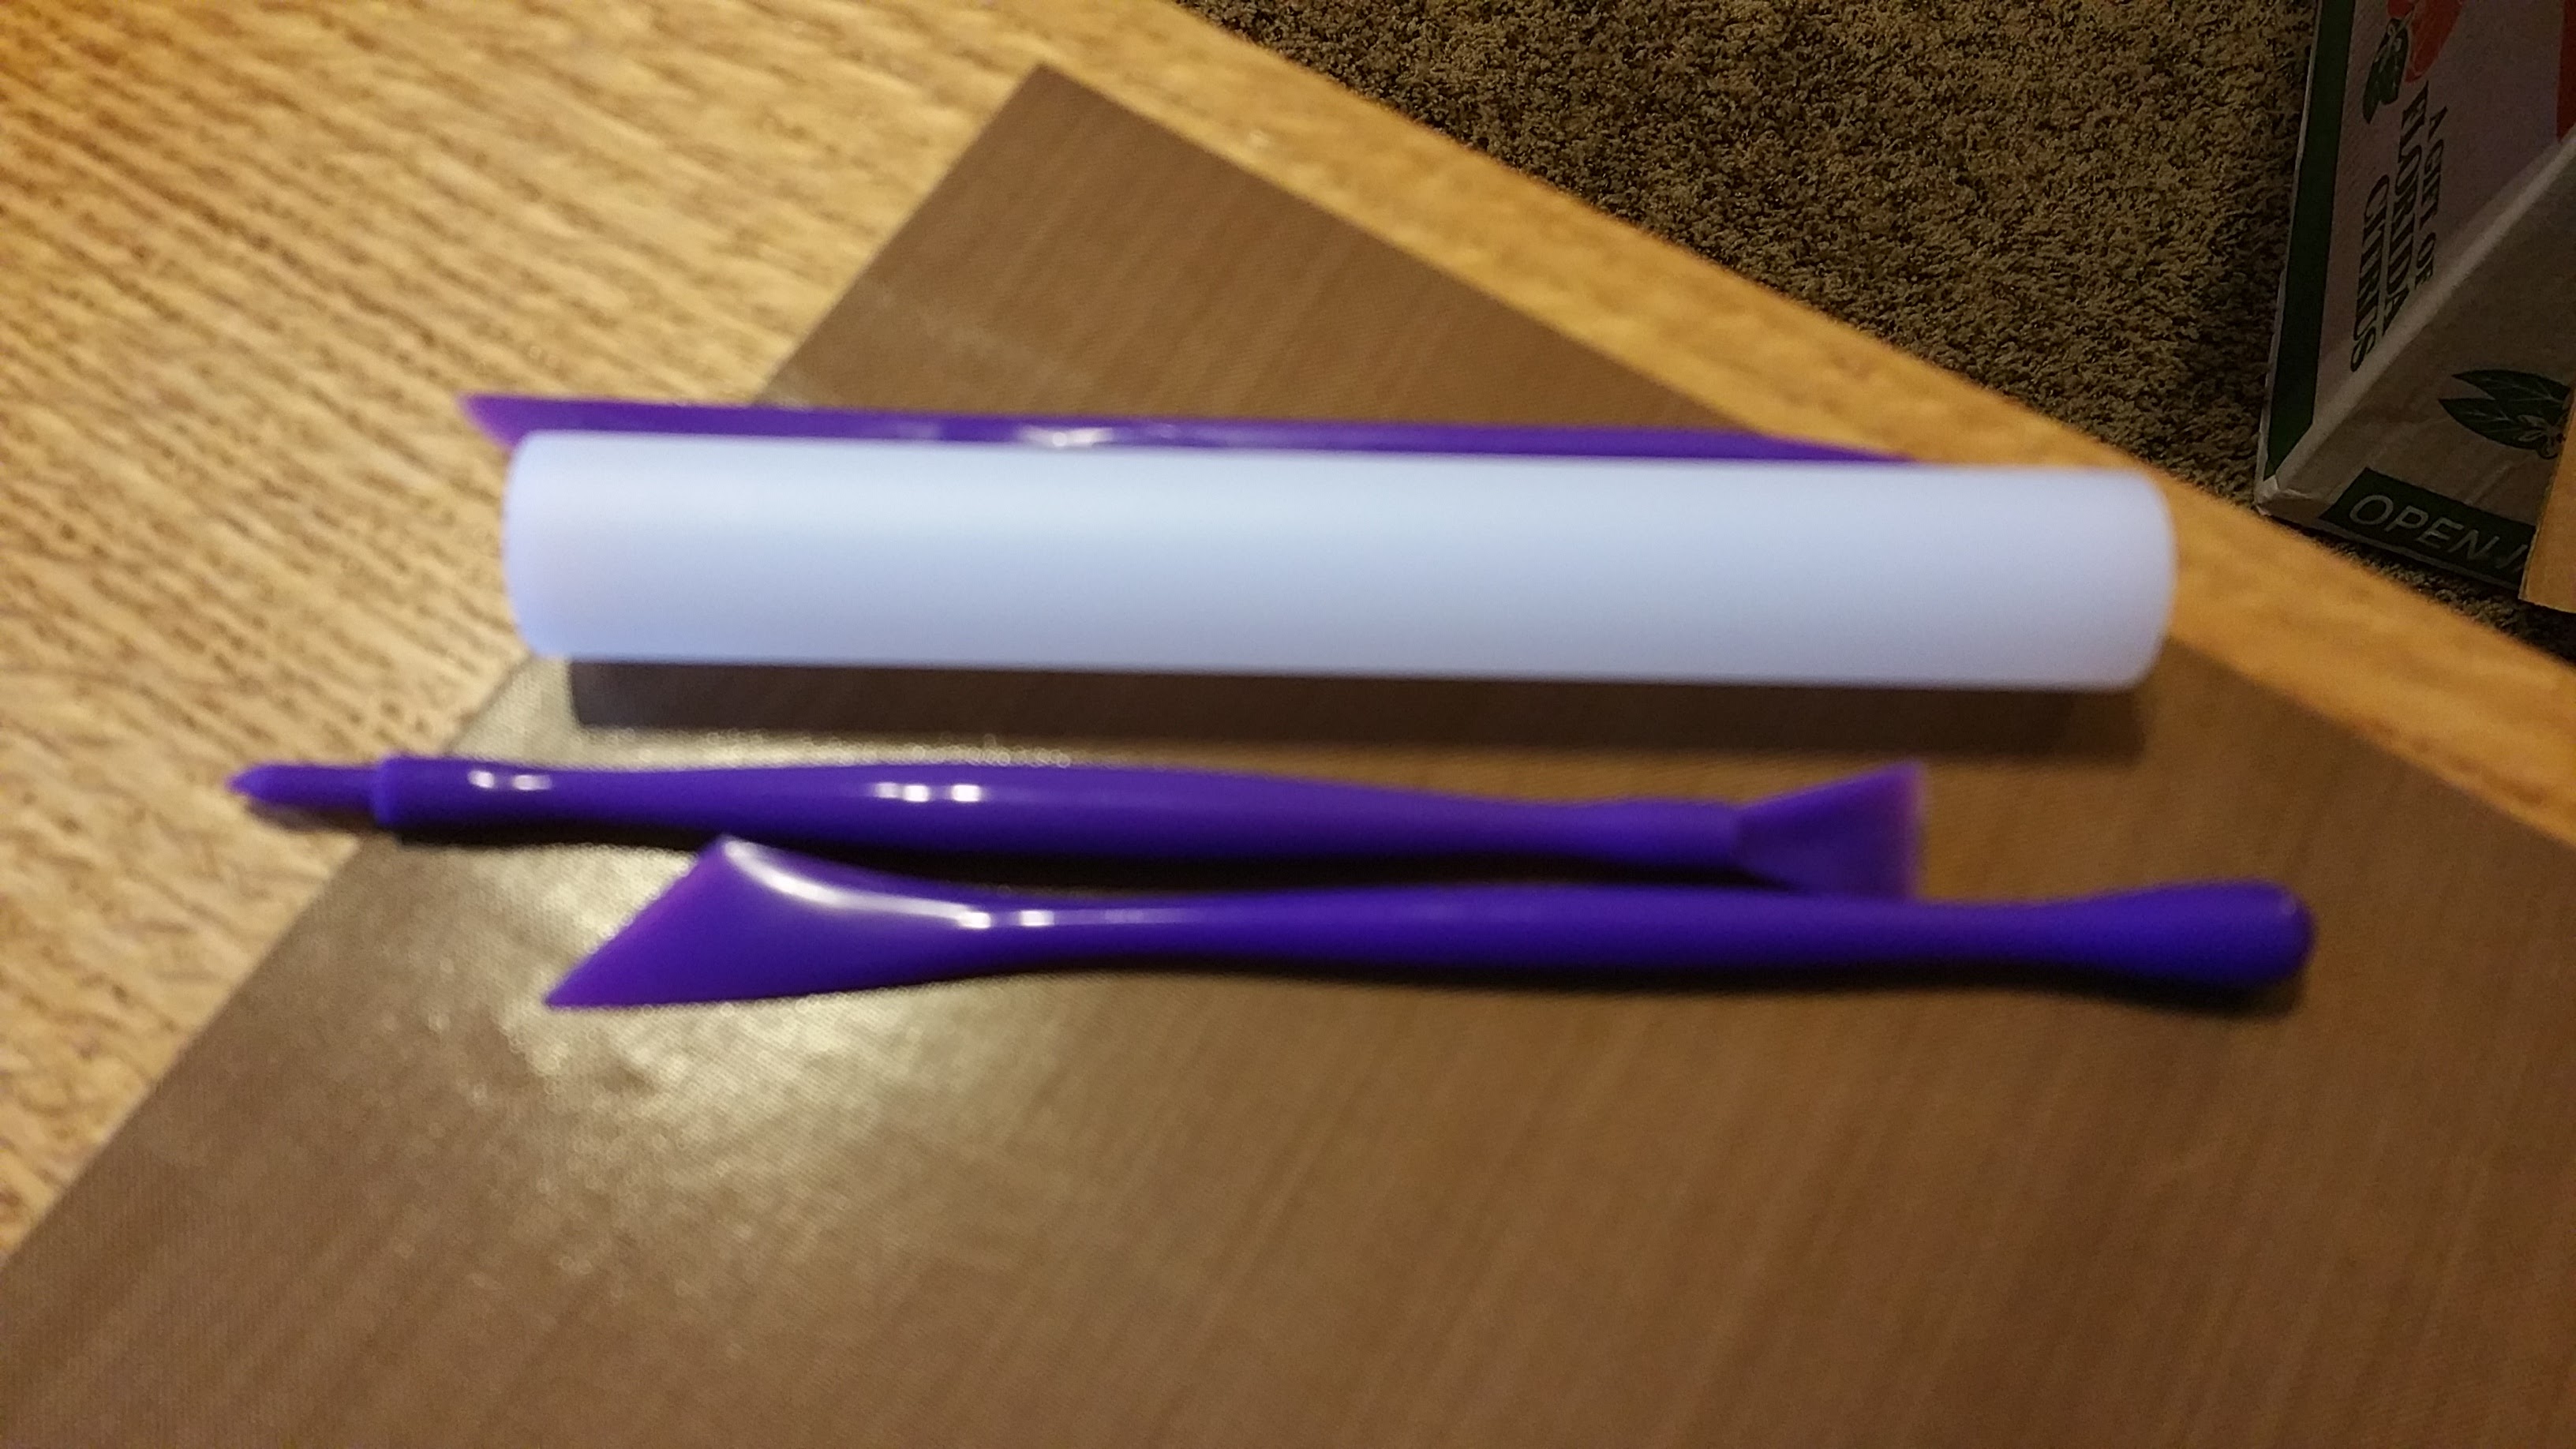
Then broke out the starter tool kit
And flattened the lump, placed the stone and traced a border around it
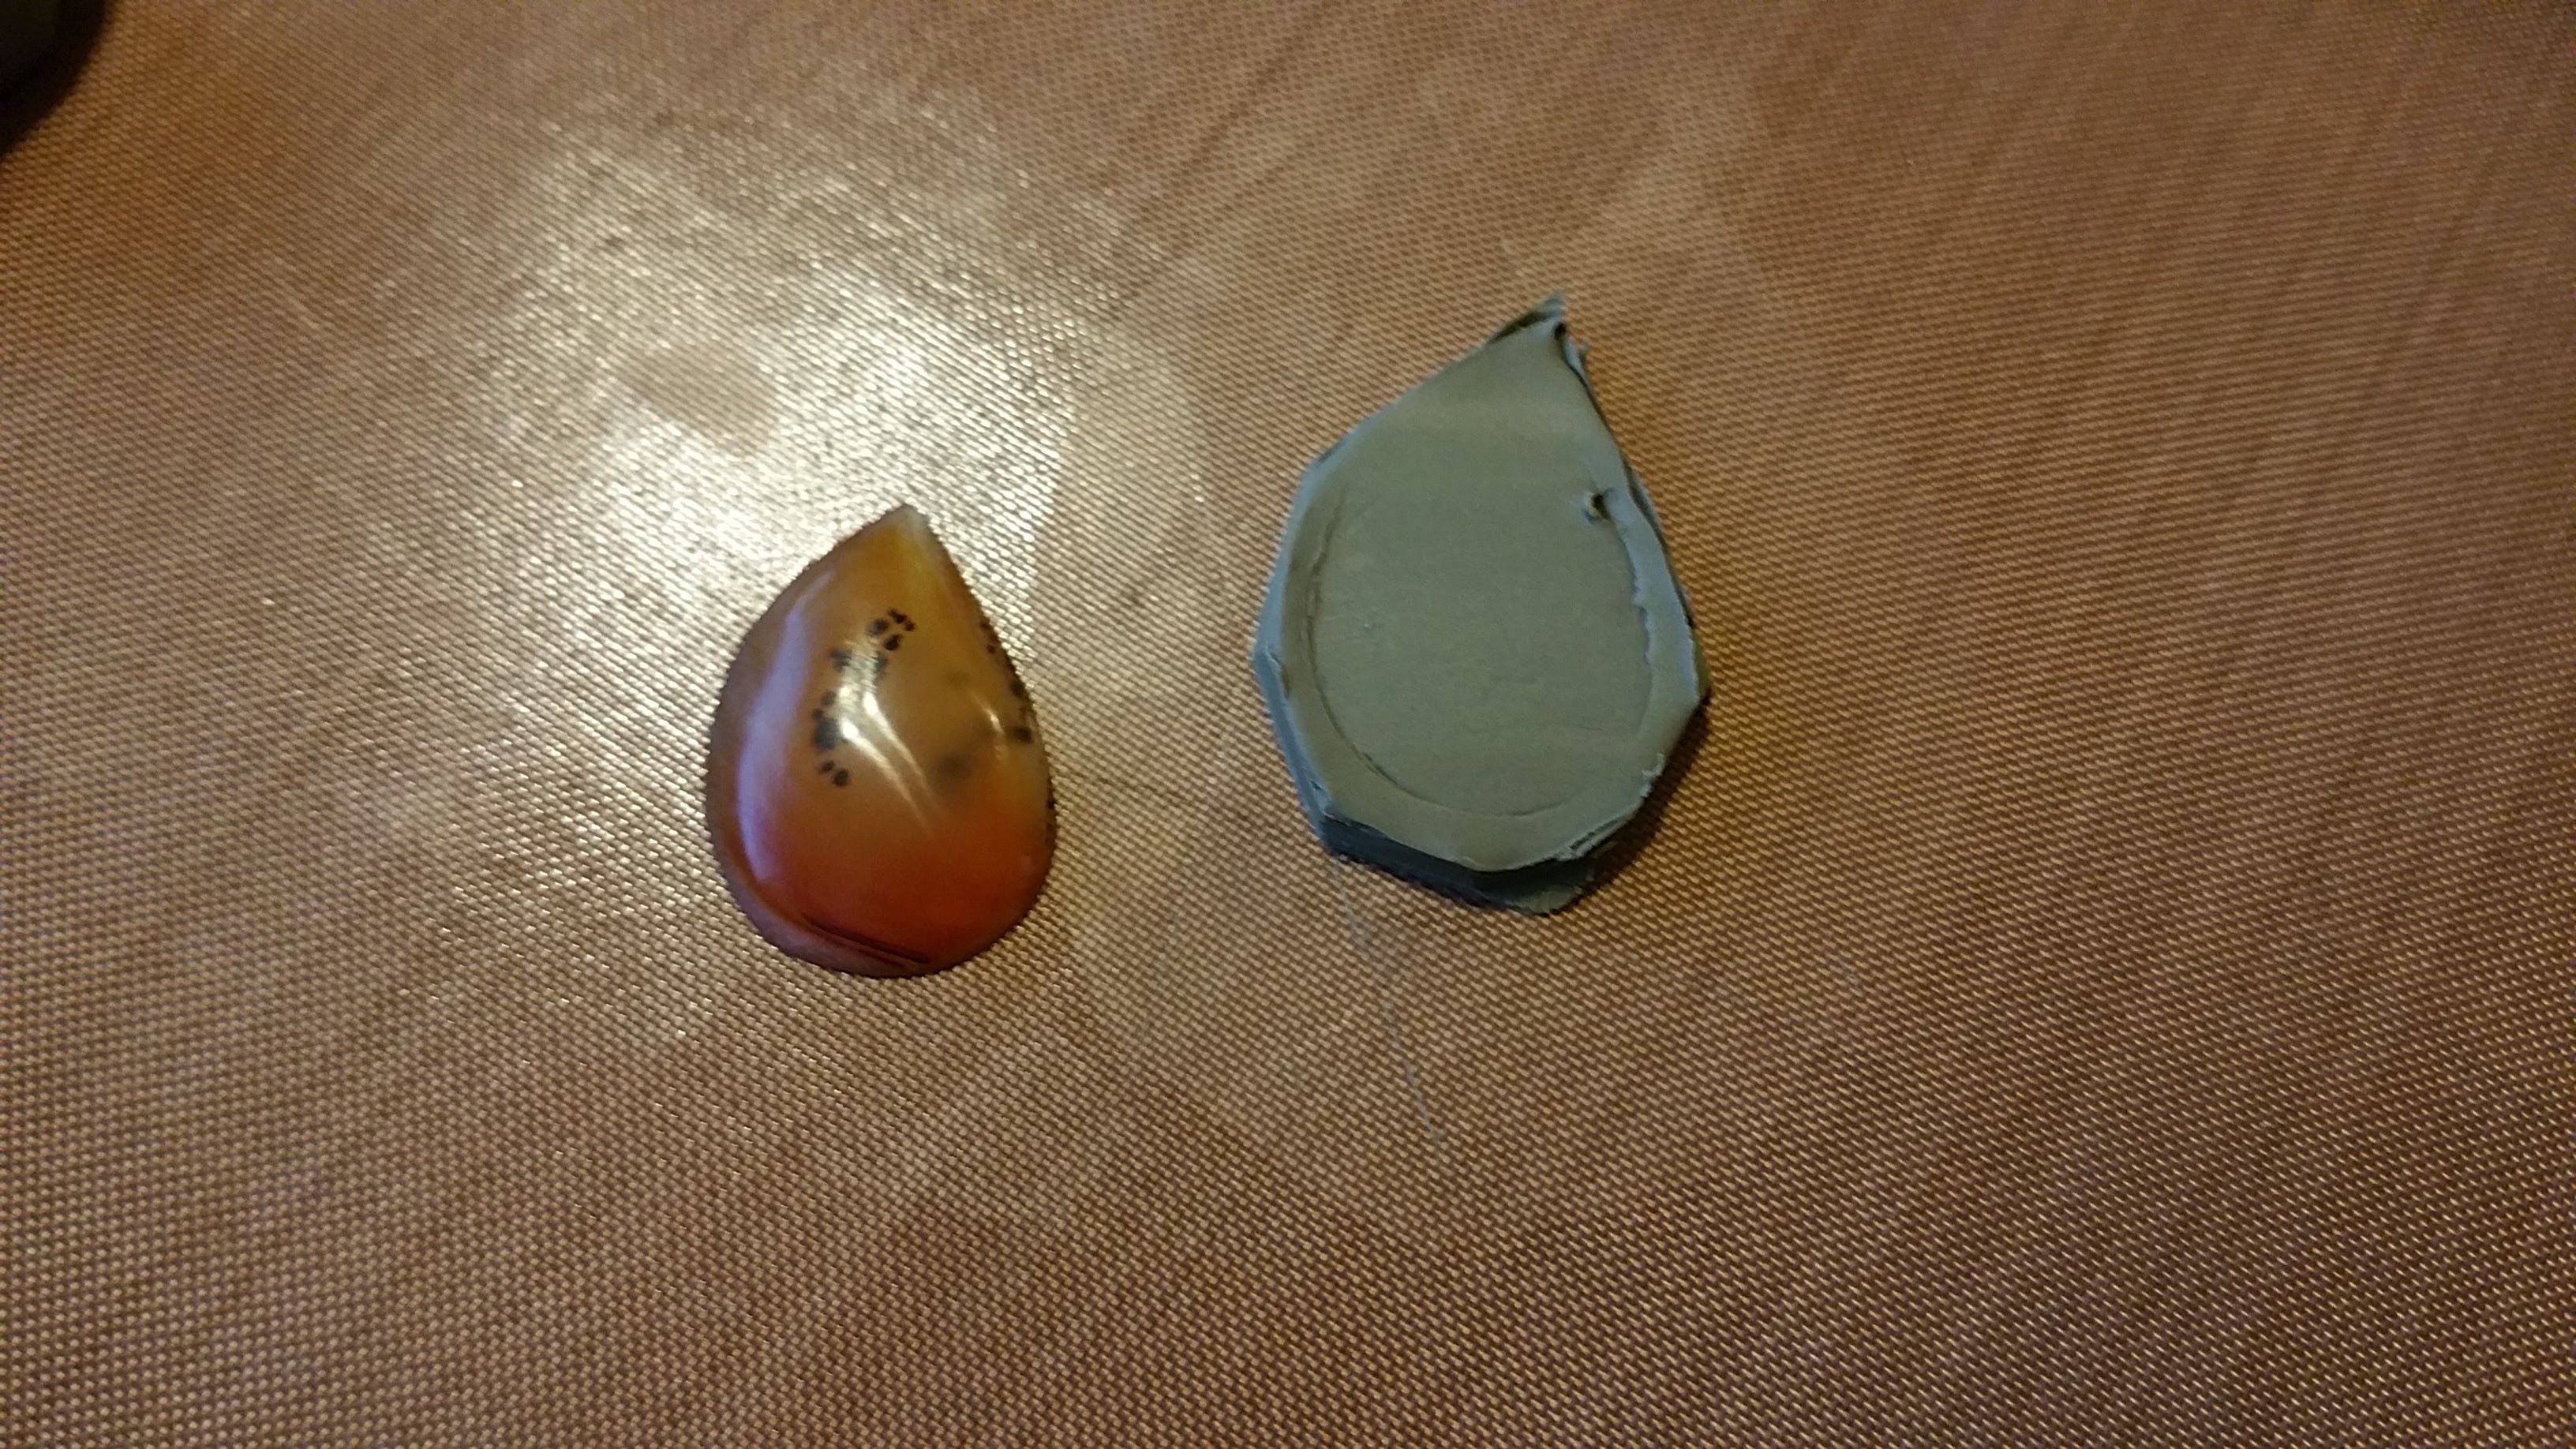
I trimmed out the shape and carefully popped the stone off
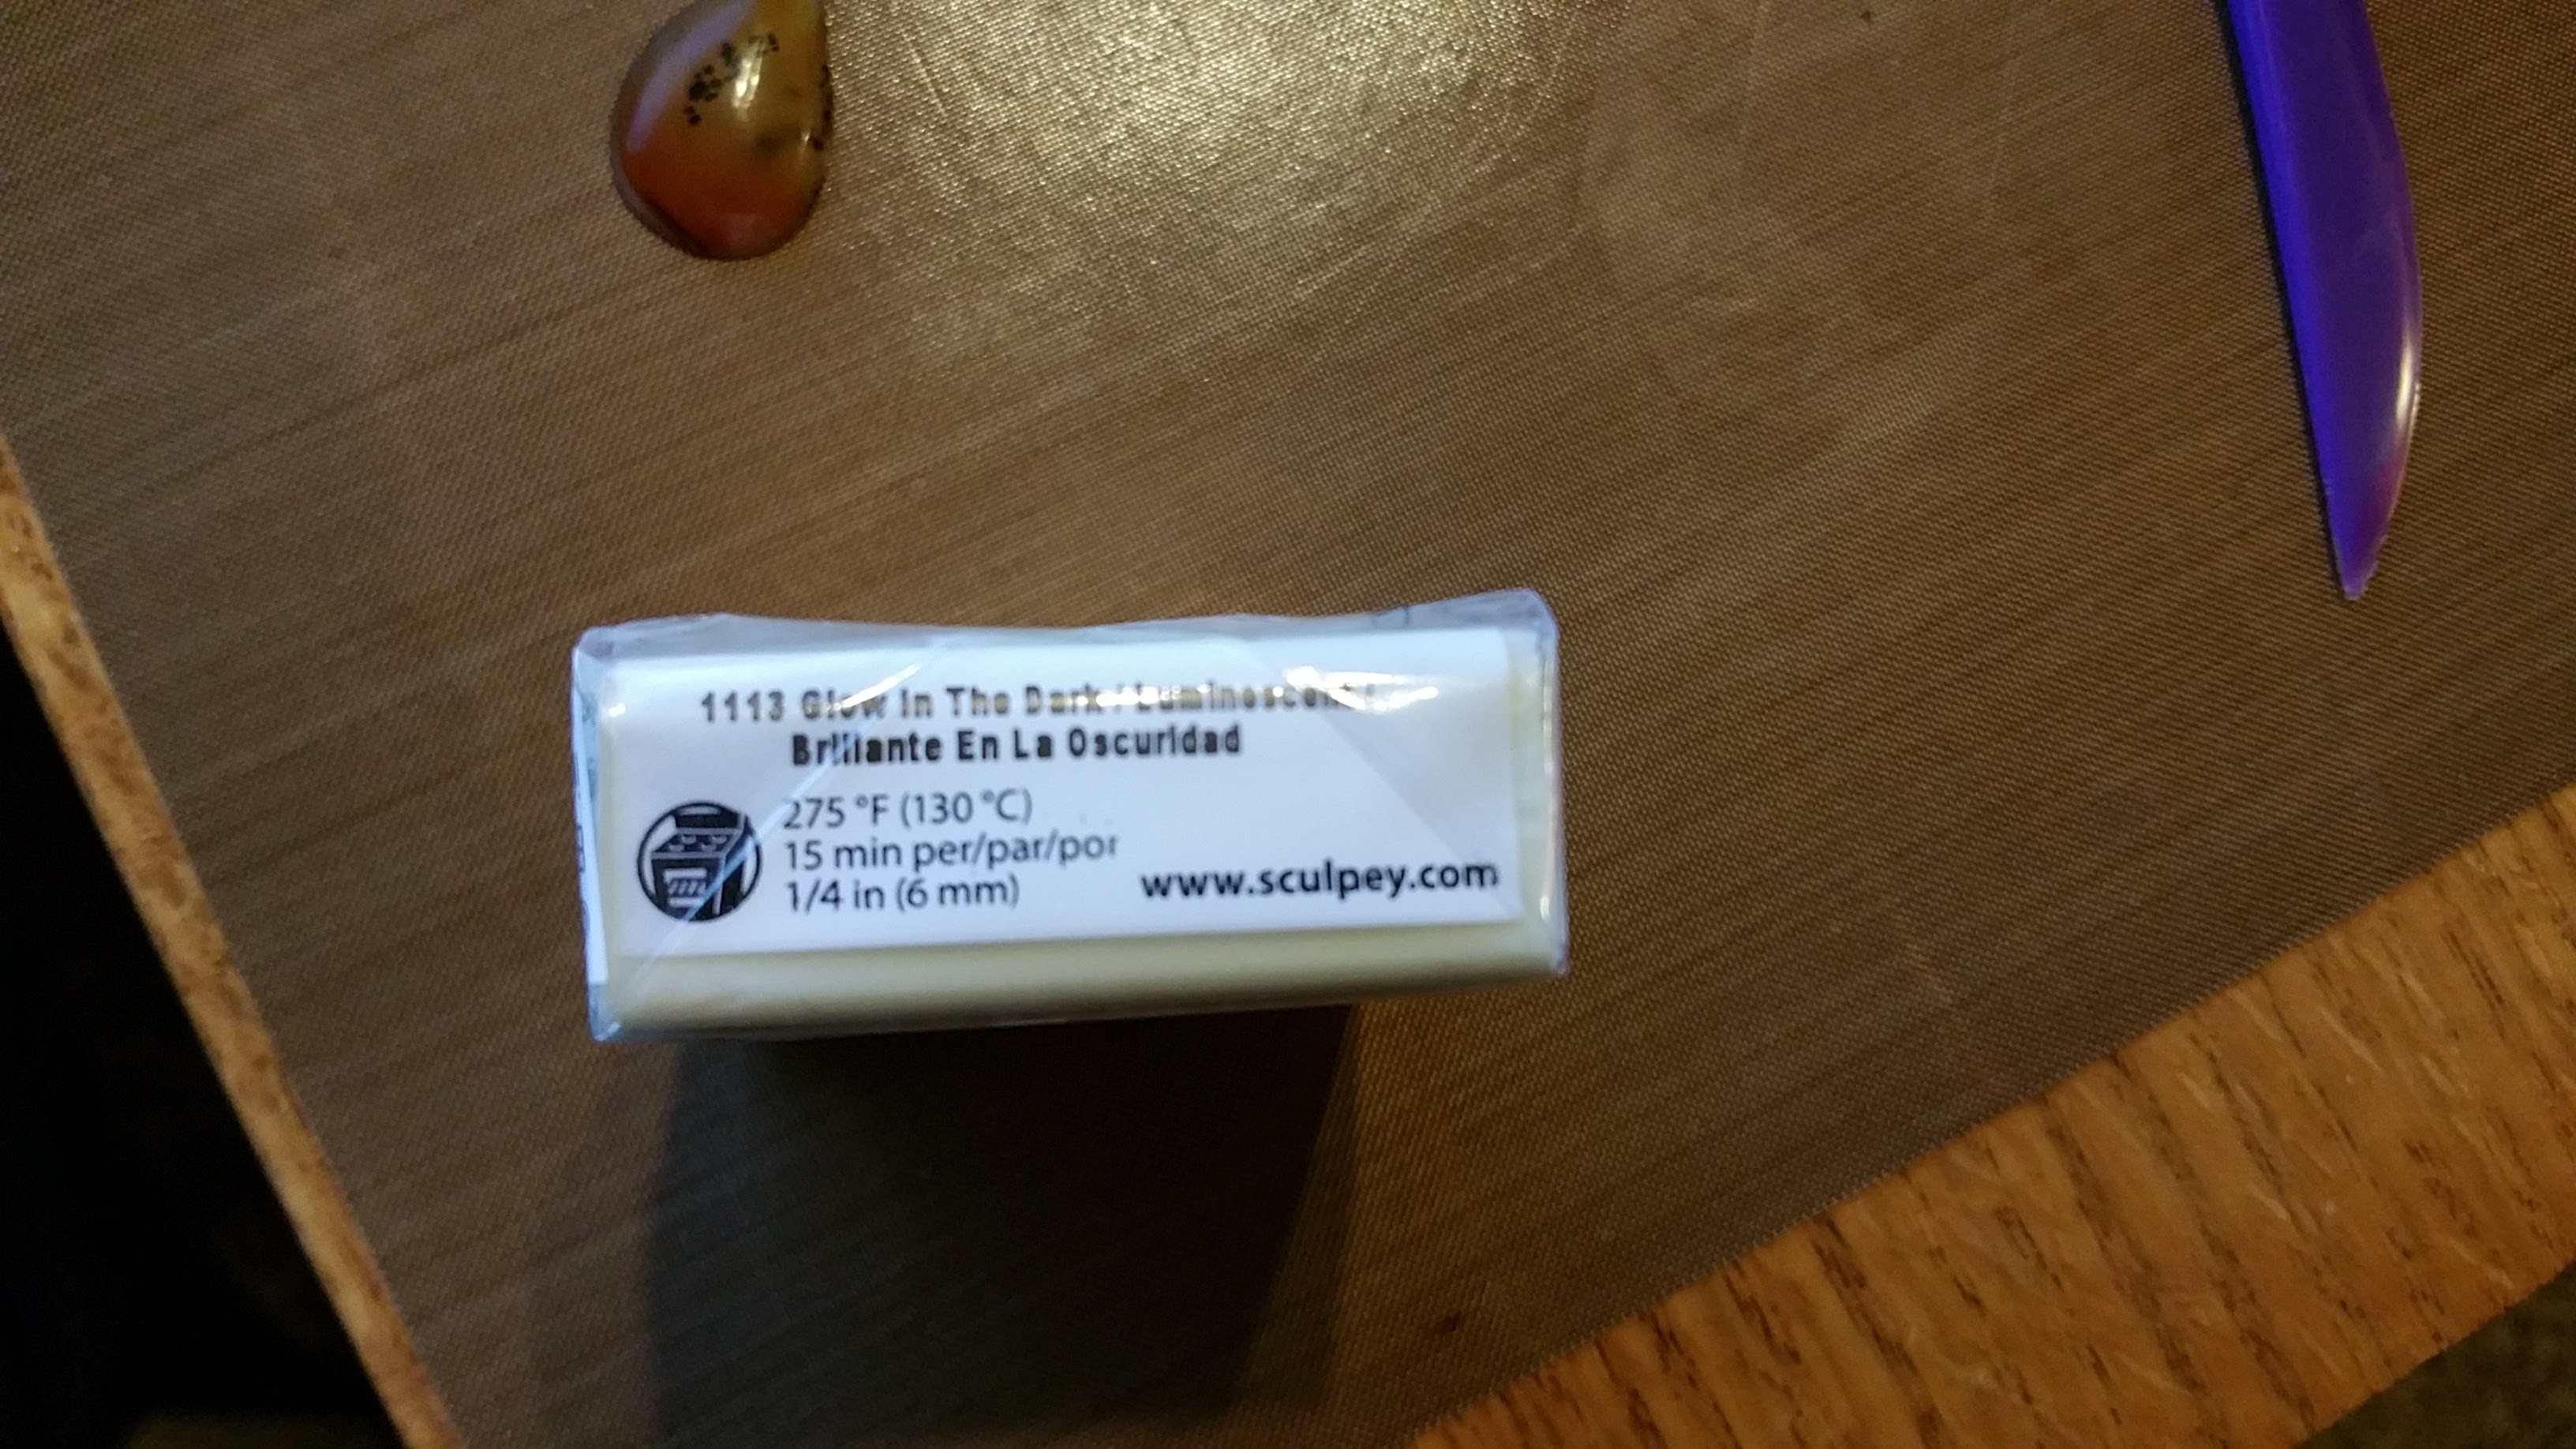
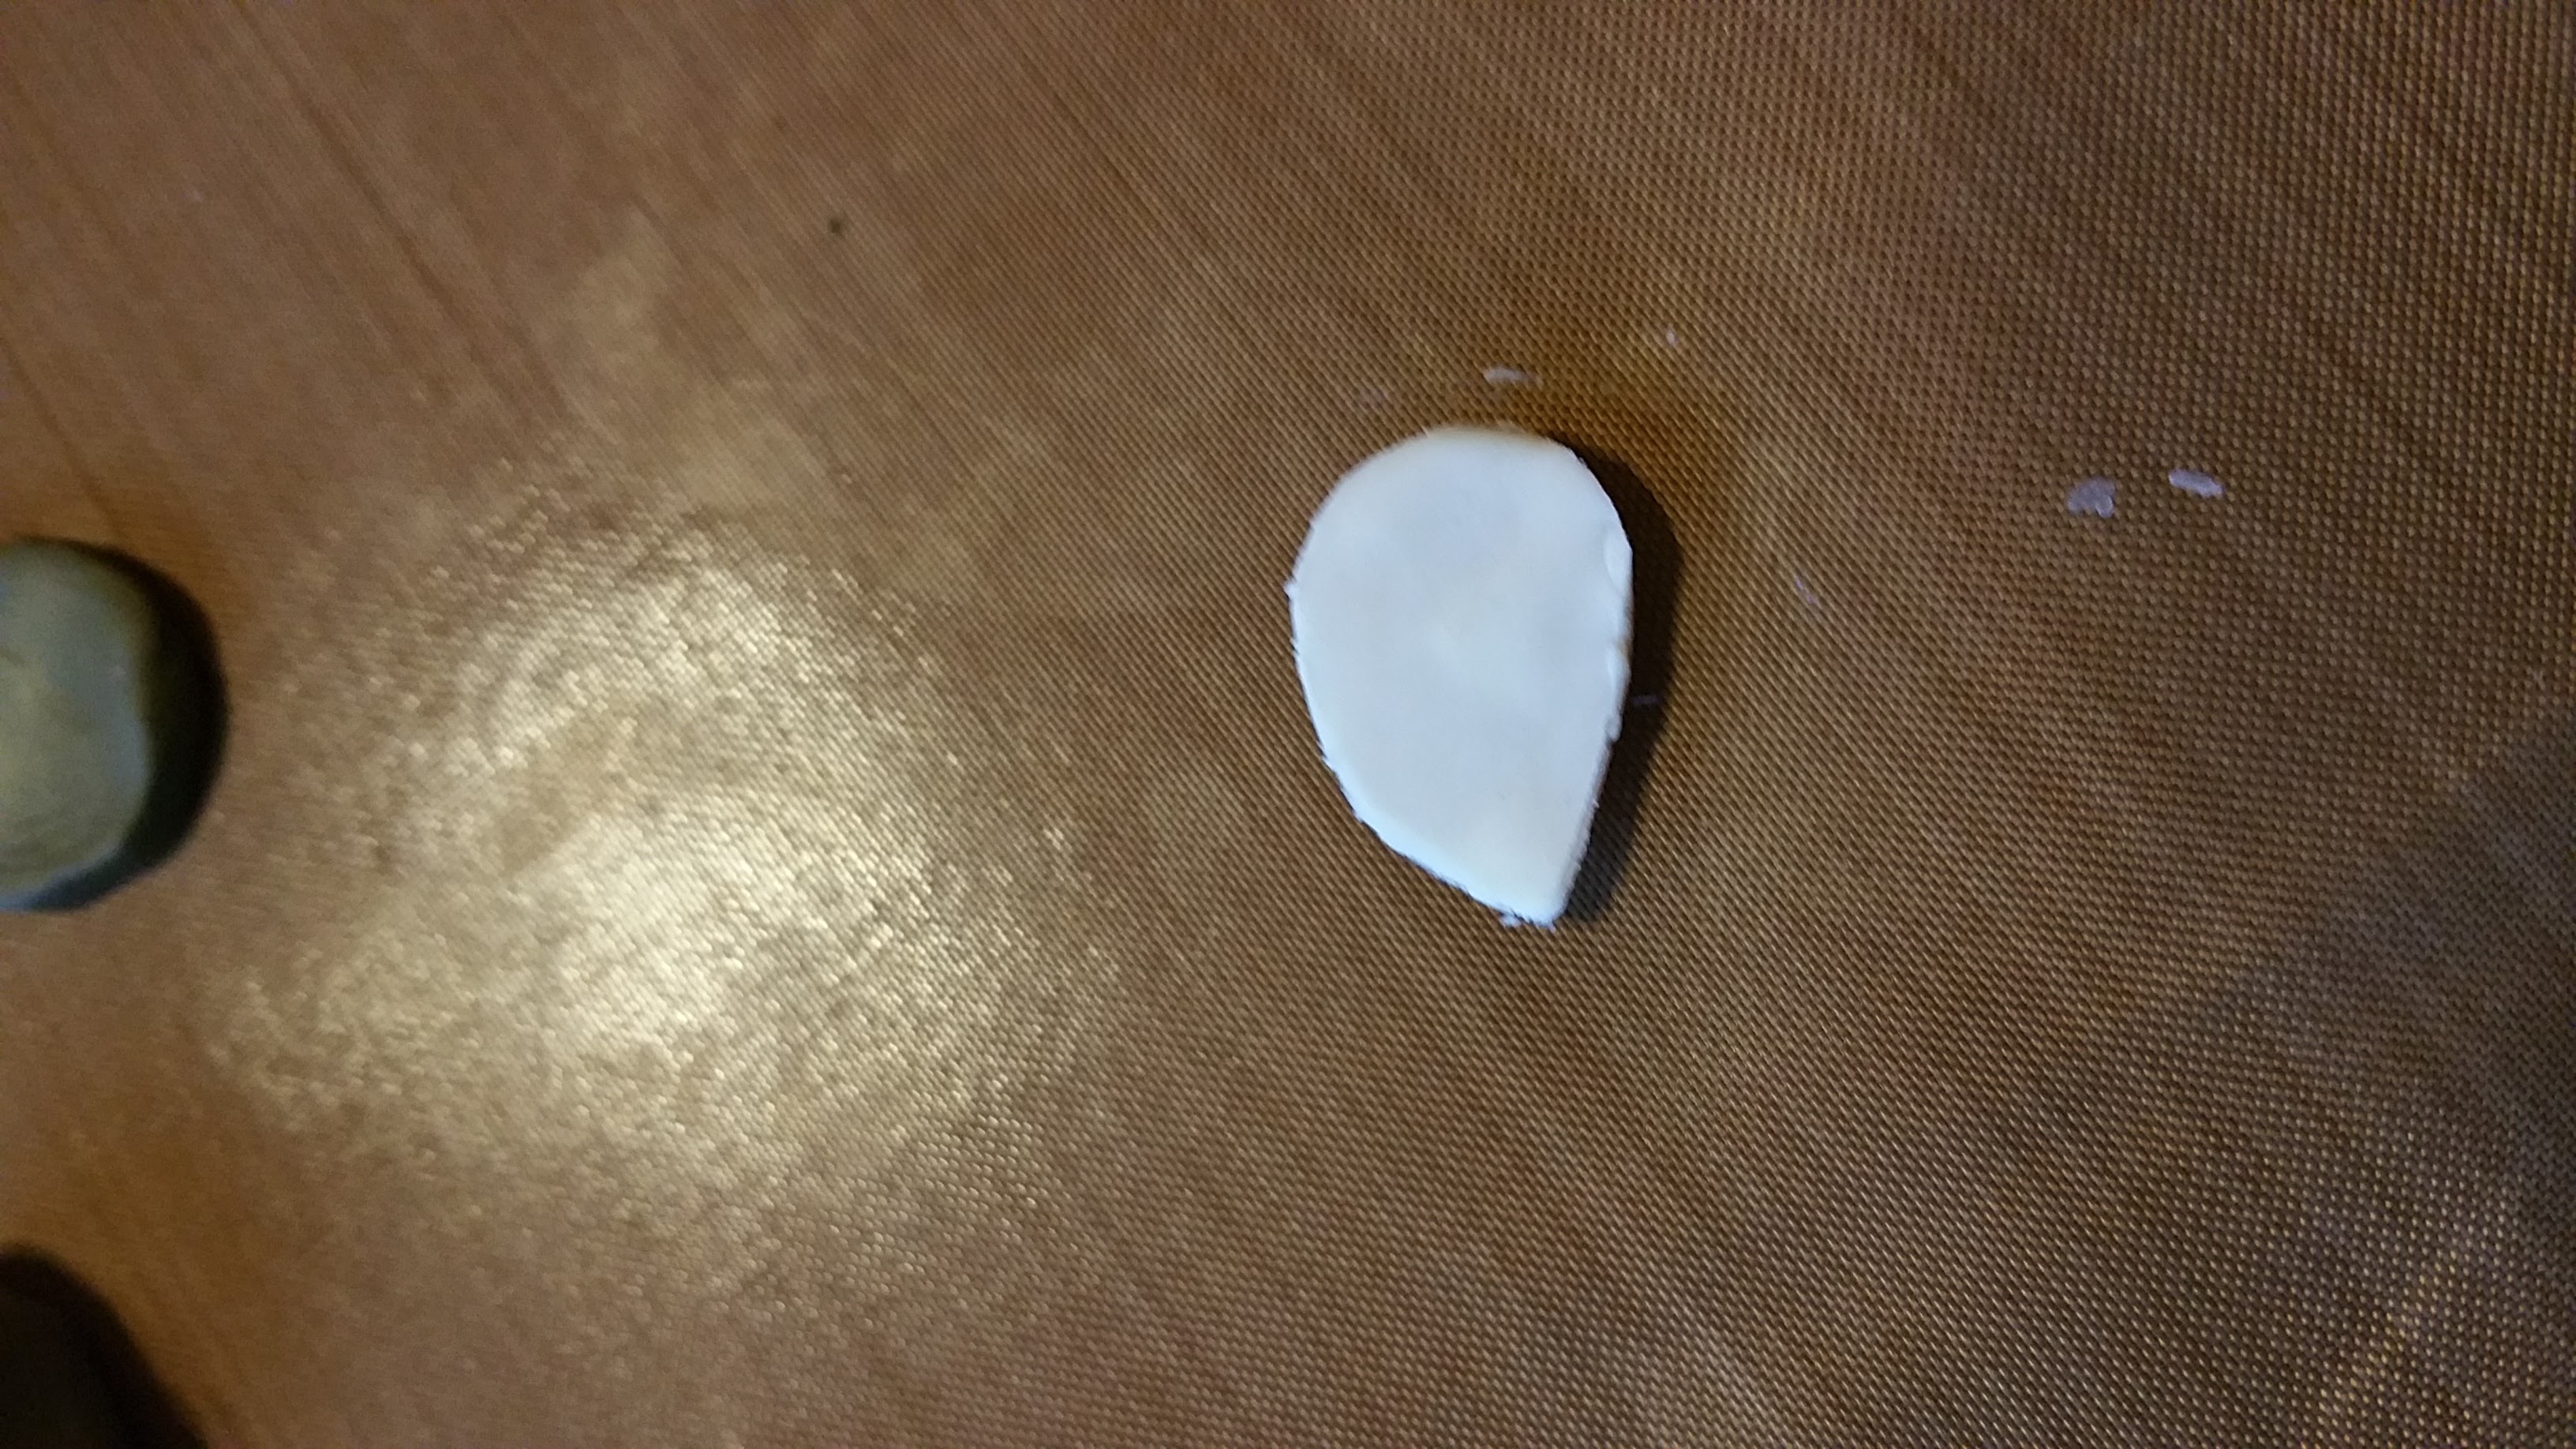
I picked colors based on the appearance on the shelf, I thought this was a nice off-white I might use behind translucent stones to reflect light out. Well turns out it is glow in the dark(!?)
I did confirm it glows in the dark, but I didn't want to wait until tomorrow to get more clay, and figured even if it does glow, it still reflects light when it isn't pitch black.
I rolled a very thin piece of it and put the stone on it
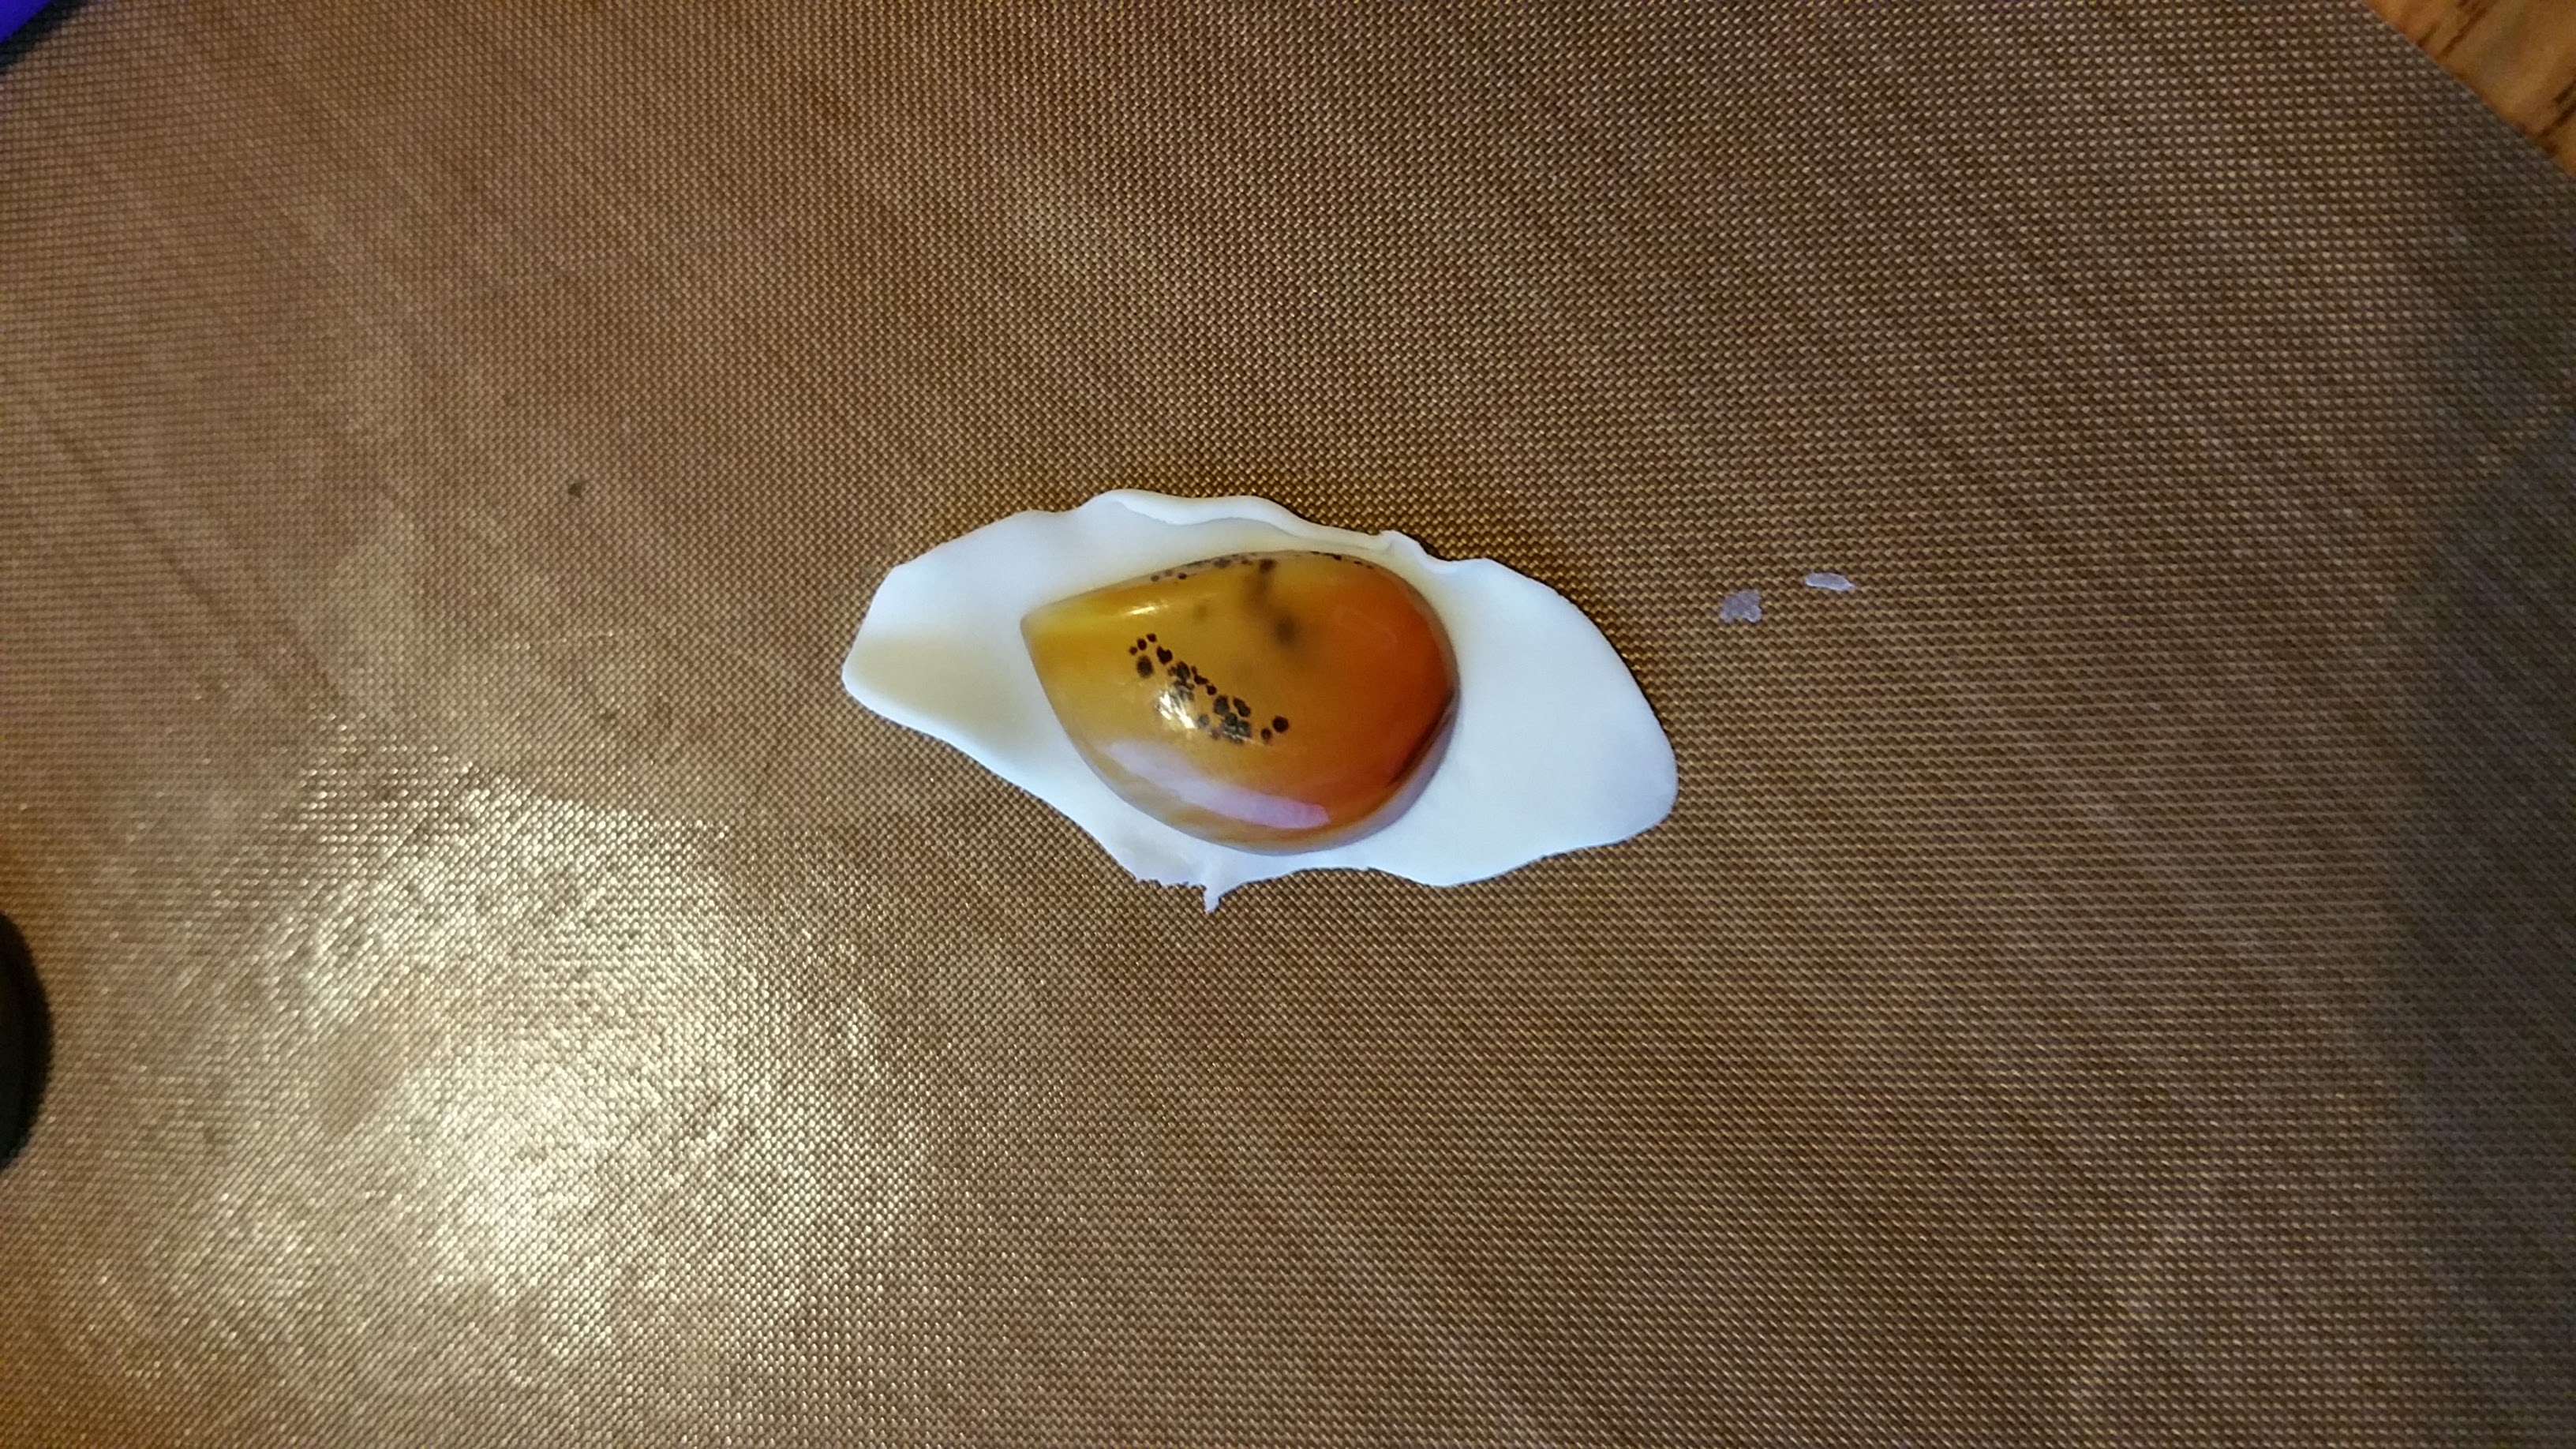
Here is the back of the stone with the lighter clay stuck to it
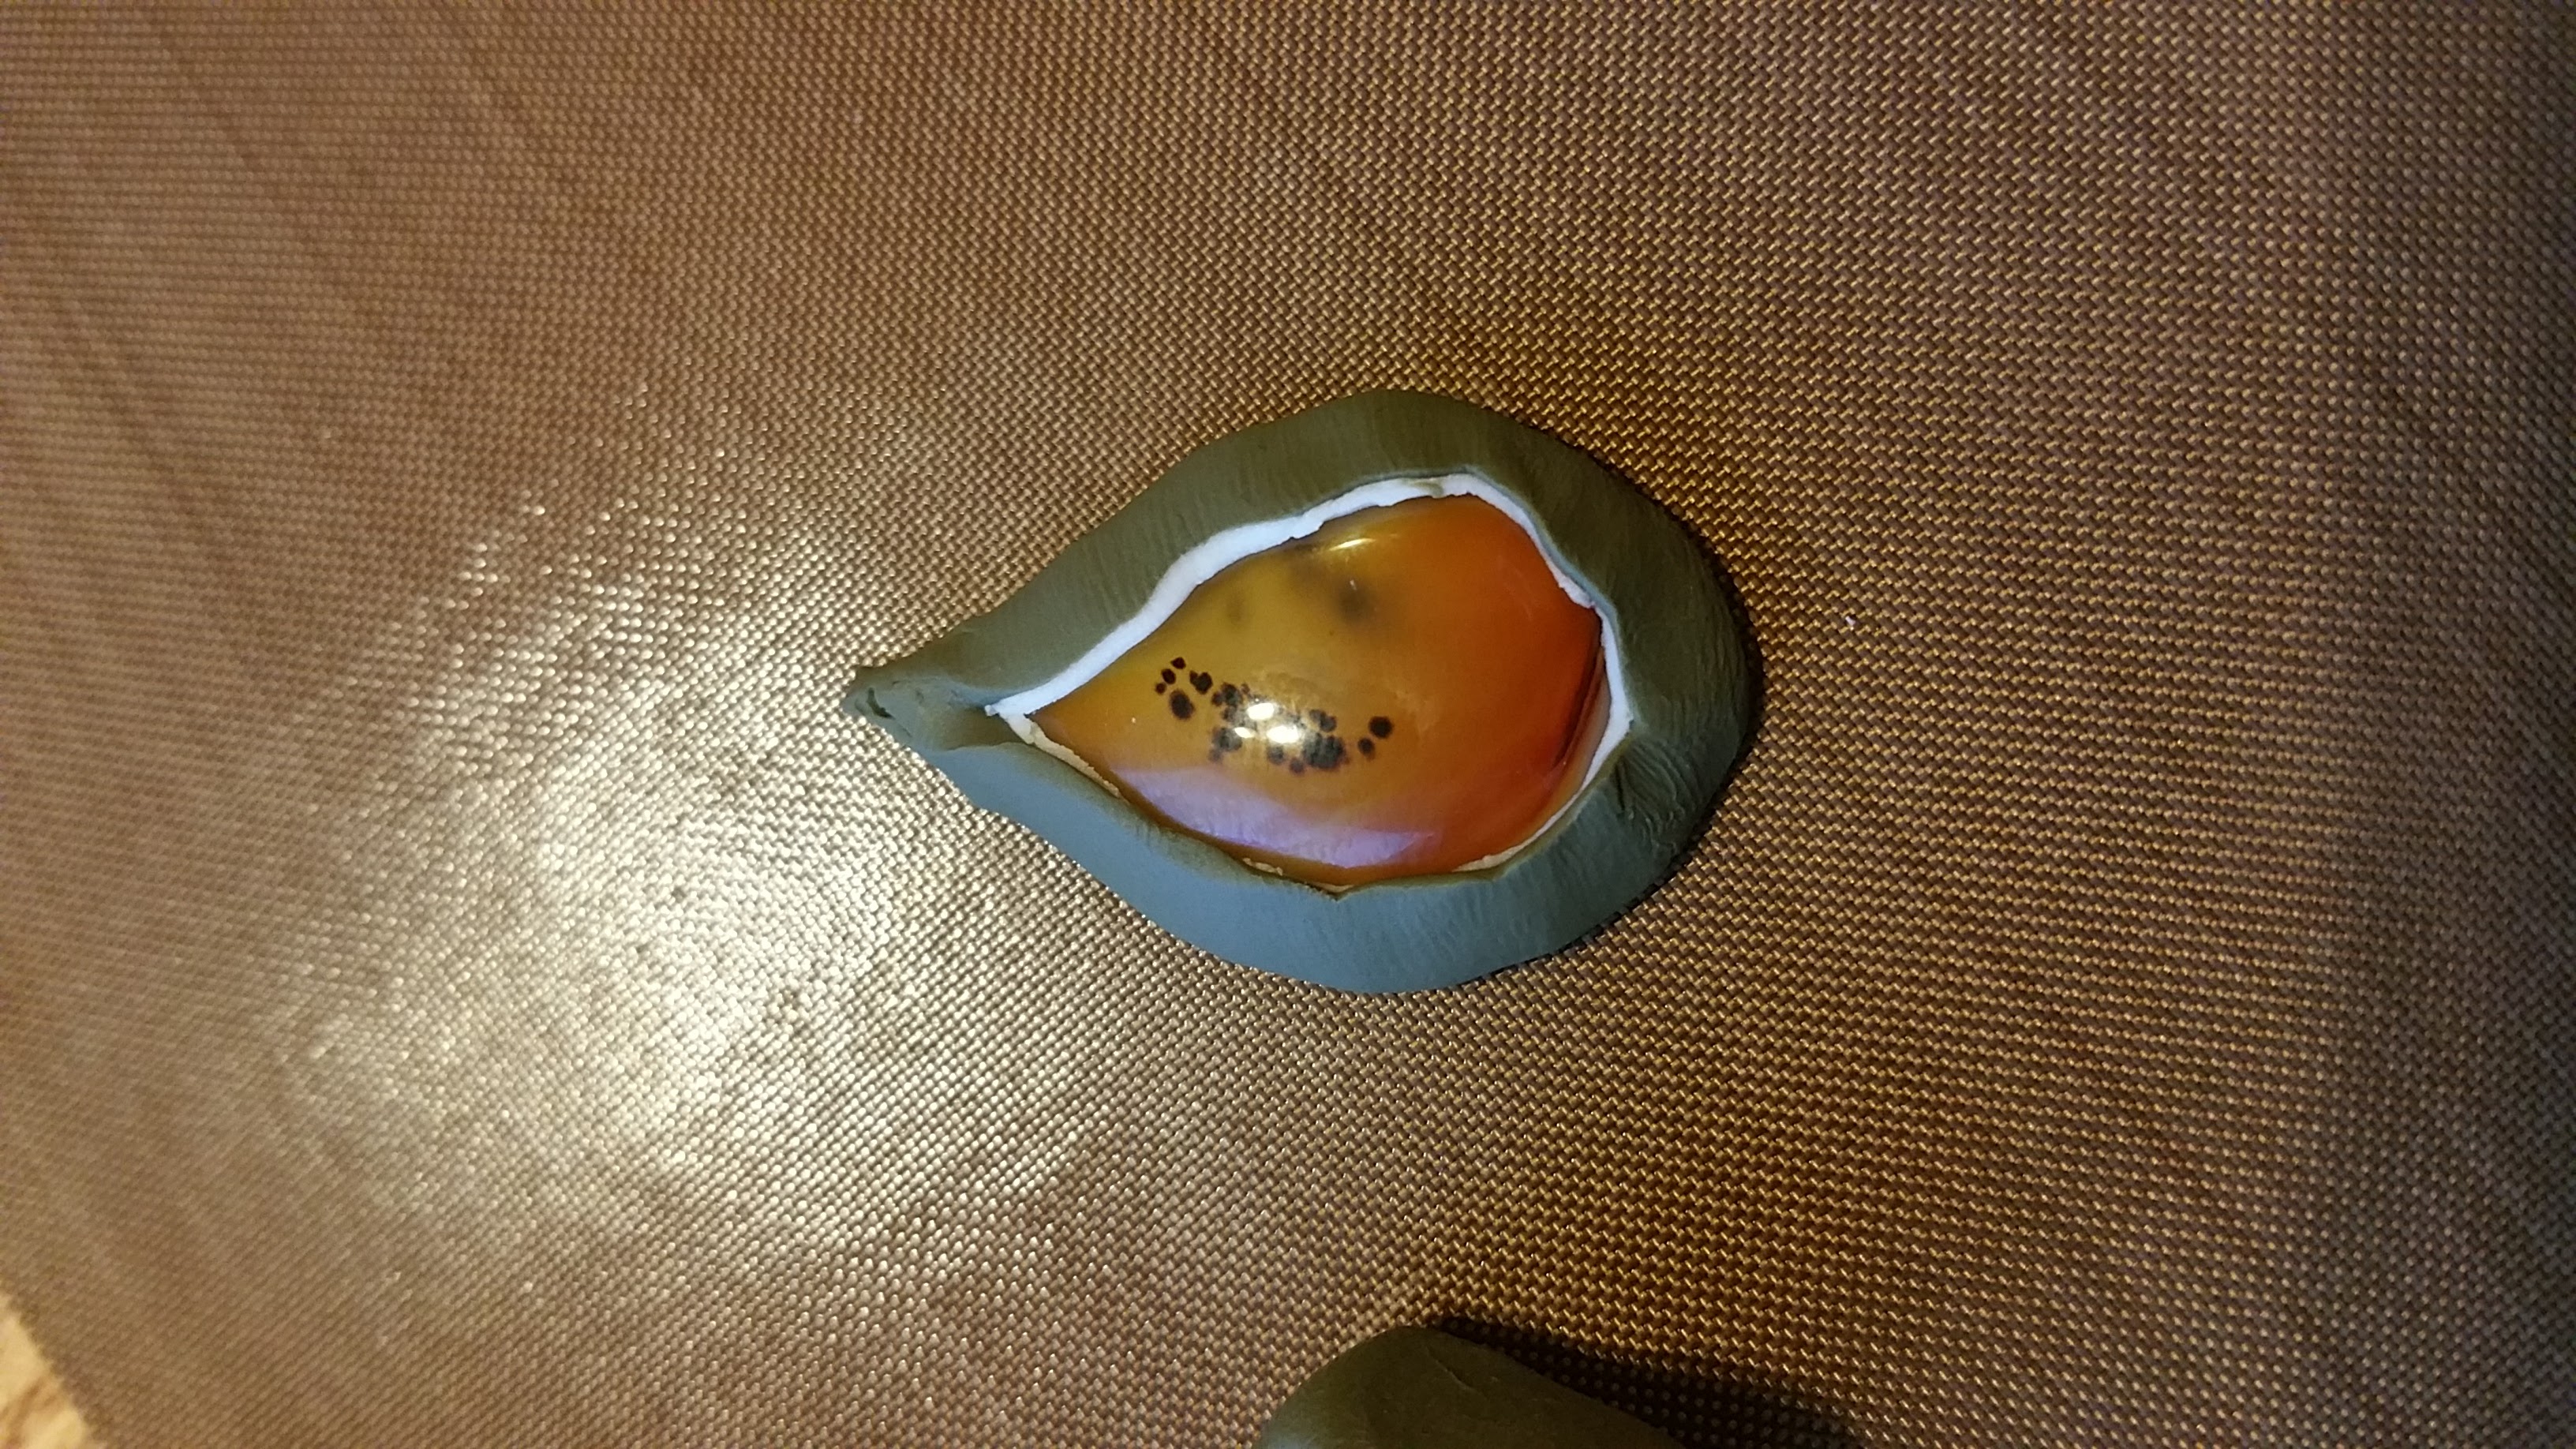
Then I put the stone, with the lighter clay back, onto the OD green piece I'd cut before, which was about 1/8" thick

I pressed the stone into the clay, and shaped the green around the edge to create a bit of a bezel to hold the stone in place.
So far everything was going pretty smoothly. Ironically, getting the pendant smooth caused a big series of headaches.
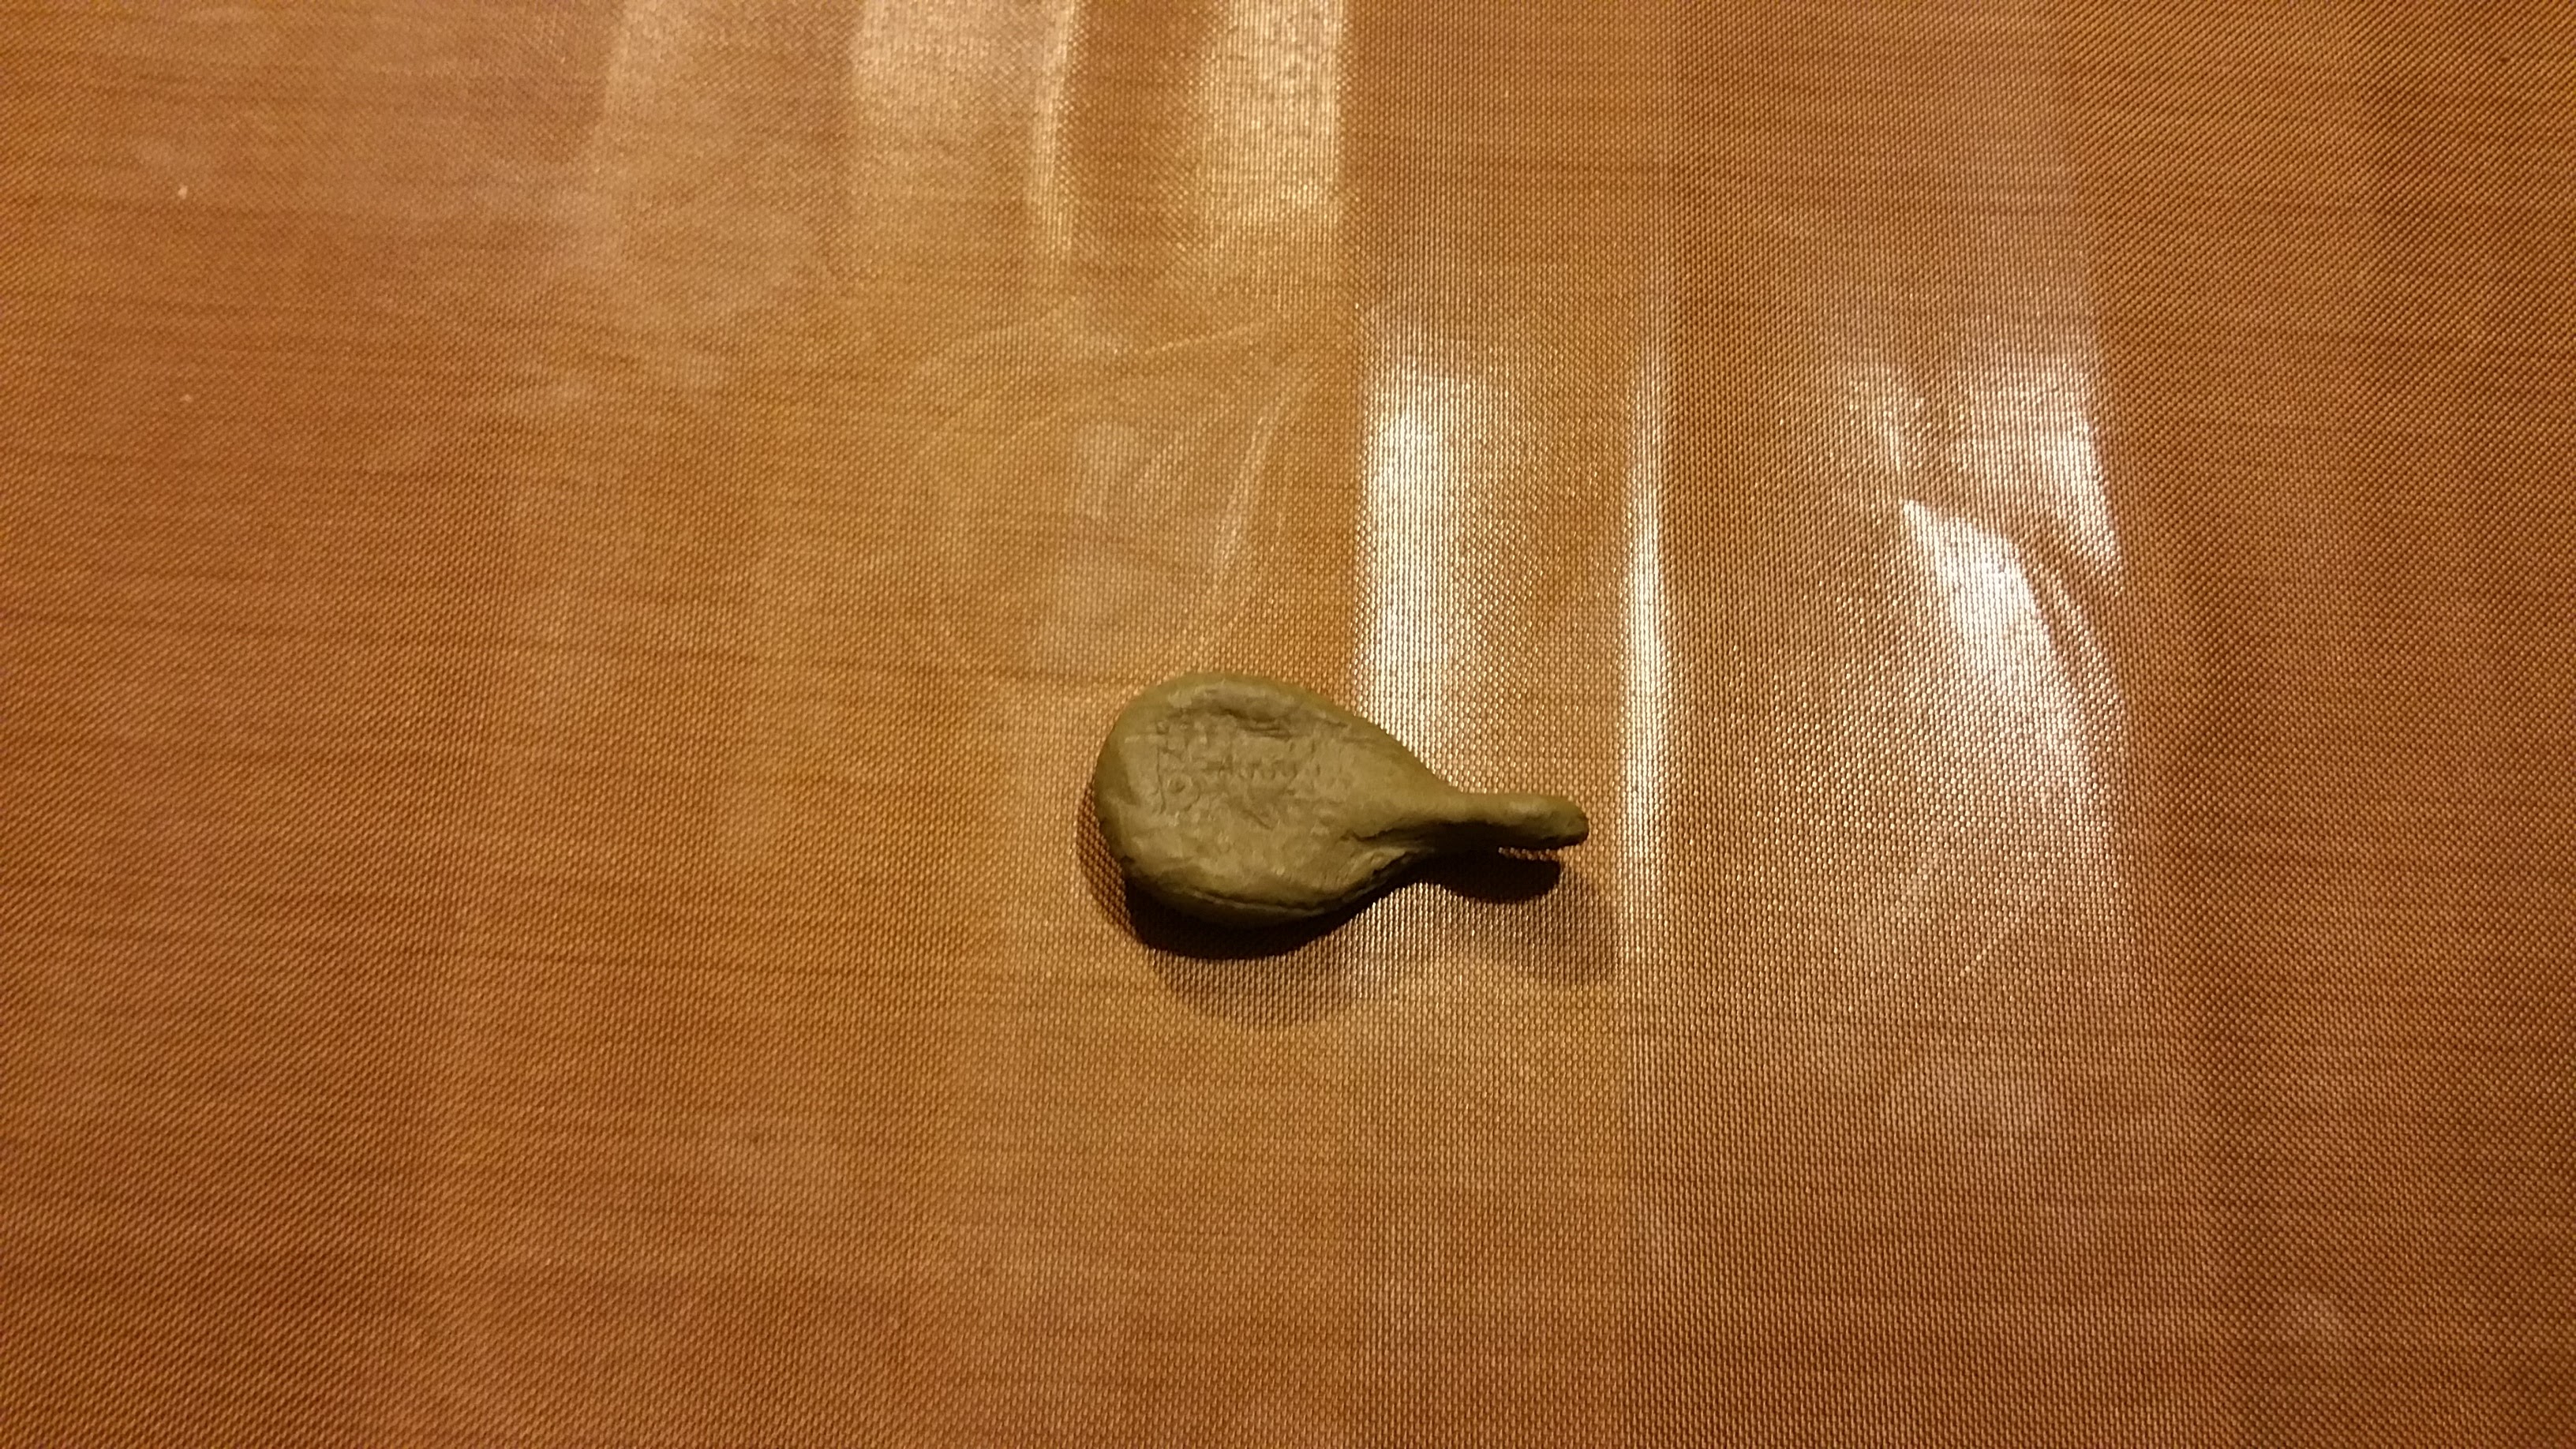
Here was my first attempt
When I pressed the stone into the green clay, some of the lighter clay squeezed out. I was able to trim it and the lighter clay wasn't a problem any more after that. I worked and worked and worked the clay though, trying to smooth it out with the tools, with my fingers, pressing it against the work surface, etc. - all of which caused different problems because the clay was SO soft. I think if I either let the clay sit on paper to absorb some of the softener OR put it in the fridge I might have saved myself some hassle, but it was a challenging process.
About to give up, I saw a stack of random coins I've collected sitting on the desk, and looked for one that had a ridged edge. This 2 Franc coin had a nice raised edge, so I rolled it and rolled it around, trying to sort of score up the entire surface to obscure the many marks left in the clay. I think it came out reasonably well, although it looks a little like a hand grenade.
I flipped it onto its face before baking, so the bail wouldn't flatten out at all
And 15 minutes later pulled it out of the oven
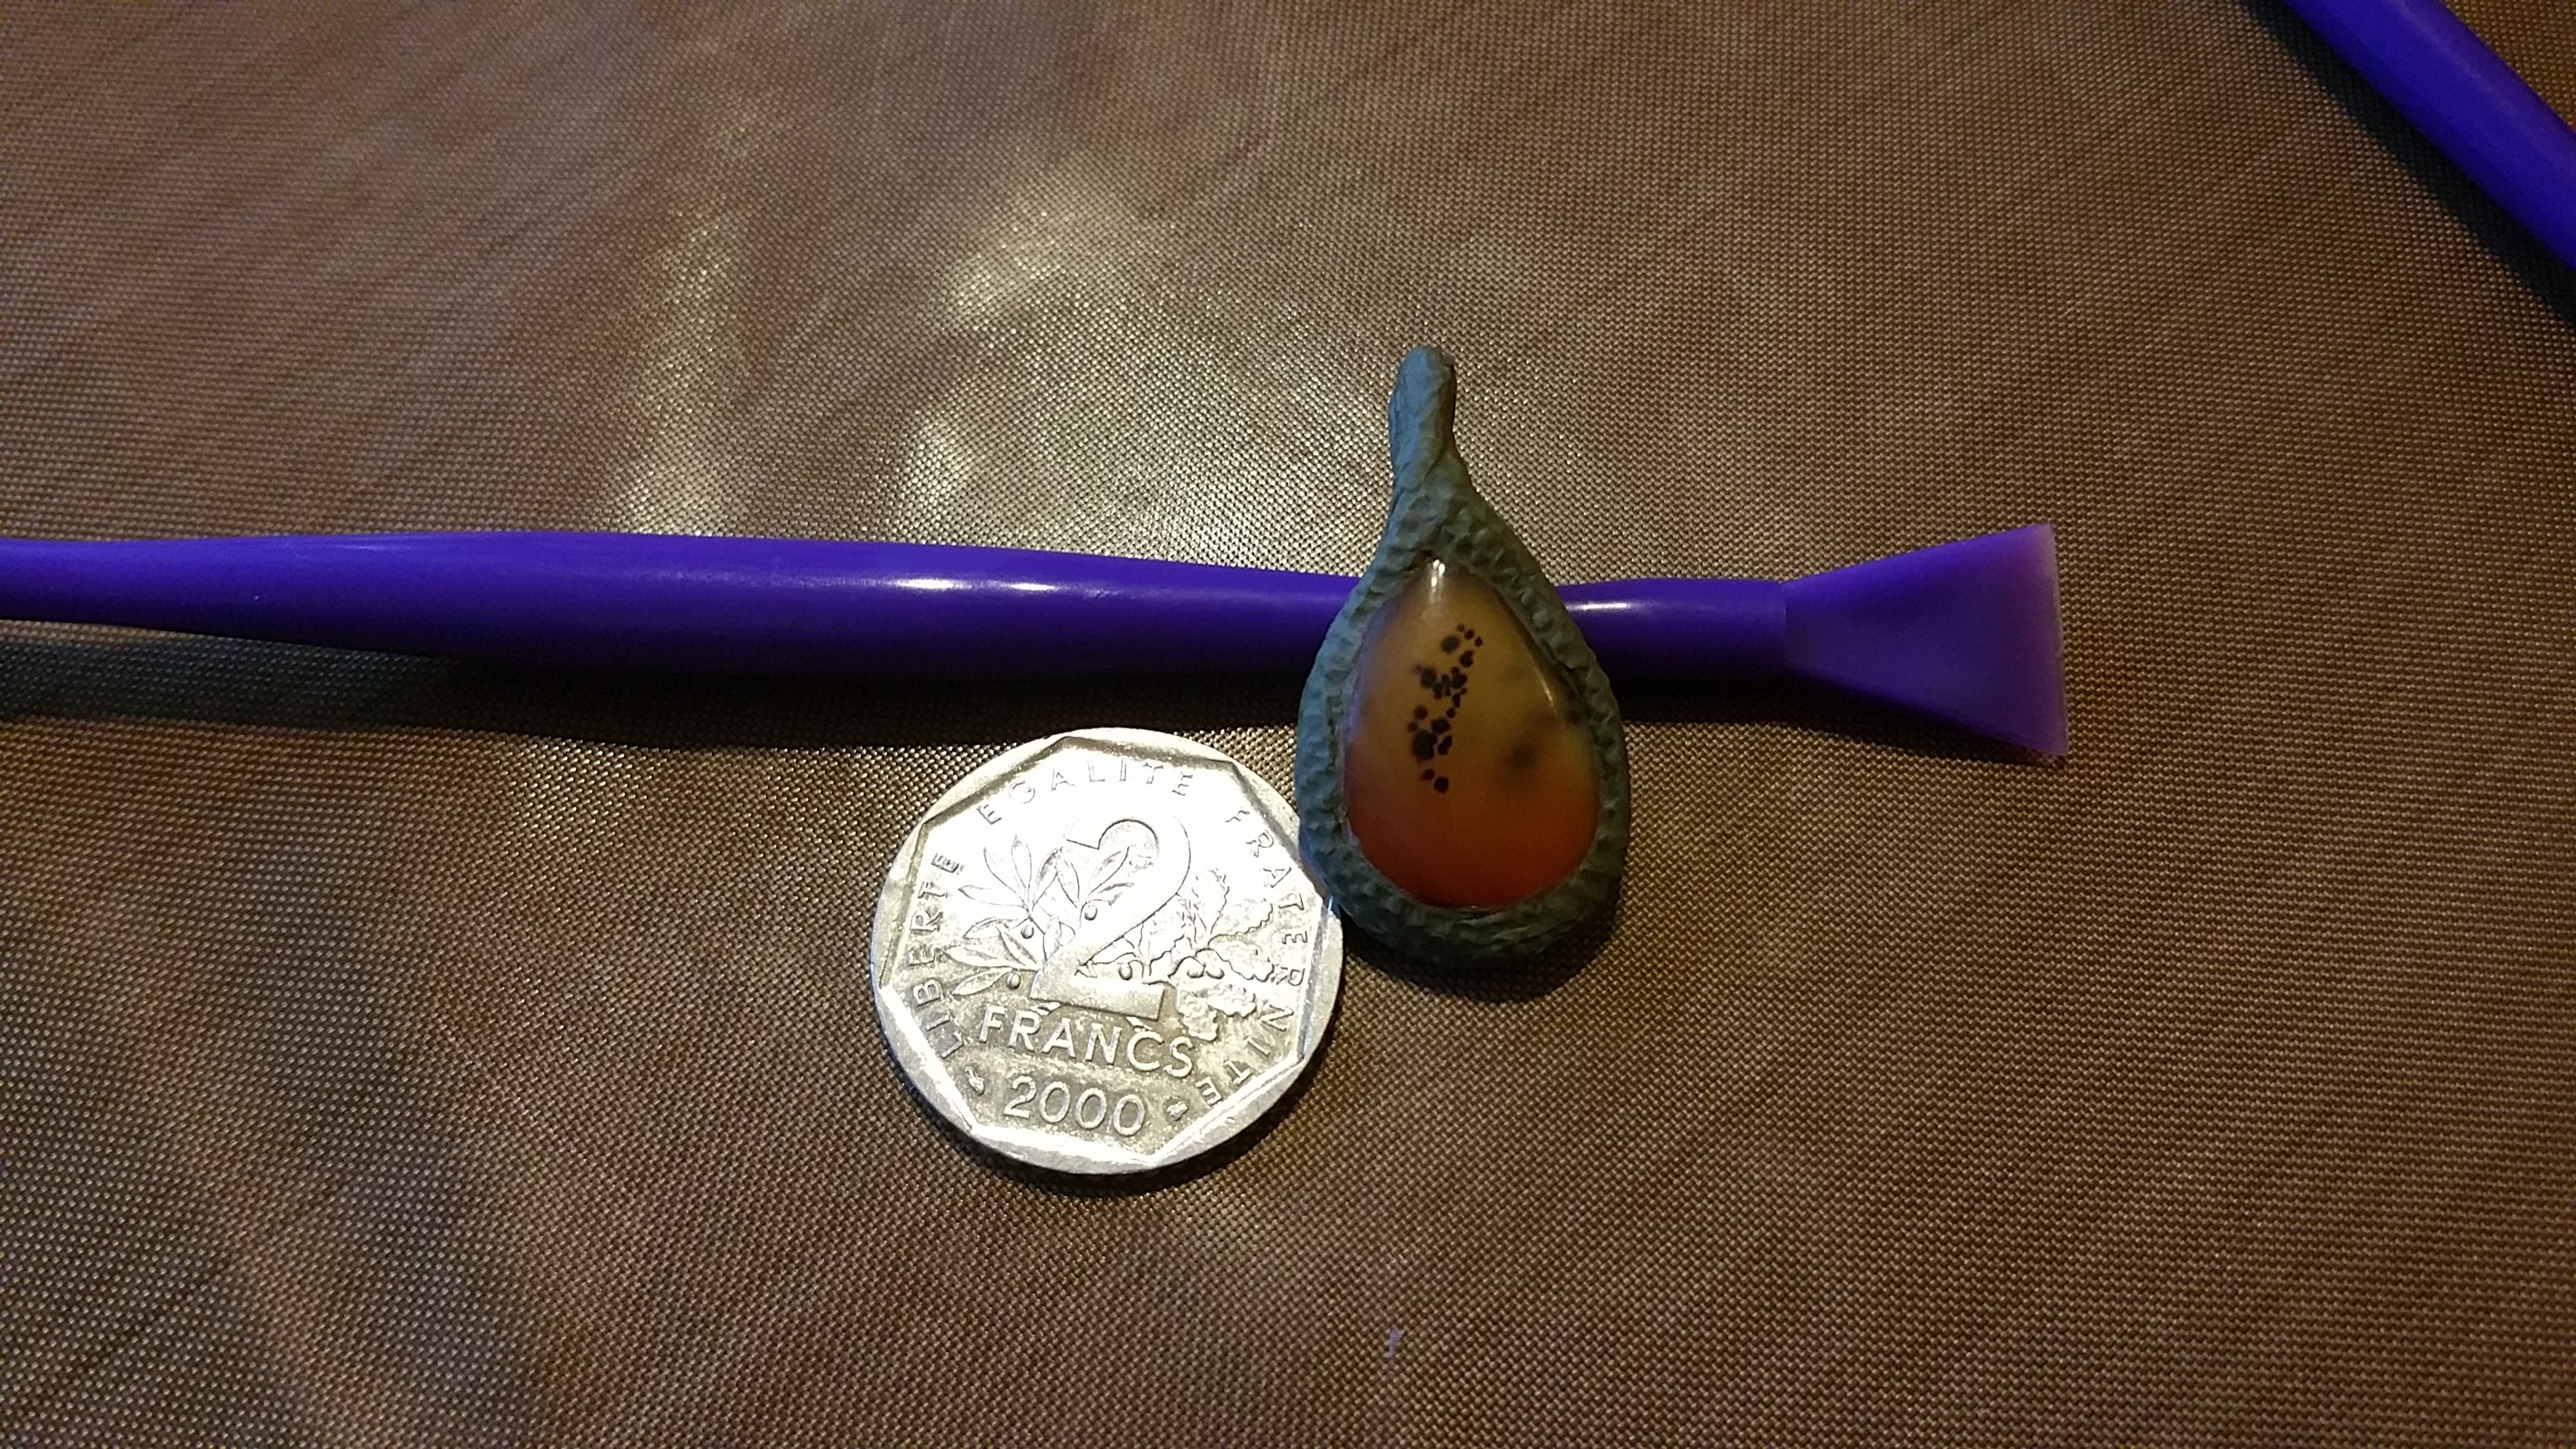
The stone is locked in nicely, but the bail did end up getting a little squished
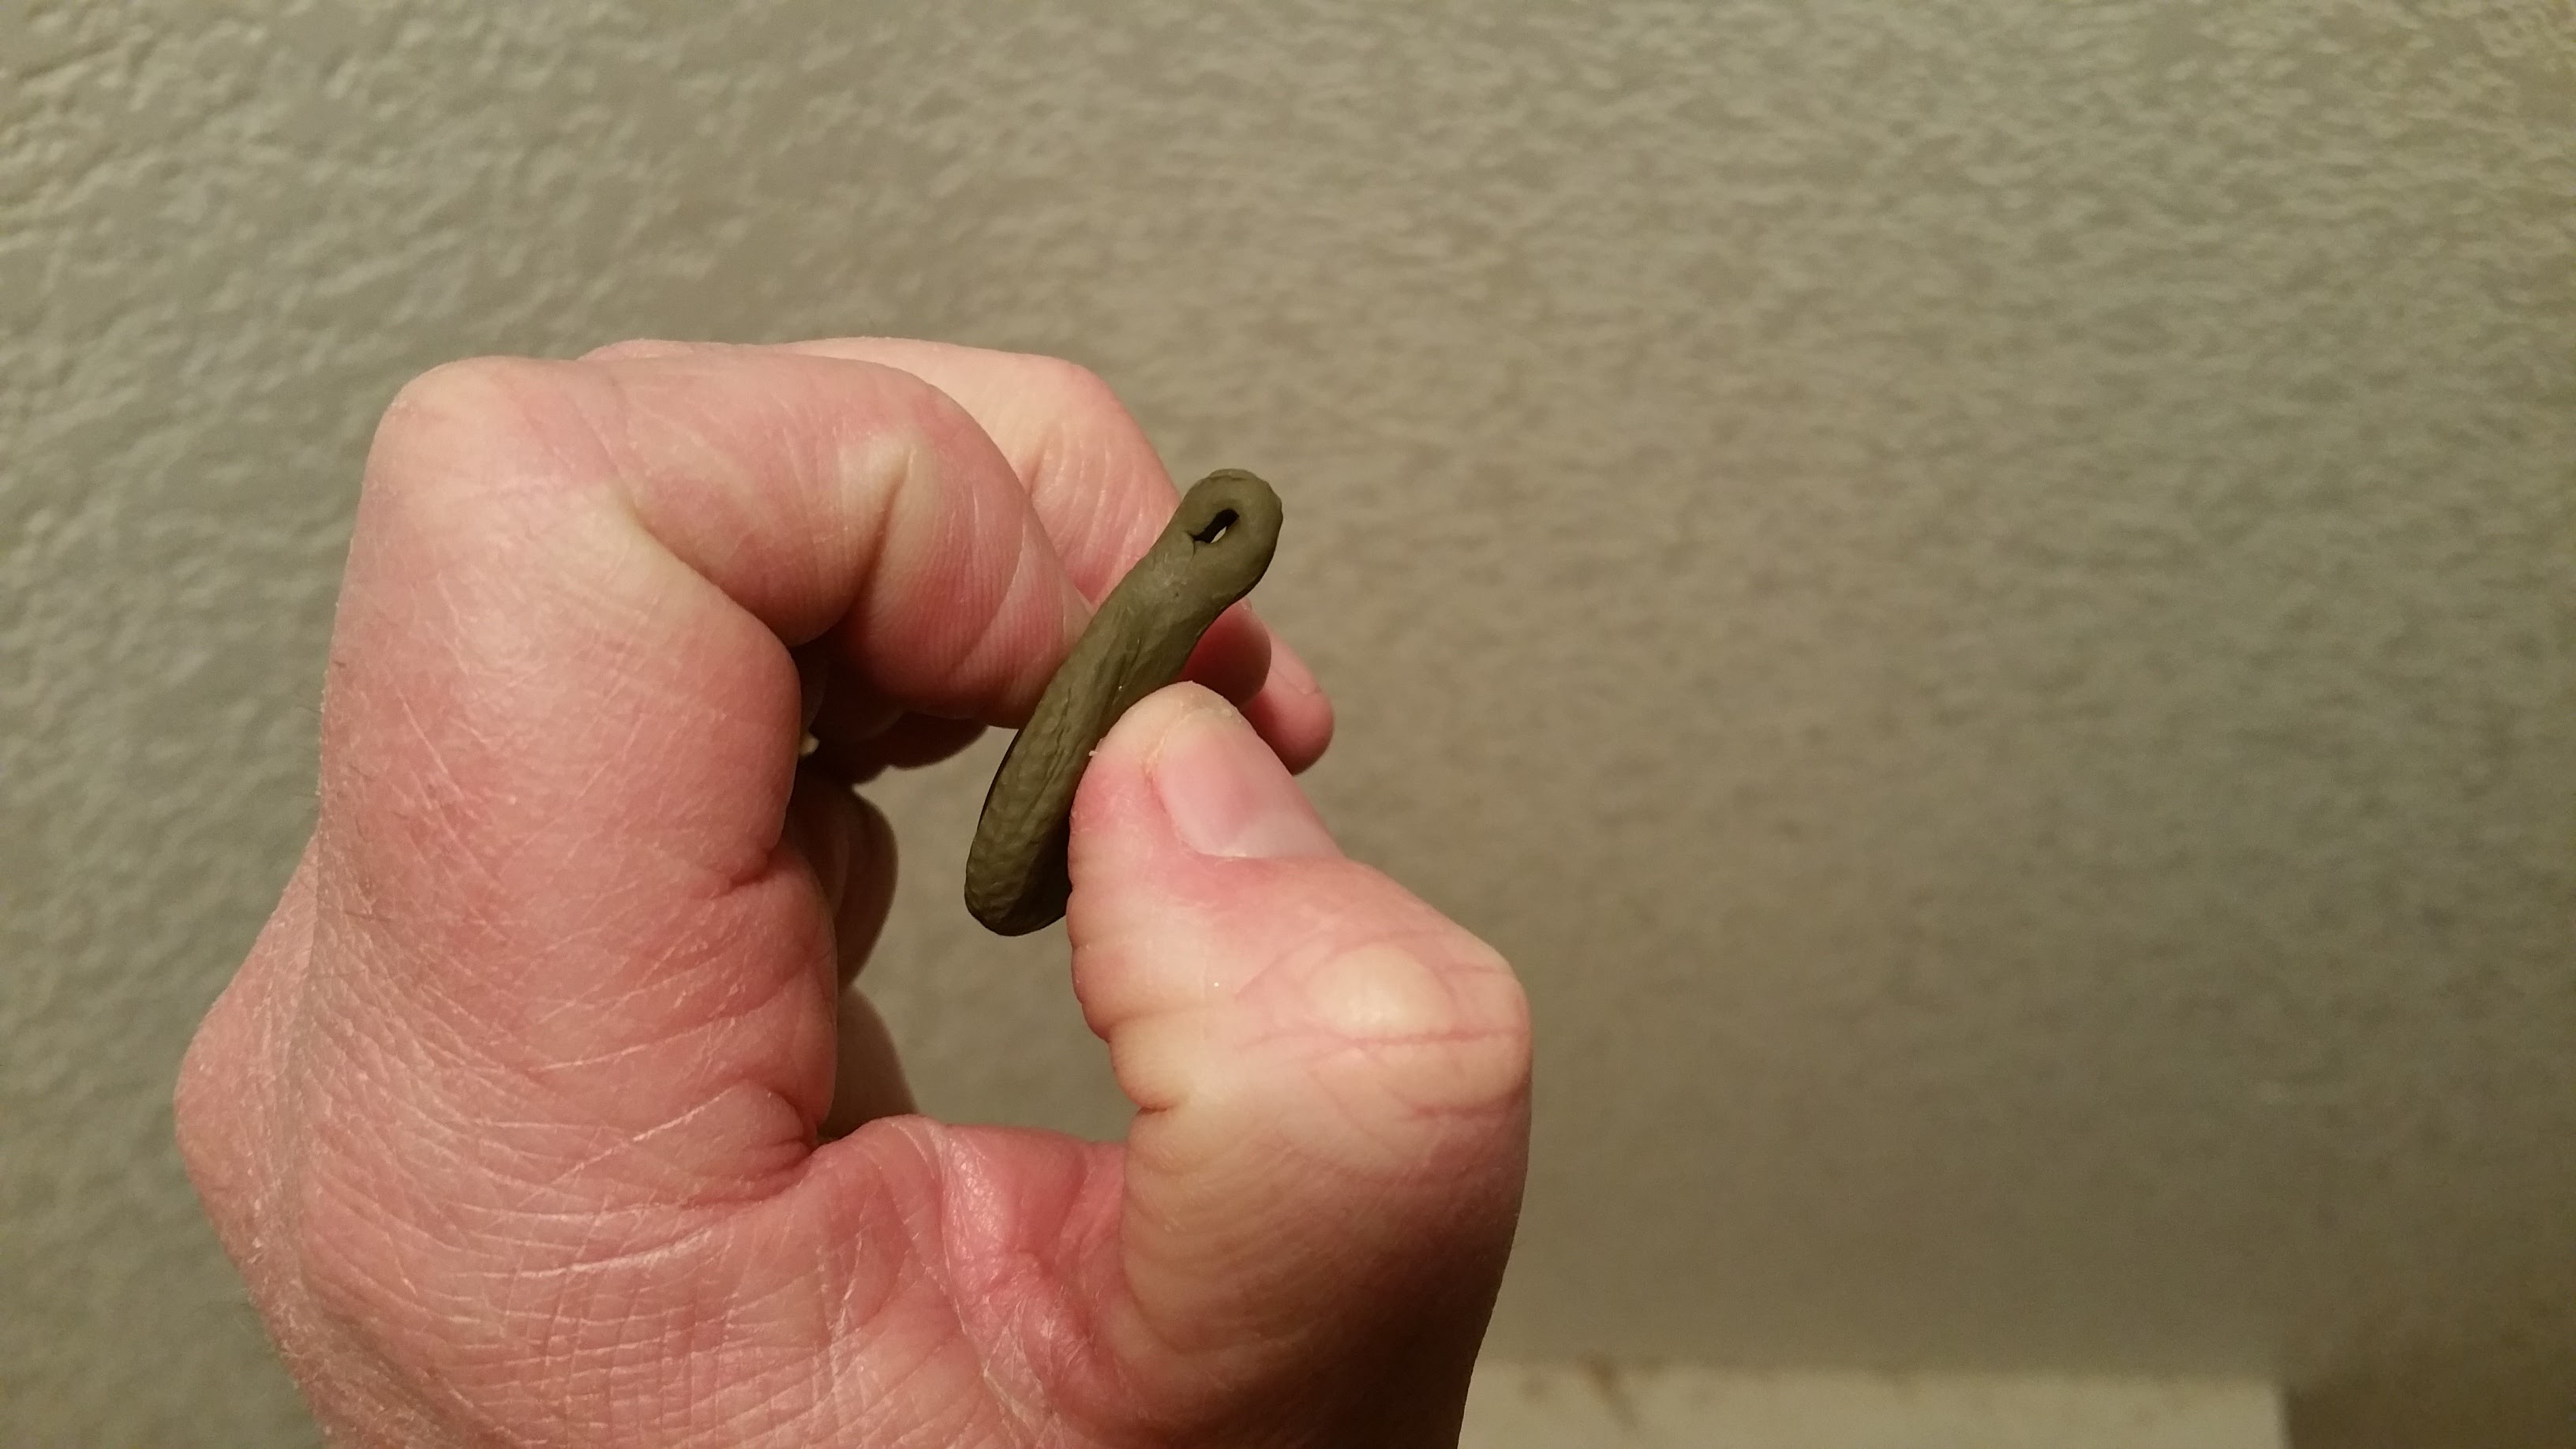
I hit it with the Foredom and easily made a hole large enough to pass a small cord through, and once again the finished product
All in all, I am happy. I think the stone looks nice in the setting, the setting is very light and I think it has a nice character to it. If I can get the process down to something more reasonable time-wise I think it might just work.
Ever since my first time wire-wrapping I've lamented that the shiny wire distracts from the stone. I've even tried playing with silver and solder (and copper and solder) and always feel like I'm making a piece of jewelry and the stone is secondary to that.
Well I wanted to do something different for my mother-in-law and sisters-in-law for Christmas, and I wondered if I could try using polymer clay. So this morning after taking my daughter to the orthodontist, I stopped by the craft store and got a selection of polymer clays and some basic tools and brought everything home.
I'll say now that this took me a lot longer than wire wrapping would have. Mainly because as per my normal process of trying something new I come armed with a half-baked notion of what I want and little-to-no actual understanding of the process, but also because polymer clay is super-duper sensitive to everything - fingerprints, a warm room, sitting it down on a smooth surface, or a textured surface, smearing (to name a few)
I've had a pretty piece of Montana I cut a few years ago, and thought I'd start with it because it is small and light and wouldn't need much to keep it in place.
I liked this green color, they called it camoflage, but it was a basic OD-ish green:
I grabbed a chunk off the end and worked it for a few seconds until it was a warm lump
Then broke out the starter tool kit
And flattened the lump, placed the stone and traced a border around it
I trimmed out the shape and carefully popped the stone off
I picked colors based on the appearance on the shelf, I thought this was a nice off-white I might use behind translucent stones to reflect light out. Well turns out it is glow in the dark(!?)
I did confirm it glows in the dark, but I didn't want to wait until tomorrow to get more clay, and figured even if it does glow, it still reflects light when it isn't pitch black.
I rolled a very thin piece of it and put the stone on it
Here is the back of the stone with the lighter clay stuck to it
Then I put the stone, with the lighter clay back, onto the OD green piece I'd cut before, which was about 1/8" thick
I pressed the stone into the clay, and shaped the green around the edge to create a bit of a bezel to hold the stone in place.
So far everything was going pretty smoothly. Ironically, getting the pendant smooth caused a big series of headaches.
Here was my first attempt
When I pressed the stone into the green clay, some of the lighter clay squeezed out. I was able to trim it and the lighter clay wasn't a problem any more after that. I worked and worked and worked the clay though, trying to smooth it out with the tools, with my fingers, pressing it against the work surface, etc. - all of which caused different problems because the clay was SO soft. I think if I either let the clay sit on paper to absorb some of the softener OR put it in the fridge I might have saved myself some hassle, but it was a challenging process.
About to give up, I saw a stack of random coins I've collected sitting on the desk, and looked for one that had a ridged edge. This 2 Franc coin had a nice raised edge, so I rolled it and rolled it around, trying to sort of score up the entire surface to obscure the many marks left in the clay. I think it came out reasonably well, although it looks a little like a hand grenade.
I flipped it onto its face before baking, so the bail wouldn't flatten out at all
And 15 minutes later pulled it out of the oven
The stone is locked in nicely, but the bail did end up getting a little squished
I hit it with the Foredom and easily made a hole large enough to pass a small cord through, and once again the finished product
All in all, I am happy. I think the stone looks nice in the setting, the setting is very light and I think it has a nice character to it. If I can get the process down to something more reasonable time-wise I think it might just work.