|
|
Post by fantastic5 on Mar 13, 2018 20:02:19 GMT -5
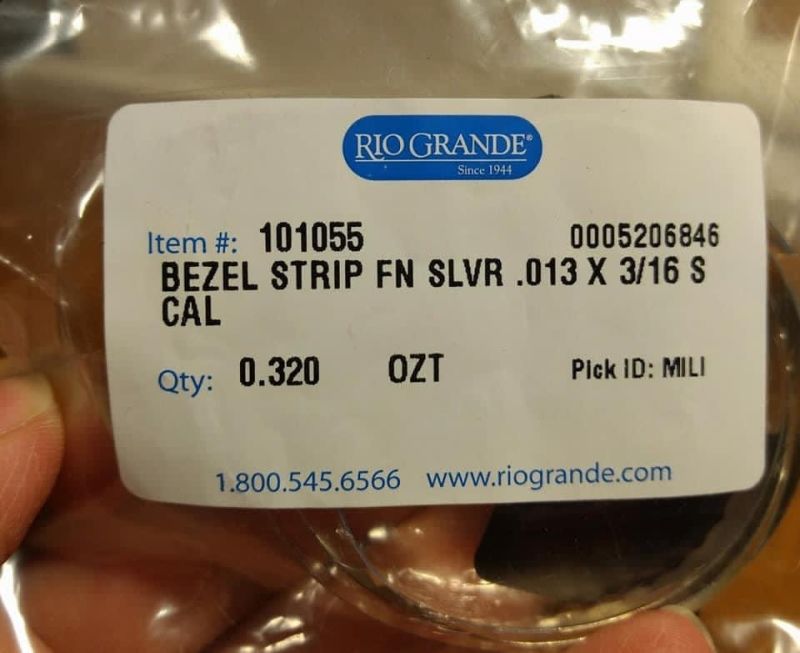
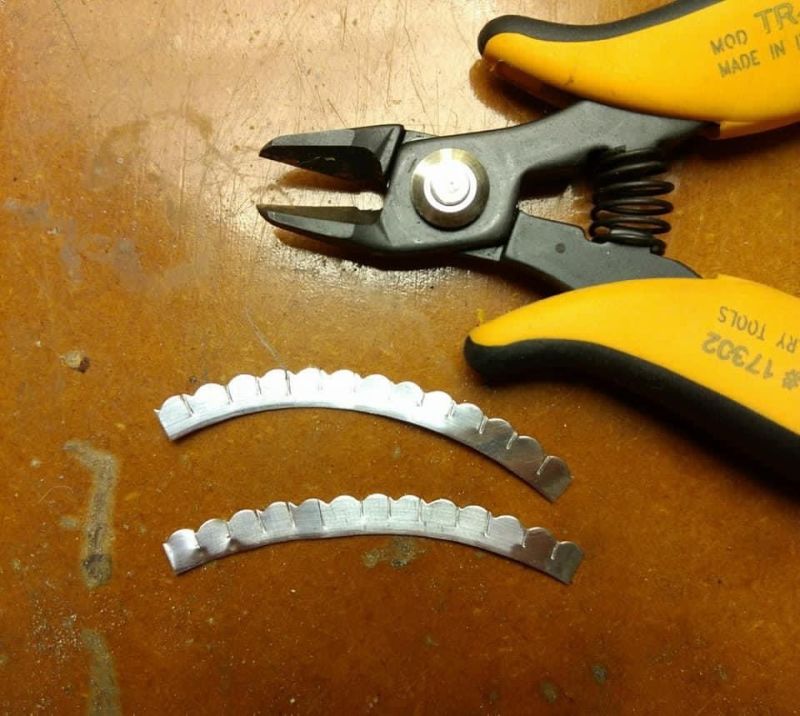
Sorry for the bad cell phone pictures, but hopefully everyone can see well enough to follow the tutorial. This is the scalloped bezel wire that I use.  Cut a section of 11 or 13 scallops for each rose you want to make. I used 13 for this and my earrings.  Cut back about half way in each valley between the scallops.  Using round nose pliers begin to roll the strip. The picture shows the nose of the pliers in the center of the silver. But I found that tighter centers look better. So rather than putting pliers in the center and then rolling, bend the first petal and roll around it.  This is what the bottom of the roll should look like when it is all rolled up.  Using a thin blade and the round nose pliers, start pulling the petals down and out. This was the first one I made with the larger center. I forgot to take a picture of this step with the second rose that has the tighter center.  Keep adjusting each petal until you are satisfied with how it looks.  Dip in LOS and use how you like.  Thanks for looking! Ann |
|
|
|
Post by MsAli on Mar 13, 2018 20:59:39 GMT -5
Thank you Ann!!
|
|
|
|
Post by rockjunquie on Mar 13, 2018 21:14:49 GMT -5
I never would have guessed! Very cool. Thanks for sharing!
|
|
|
|
Post by melhill1659 on Mar 14, 2018 5:25:24 GMT -5
Awesome tutorial and fabulous earrings!!! Thank You
|
|
|
|
Post by vegasjames on Mar 14, 2018 5:40:32 GMT -5
Very interesting. Looks great. Thanks for sharing.
|
|
|
|
Post by orrum on Mar 14, 2018 7:43:43 GMT -5
Thanks!!! Stivk this one please Tommy, it's goood!!!
|
|
|
|
Post by rockjunquie on Mar 14, 2018 8:29:27 GMT -5
Thanks!!! Stivk this one please Tommy, it's goood!!! and fantastic5, I will be moving this to the tute section soon.  |
|
|
|
Post by Drummond Island Rocks on Mar 14, 2018 8:33:52 GMT -5
This may be a silly question but when soldering on the leaves or roses How do you tell when the solder has properly melted? I assume you are placing a piece of sheet solder between the back plate and leaves so how do you know when its adhered good?
Chuck
|
|
|
|
Post by hummingbirdstones on Mar 14, 2018 9:53:53 GMT -5
Excellent tutorial. Thank you for sharing it! I'm going to try this very soon.
|
|
|
|
Post by toiv0 on Mar 14, 2018 10:05:14 GMT -5
Said I was going to try it. Thanks. Going to throw in the tumble and see if it cleans them up.  |
|
|
|
Post by fantastic5 on Mar 14, 2018 13:40:06 GMT -5
This may be a silly question but when soldering on the leaves or roses How do you tell when the solder has properly melted? I assume you are placing a piece of sheet solder between the back plate and leaves so how do you know when its adhered good? Chuck I wasn't sure exactly how to do it either (because I chose to do a different project in class when people were making roses). But I flowed the solder in the area I was planning on placing both the rose and leaves. Then placed and reheated. I could easily see the flash where the edges met when the solder reflowed. Also you could visibly see the pieces 'settle' into place when the solder flowed. I hope this helped. |
|
|
|
Post by fantastic5 on Mar 14, 2018 14:04:55 GMT -5
Said I was going to try it. Thanks. Going to throw in the tumble and see if it cleans them up.  I really like those toiv0! I did run my through the tumbler before I put them in LOS. I think the LOS really helps bring out the detail in the roses the most. |
|
|
|
Post by Drummond Island Rocks on Mar 14, 2018 14:32:01 GMT -5
This may be a silly question but when soldering on the leaves or roses How do you tell when the solder has properly melted? I assume you are placing a piece of sheet solder between the back plate and leaves so how do you know when its adhered good? Chuck I wasn't sure exactly how to do it either (because I chose to do a different project in class when people were making roses). But I flowed the solder in the area I was planning on placing both the rose and leaves. Then placed and reheated. I could easily see the flash where the edges met when the solder reflowed. Also you could visibly see the pieces 'settle' into place when the solder flowed. I hope this helped. Explains it good enough thanks. That is pretty much how I attach the bails to the backs of my bezels. I just place a pallion of sheet solder under the bail and wait for the bail to settle down flush. Chuck |
|
zekesman
Cave Dweller 
Member since May 2016
Posts: 637 
|
Post by zekesman on Mar 14, 2018 14:59:47 GMT -5
fantastic5 Thank you. I will be doing some also. Vic
|
|
|
|
Post by MsAli on Mar 14, 2018 15:59:35 GMT -5
Said I was going to try it. Thanks. Going to throw in the tumble and see if it cleans them up.  LOVE THEM!!!!
|
|
|
|
Post by opalpyrexia on Mar 14, 2018 18:15:01 GMT -5
Thanks, that's a really clever idea.
For soldering I would probably treat it like a very heavy bezel and drop 3-4 pieces of solder into the center hole and heat from below.
|
|
|
|
Post by toiv0 on Mar 14, 2018 20:13:16 GMT -5
Said I was going to try it. Thanks. Going to throw in the tumble and see if it cleans them up.  I really like those toiv0 ! I did run my through the tumbler before I put them in LOS. I think the LOS really helps bring out the detail in the roses the most. The leaves were giving me crap when i tried to place them and I just did a different plan. This bezel wire was only 1/8, I couldn't find my 3/16. Worked ok though ....thanks again |
|
|
|
Post by toiv0 on Mar 14, 2018 20:22:14 GMT -5
Thanks, that's a really clever idea. For soldering I would probably treat it like a very heavy bezel and drop 3-4 pieces of solder into the center hole and heat from below. I used wire solder. Clipped four 1/8 in pieces for each one. Coated earings with boric acid and burned off. Then fluxed wire and roses. When I fluxed them just set the bottom into the flux so it doesn't run up the sides. Set the wire in place, put a piece of solder next to the wire under each rose. The fourth piece I put next to the wire on the top side of the middle rose. Heated evenly and you could see everything just drop and the forth piece of solder flashed under the wire. You have to make sure of the fit so everything fits flat with no gap before set up. Hope this made sense. |
|
|
|
Post by fantastic5 on Mar 14, 2018 20:51:57 GMT -5
I did use the boric acid dip on both the rose and back plate. I failed to mention that. Thanks toiv0. I fight fire scale terribly. But I'm sure it's my lack of experience.
|
|
|
|
Post by toiv0 on Mar 14, 2018 21:53:25 GMT -5
I did use the boric acid dip on both the rose and back plate. I failed to mention that. Thanks toiv0. I fight fire scale terribly. But I'm sure it's my lack of experience. I don't smith all the time as I work out of town, When I come back home its like starting over. I alsways double check fit, solder won't flow if there is a gap. I use wire solder and I sand it before I snip it. When I started to do something simple like make and put leaves on the roses I dropped them, didnt look right, dropped them again, bumped the wire. It should have been simple but in the end the leaves won. So don't sell your self short, we all deal with the firescale. I tried argentium but didn't like it at all. I do make my ear wires out of argentium as most people who are alergic to sterling can wear the argentium. Just remembered that the roses are .999 and won't fire scale, they are good to go if you flux them. |
|