|
|
Post by miket on Dec 3, 2018 14:53:42 GMT -5
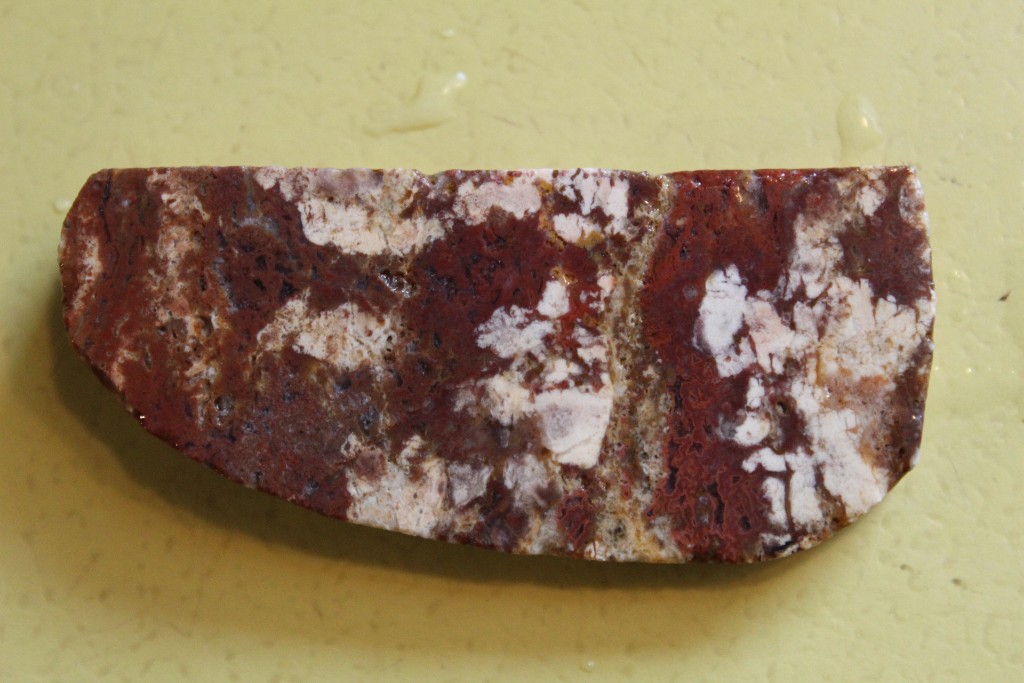
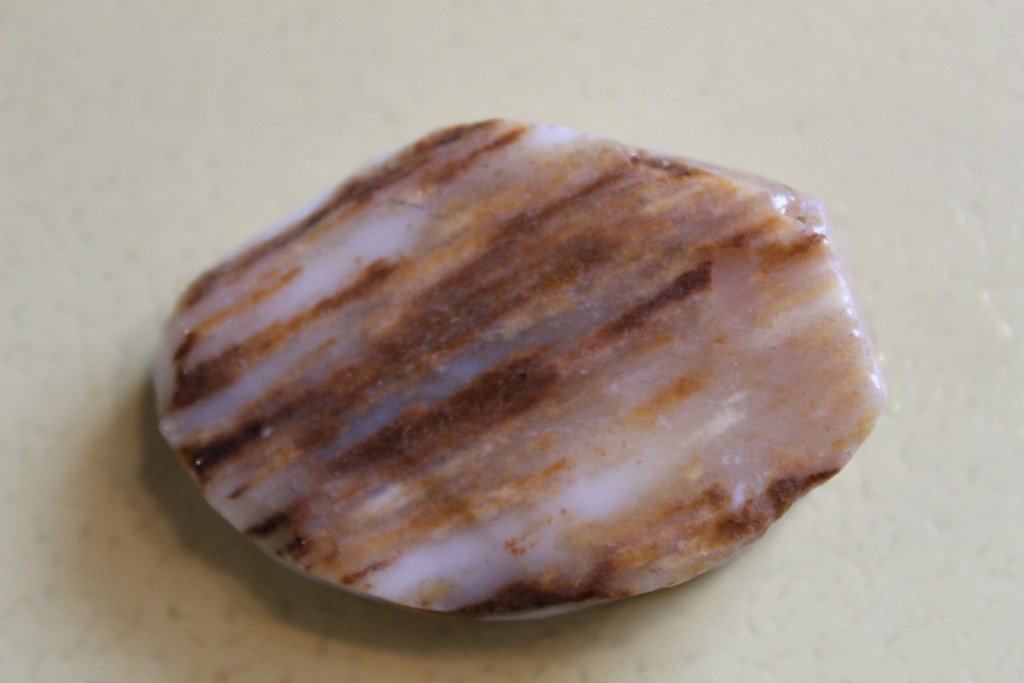
Not sure if this is any better than the phone camera. Not knowing much , I'm pretty sure the first piece is jasper. It cut easier than an agate. Both getting tumbled eventually.   |
|
|
|
Post by woodman on Dec 3, 2018 15:17:24 GMT -5
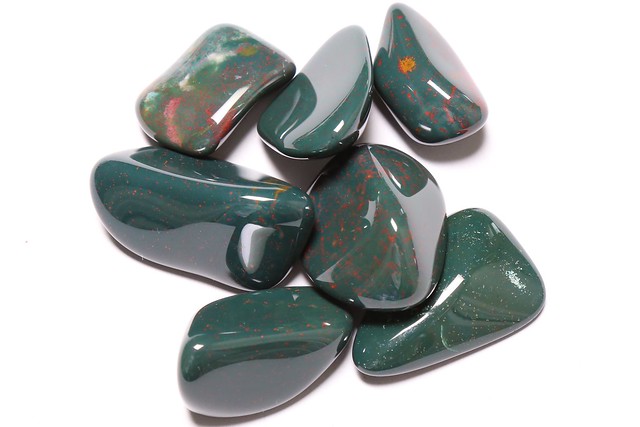
The first photo looks pretty good, but the second looks like you got too close. Most digital cameras  have macro mode for close up work. This photo is one i just took, it is real small to work on this page. still not the best possible. It is always a learning curve, I have seen some of the new smart phone that do a pretty good job but still not as good as a good camera. |
|
|
|
Post by miket on Dec 3, 2018 15:27:11 GMT -5
The first photo looks pretty good, but the second looks like you got too close. Most digital cameras  have macro mode for close up work. This photo is one i just took, it is real small to work on this page. still not the best possible. It is always a learning curve, I have seen some of the new smart phone that do a pretty good job but still not as good as a good camera. Yeah, once I got it posted it does look like I was too close. I was using the macro mode- still getting used to it. It's a Canon Rebel T6, it seems like a decent camera. More learning to do, thanks for the feedback! |
|
|
|
Post by woodman on Dec 3, 2018 15:41:30 GMT -5
That should be a very good camera. I have several canon cameras and the one I use for close up work is rebel t1i with 60 mm lens. What lens do you have? The photo I posted was taken with a canon ssx60 HS. It is my every day walkabout camera. the rebel stay on a tripod. The cameras do so much more these days that the learning curve is sometime overwhelming.
|
|
|
|
Post by drocknut on Dec 3, 2018 16:13:49 GMT -5
They pictures look good to me. Any picture of a rock is a good picture right? LOL. I have a point and shoot camera Nikon Coolpix and I know I need to upgrade but not in the cards right now unfortunately. I have looked at Canon Rebel cameras and they seem to be really good.
|
|
|
|
Post by miket on Dec 3, 2018 16:49:56 GMT -5
That should be a very good camera. I have several canon cameras and the one I use for close up work is rebel t1i with 60 mm lens. What lens do you have? The photo I posted was taken with a canon ssx60 HS. It is my every day walkabout camera. the rebel stay on a tripod. The cameras do so much more these days that the learning curve is sometime overwhelming. Right now just the lenses that it came with. Haven't looked much into macro lense prices but I just might. Yeah, the cameras these days are nuts. I'll keep working... |
|
|
|
Post by miket on Dec 3, 2018 16:54:00 GMT -5
They pictures look good to me. Any picture of a rock is a good picture right? LOL. I have a point and shoot camera Nikon Coolpix and I know I need to upgrade but not in the cards right now unfortunately. I have looked at Canon Rebel cameras and they seem to be really good. Good point, the second one is a little blurry though. This camera was a gift, it will mostly be used for two things... Taking some better pics of my daughter playing basketball. And rocks. Probably mostly rocks  |
|
|
|
Post by miket on Dec 6, 2018 15:26:52 GMT -5
Still playing, I took the lens off and held it against the camera backwards to use it as a macro lens I think with some more learning about aperture and shutter speed I can get some good closeups with better depth of field Oh, and a reversing ring so I don't have to hold it on and a tripod... More things on the list of things to buy for my new hobby   |
|
|
|
Post by aDave on Dec 6, 2018 16:03:16 GMT -5
|
|
|
|
Post by miket on Dec 6, 2018 16:29:14 GMT -5
I don't believe so. Yep, it's probably not the best solution but I'm kind of on a limited budget- especially this time of year! Thanks for the article, I'll check it out. |
|
|
|
Post by aDave on Dec 6, 2018 21:30:52 GMT -5
If I were you, I'd do a few things. Set your camera image to the largest it will take. This allows you to crop your photos to show more detail, even if you aren't using a macro lens. You can gain much by the cropping without having a macro lens. If you're searching for the ideal aperture for depth of field, start working with "Aperture Priority" on your camera. Set the aperture, and go from there to see what your results are. Your exposure time (shutter speed) will dictate your exposure. Bump up your ISO to near 1800 or so. This will offset any poor lighting issues and will allow you to shoot your stuff with a smaller aperture to increase your depth of field. Just know that you might get more "noise" in your photos going this route. My lighting at home is pretty substandard. Without using photo lighting, I'm usually shooting at an ISO of near 1800, and I've set the aperture to F11. My photos aren't perfect, but I've been happy with what I've been able to put together. You'll definitely need a tripod. Even with the high ISO and "smaller" aperture, your exposure times will be lengthened. You won't be able to hand hold at those rates. In terms of a tripod, Bogen-Manfrotto is my choice, as are the different heads they offer. The stuff is not cheap by any stretch, but I look at something like this as a "buy once, cry once" sort of issue. That's just me, and I've been fortunate enough to be able to budget for those items. Not meaning to take away from your thread at all, here's a photo using a tripod and working with settings that I referred to.  This was done at ISO 2000, aperture f/11.0, shutter at 1/25. If you are using a tripod, shutter speed should be no issue whatsoever. Set your aperture and go from there. Hope this helps some. |
|
|
|
Post by miket on Dec 6, 2018 23:20:18 GMT -5
If I were you, I'd do a few things. Set your camera image to the largest it will take. This allows you to crop your photos to show more detail, even if you aren't using a macro lens. You can gain much by the cropping without having a macro lens. If you're searching for the ideal aperture for depth of field, start working with "Aperture Priority" on your camera. Set the aperture, and go from there to see what your results are. Your exposure time (shutter speed) will dictate your exposure. Bump up your ISO to near 1800 or so. This will offset any poor lighting issues and will allow you to shoot your stuff with a smaller aperture to increase your depth of field. Just know that you might get more "noise" in your photos going this route. My lighting at home is pretty substandard. Without using photo lighting, I'm usually shooting at an ISO of near 1800, and I've set the aperture to F11. My photos aren't perfect, but I've been happy with what I've been able to put together. You'll definitely need a tripod. Even with the high ISO and "smaller" aperture, your exposure times will be lengthened. You won't be able to hand hold at those rates. In terms of a tripod, Bogen-Manfrotto is my choice, as are the different heads they offer. The stuff is not cheap by any stretch, but I look at something like this as a "buy once, cry once" sort of issue. That's just me, and I've been fortunate enough to be able to budget for those items. Not meaning to take away from your thread at all, here's a photo using a tripod and working with settings that I referred to.  This was done at ISO 2000, aperture f/11.0, shutter at 1/25. If you are using a tripod, shutter speed should be no issue whatsoever. Set your aperture and go from there. Hope this helps some. Awesome advice, thanks for the tips! I'm old enough to listen to people who have the experience and the picture is proof. And you definitely didn't take away from the thread, you added to it. That's one of the things I like about RTH. People are always willing to help. |
|
mjflinty
spending too much on rocks
 
Member since September 2011
Posts: 358
|
Post by mjflinty on Dec 7, 2018 8:52:40 GMT -5
Some excellent tips so far. I've found that you can have an awesome camera but, without good light you'll get not so awesome results. Some of the best light comes in thru your window, natural light can really do magic and it's free.
Michael
|
|
|
|
Post by aDave on Dec 7, 2018 12:03:37 GMT -5
Oh, I forgot a couple of things. If you are going to try artificial lighting, make sure you are using "daylight" bulbs. Color temp should be around 5000 K.
Also, when using the tripod, be sure to set a delay on your shutter release. I have set a 2 second delay for the shutter to activate after pressing the shutter release. If there is no delay, there could be a chance of moving your camera when pressing the button. Having the delay lets you get your hand off the camera before it fires. If you were shooting at faster shutter speeds, it probably wouldn't be an issue. I don't take a chance with the slower speeds.
|
|
|
|
Post by rockjunquie on Dec 7, 2018 14:37:59 GMT -5
Great tips! I'll add that you want to set the white balance, too. Some cameras are pretty good at automatic, but the first couple pictures you posted looked they may have benefited from a custom while balance. It should be easy to figure out for your camera. To do it right, you should purchase a digital gray card somewhere. They are cheap. The white balance will help to make the items you photograph their true color-- without a color cast.
|
|
|
|
Post by aDave on Dec 7, 2018 15:10:52 GMT -5
rockjunquie reminded me of another item I use on my camera - exposure compensation. Even if you preset your aperture, and the camera then automatically sets the shutter speed, there's still a chance that the exposure won't be correct, and most often your photo may be too dark. IMHO, it's related to either how much of your background is getting picked up by the through the lens light meter or how light or dark your rocks are and how much of them fill the frame. This is where exposure compensation comes into play. Let's say you take your photo, and you find that it's too dark. While shooting in Aperture Priority mode, using exposure compensation will lengthen (slow) your shutter speed so your photo gets more exposure time - thus resulting in a lighter photo. It can work the other way if your initial photo is too light. I have an idea of what my camera may do, but I'm still usually taking 4-6 photos and changing the exposure compensation value for each shot. When I'm done, I pick the photo that looks best and dump the others (after uploading to a computer). Here's an article I found on the subject, and it looks as if it deals with your camera specifically. I've got a different Canon, and my controls are different, so I can't help you there. www.dummies.com/photography/cameras/canon-camera/override-autoexposure-results-exposure-compensation-canon-eos-rebel-t61300d/
|
|
|
|
Post by miket on Dec 7, 2018 15:16:11 GMT -5
|
|
|
|
Post by aDave on Dec 7, 2018 15:41:00 GMT -5
Thanks, I appreciate all of the tips I can get! Here's a few I took playing around at lunch, outside with my 75-300mm lens. The direct sunlight made a huge difference, plus the suggestion of cropping. I got some pretty interesting depth of field but most of it was cropped out- but the rocks are the stars of the show anyway Better. Good job! Nice to see experimenting already. One note about photographing your rocks in direct sunlight: Direct sun, along with sprayed on water is great for showing off your rough rock. The water and sunlight brighten the colors, maximizing the "look" of your rough. If you are photographing finished tumbles, direct sun is not your friend - indirect lighting is. For some reason, and I'm really not sure why, direct sun will tend to "wash out" the shine on your finished rocks, as the camera is not able to pick up how polished they are. They may look great in person, but the shine is lost in the digital image. As mentioned above, natural lighting can be abundant and free.  Easiest place to take advantage of this is underneath a skylight or adjacent to windows. If shooting near a window, don't place your polished rocks directly in the sun's rays. It will cause the same issue as taking photos outside in direct sunlight. |
|
|
|
Post by manofglass on Dec 7, 2018 15:43:17 GMT -5
Looks good mike
|
|
|
|
Post by rockjunquie on Dec 7, 2018 16:09:47 GMT -5
Not only are the pictures much, much better but those rocks ROCK!
|
|