Tahoma agate jasper Hxtal project
Apr 3, 2019 10:38:58 GMT -5
roy, mossyrockhound, and 9 more like this
Post by Tommy on Apr 3, 2019 10:38:58 GMT -5
I was blessed to receive a small box of slabs of some very good quality Tahoma agate from mossyrockhound with the caveat that I would take it on as a project using Hxtal to seal fractures and report back with the information. This was not my first experience with Tahoma material. I bought a couple of pieces in the past but each time the material broke tragically during the cabbing process so I was nervous about working with it again. Inspired by my good customer and friend who enlightened me to the beauty of the material I decided to give it my best shot and I'm glad I did.
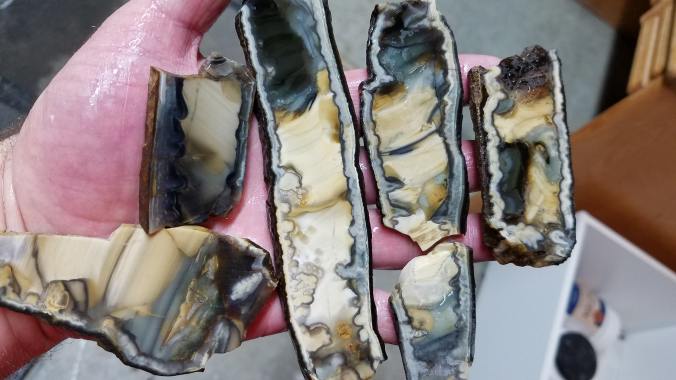
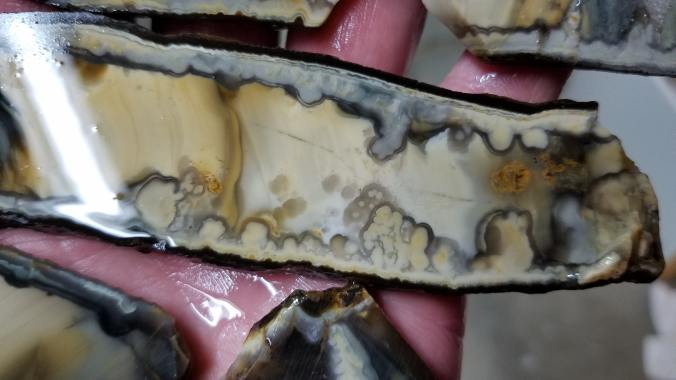
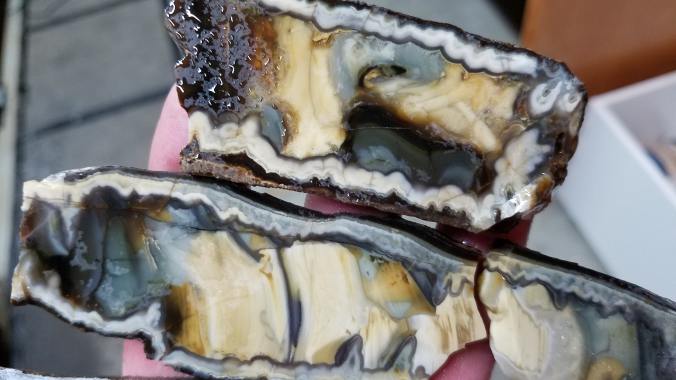
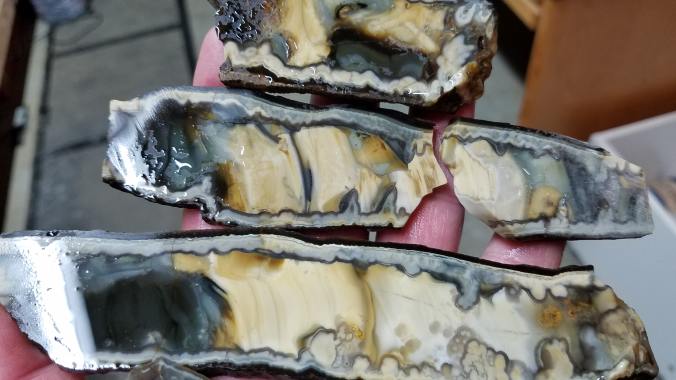
Here are some of the beautiful pieces that Garry sent me.
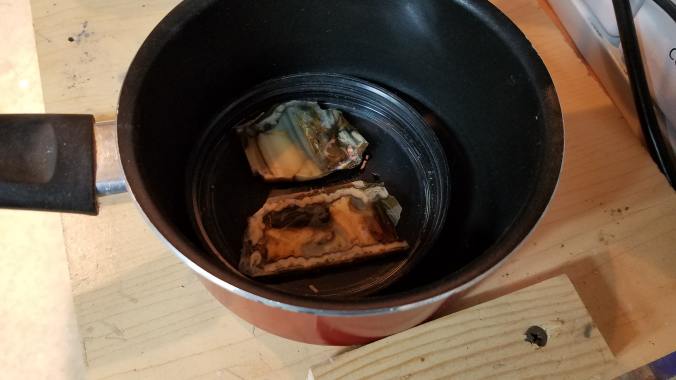
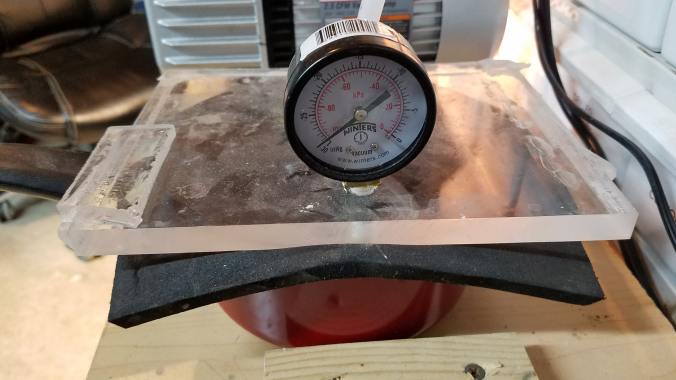
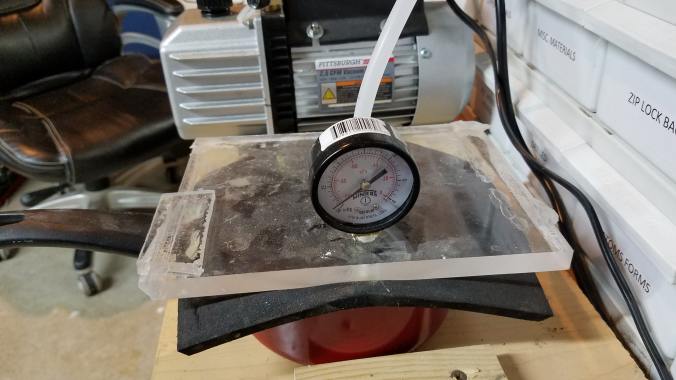
For this project I used the functioning remains of my plexiglass vacuum chamber project from last year. The original (expensive) chamber walls imploded in spectacular fashion and scared the hell out of me and the dogs ... and probably the cat ... maybe even the neighbors. What followed was several more nervous attempts to build a visible chamber that wouldn't implode, the final straw being a glass cylinder that also exploded (thankfully I was standing behind a blast shield by that point). I gave up at that point and opted for using the original lid which never broke, placed on top of a small sauce pan with a thick gasket of closed cell rubber foam. It actually works really good and I can get the pressure down to -30 and hold it there indefinitely. I just center the lid over the pan and the vacuum does the rest.
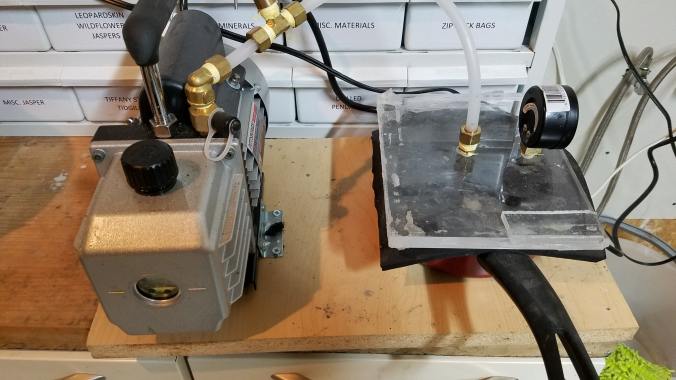
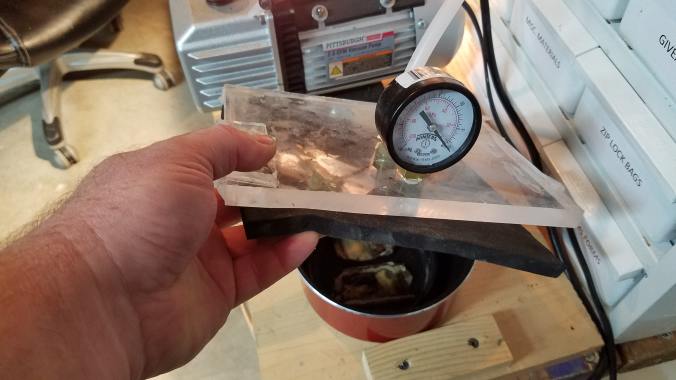
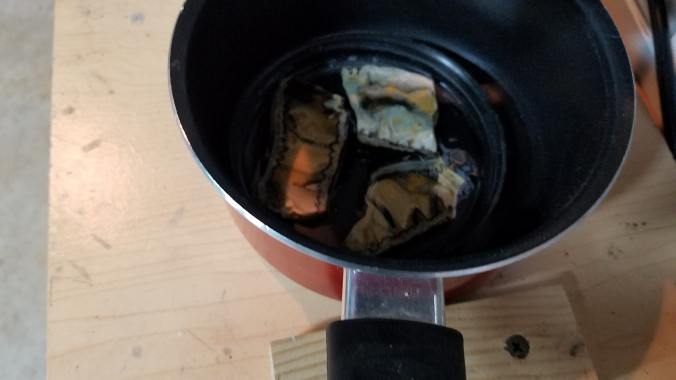
I heated the slabs under a heat lamp coated the top side first then applied maximum vacuum to draw all the air out of the stone. It's my understanding that the release of said vacuum is what draws the adhesive down into the stone. I flipped each piece over and applied a layer of Hxtal to the other side and repeated the vacuum.
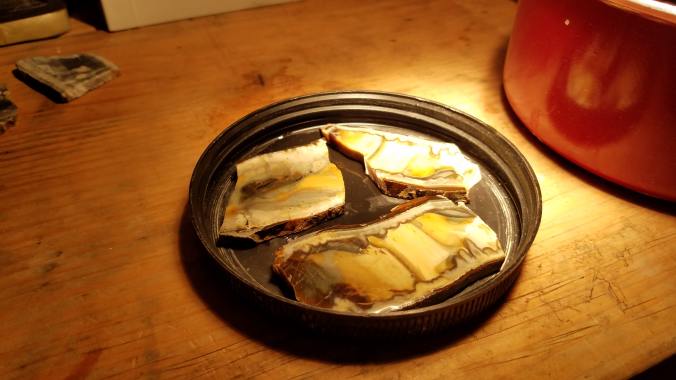
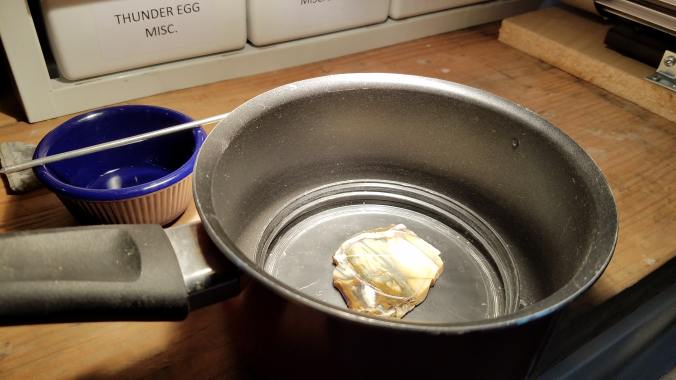
I scraped the excess Hxtal off as best I could and set the slabs aside to cure. All together pieces cured for about three weeks. No real reason other than this is how long it took me to get back to it.
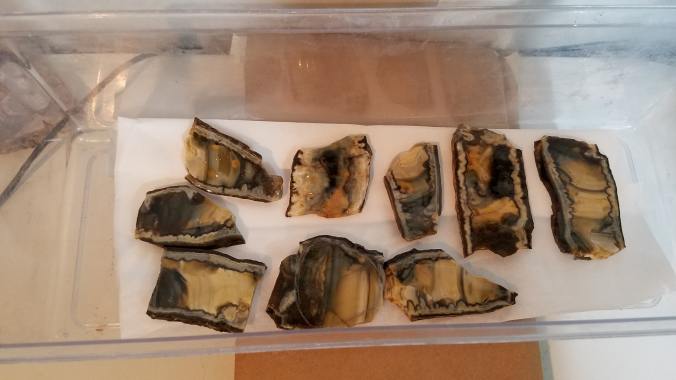
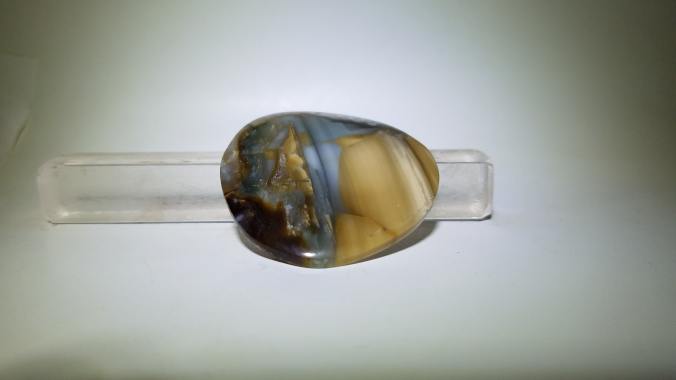
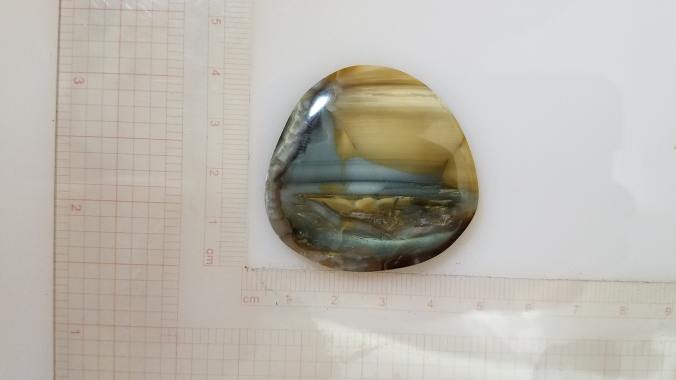
The beautiful first piece I decided early that I would cab because it reminded me of a serene pond scene. The slab had a number of fractures and I was certain that it would come apart if I attempted to grind it without support.
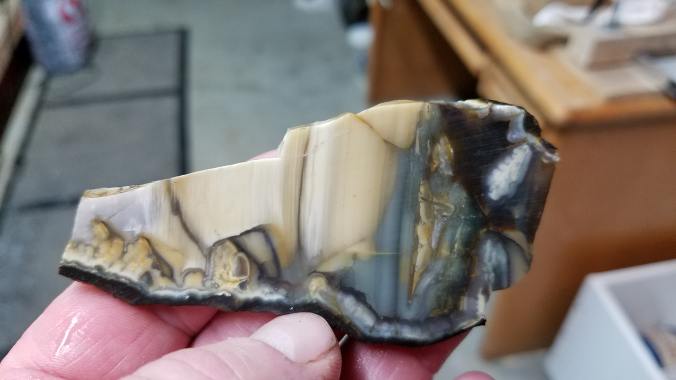
After trimming and stabilizing the preform I created the dome using my typical grinding procedure which starts with a 60-grit sintered wheel that also serves as a fracture finder. If a piece is going to come apart this is where it happens 90% of the time. In this case, the dome came easily and I knew that a gorgeous cabochon was to follow.

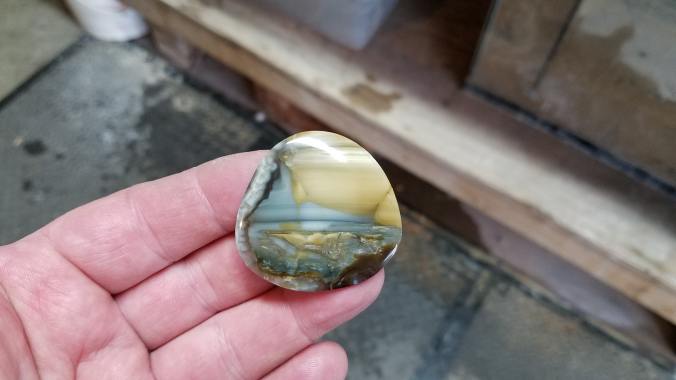

Thanks for looking! Feel free to ask any questions about the process and I will add other cabs that I finish as we go along.
Here are some of the beautiful pieces that Garry sent me.


For this project I used the functioning remains of my plexiglass vacuum chamber project from last year. The original (expensive) chamber walls imploded in spectacular fashion and scared the hell out of me and the dogs ... and probably the cat ... maybe even the neighbors. What followed was several more nervous attempts to build a visible chamber that wouldn't implode, the final straw being a glass cylinder that also exploded (thankfully I was standing behind a blast shield by that point). I gave up at that point and opted for using the original lid which never broke, placed on top of a small sauce pan with a thick gasket of closed cell rubber foam. It actually works really good and I can get the pressure down to -30 and hold it there indefinitely. I just center the lid over the pan and the vacuum does the rest.


I heated the slabs under a heat lamp coated the top side first then applied maximum vacuum to draw all the air out of the stone. It's my understanding that the release of said vacuum is what draws the adhesive down into the stone. I flipped each piece over and applied a layer of Hxtal to the other side and repeated the vacuum.


I scraped the excess Hxtal off as best I could and set the slabs aside to cure. All together pieces cured for about three weeks. No real reason other than this is how long it took me to get back to it.

The beautiful first piece I decided early that I would cab because it reminded me of a serene pond scene. The slab had a number of fractures and I was certain that it would come apart if I attempted to grind it without support.

After trimming and stabilizing the preform I created the dome using my typical grinding procedure which starts with a 60-grit sintered wheel that also serves as a fracture finder. If a piece is going to come apart this is where it happens 90% of the time. In this case, the dome came easily and I knew that a gorgeous cabochon was to follow.


Thanks for looking! Feel free to ask any questions about the process and I will add other cabs that I finish as we go along.


