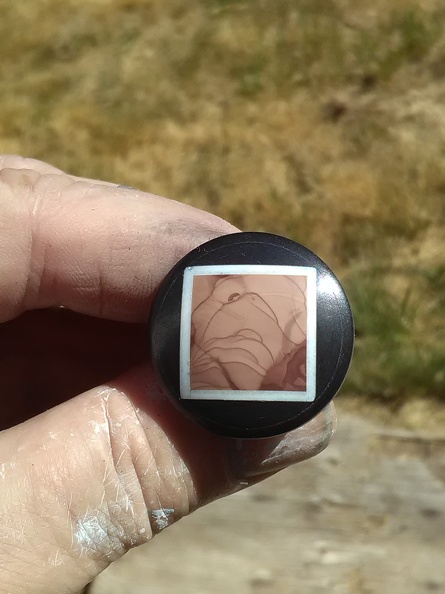
Concentric Square aka intarsia or round peg in square hole.
Sept 5, 2021 11:54:23 GMT -5
adrian65, catskillrocks, and 15 more like this
Post by Rockoonz on Sept 5, 2021 11:54:23 GMT -5
So for background, there was a cab contest awhile back. Parameters were make a square cab.
In the description it was specified that the square should be concentric. Several people said
that there was no such thing as a concentric square. After some thought, I decided there was such a thing. Hold my non alcoholic beverage.
After all, I will be operating power tools.
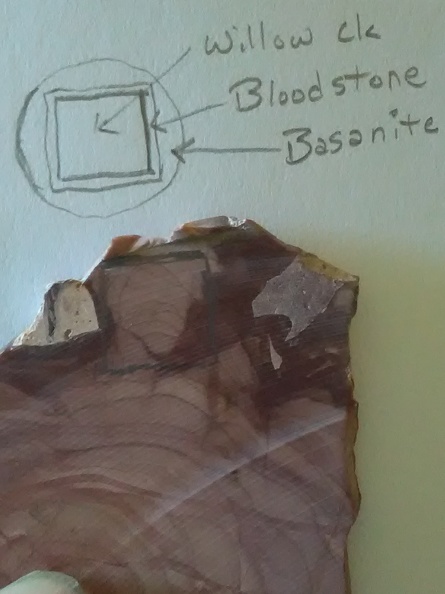
First, you need a plan. Poorly made drawings that only I can read will work here, the finished piece will be different anyway. Also materials, which, based on what I wrote on the drawing and my wifes input, obviously changed somewhere.
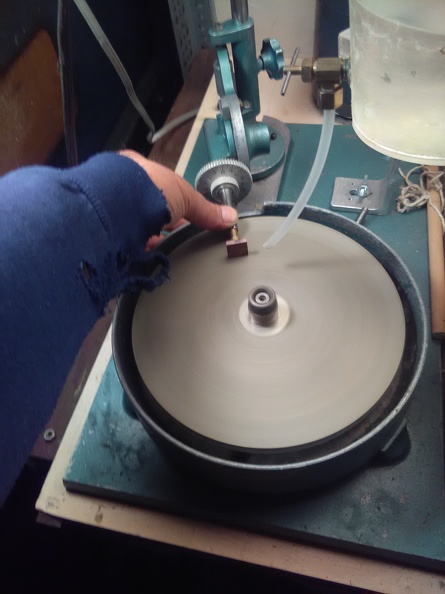
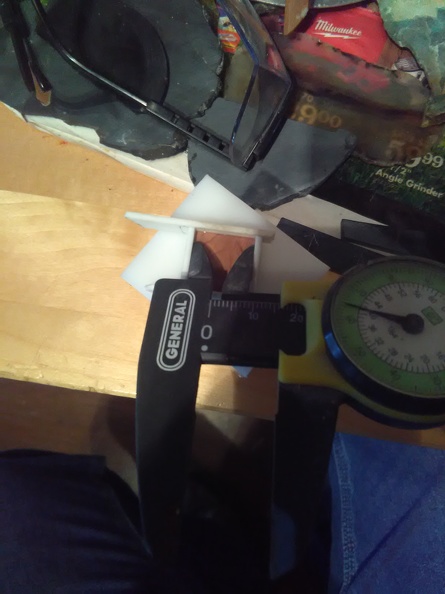
Next, being a basic symmetrical intarsia, the central focal stone must be shaped. In the interest of being perfectly concentric, everything built from a center point. Using a gluing jig I made from some hard plastic (shown later) I dopped it from the front after cutting out with the trim saw, and used a faceting machine to make a perfect square. A machinists square and calipers would have worked too, for those with less tools. I miss that shop hoodie.
The materials.
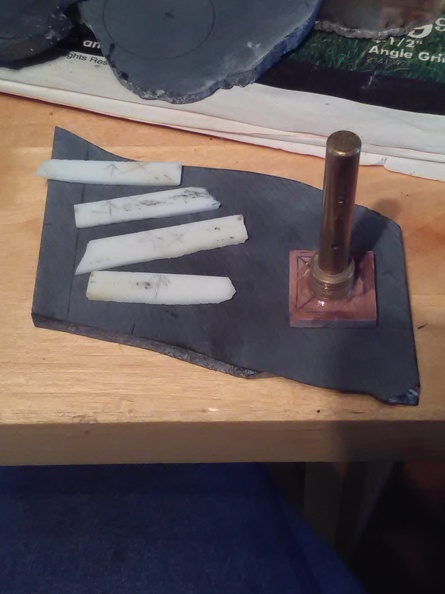
Now the build up. With this simple design it is fairly easy to use a trim saw and lap to make strips close to what you want to end up with. The surface you want to glue to the center must be very flat to have a nice glue join, the method I like is to get the lap wet, then place the piece on the lap with it shut off. I turn on the lap and hold the piece without moving it, and stop the lap before picking it up. Any movement will slightly roll the piece, so the surface won't be flat.
For this I glued 2 strips of bone white polkadot agate on opposite sides, then ground the ends with the lap back to the original square on the ends as shown, then added strips to the other 2 sides. I used hot stuff for this, basically super glue. Gluing on top of the plastic jig also makes the future front flat and easy to deal with. To make the border even I moved the facetor mast up to the desired thickness and repeated the process I used to make the square.
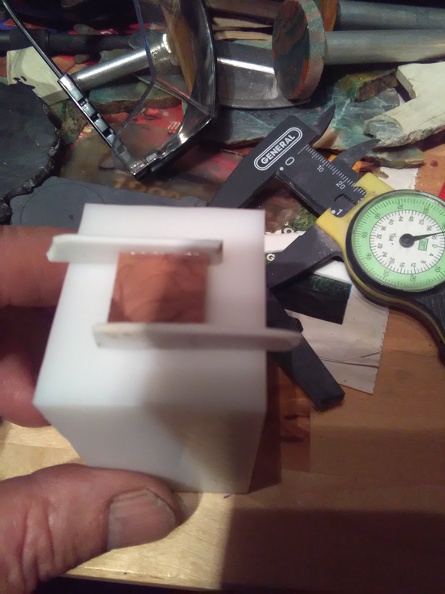

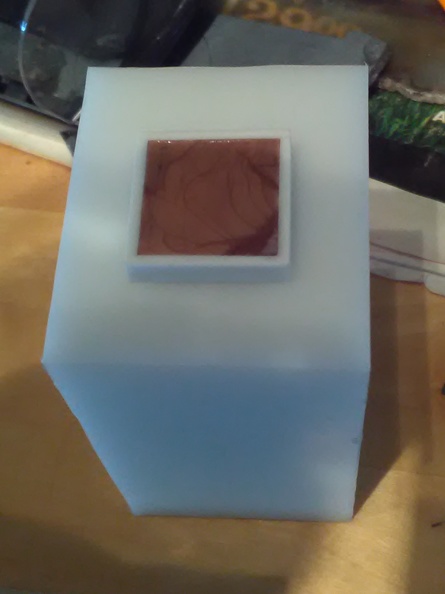
With that done I added the black outside piece, in this case basanite, an agatized basalt that will polish. The process for this is 2 sides at a time just like the bone white.
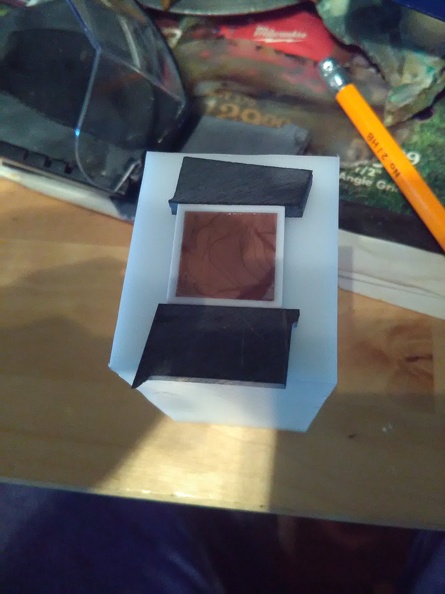
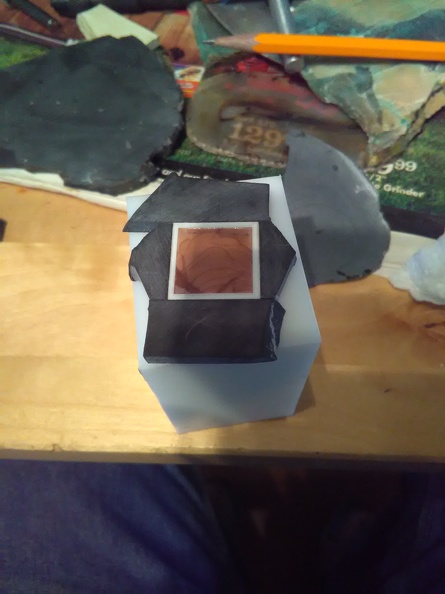
After this the back must be ground flat. The pieces are not all the same height, pretty common with intarsia if you don't use all your own slabs all cut with the same saw to the same thickness. Since I was dopped to the front of the intended finished piece I could leave the dop on to keep my center. I did this by hand without the mast until the last bit I needed to make it flat and parallel.
Now it was ready to add the back. For this operation I used 330 epoxy, this is what really holds everything together. Packaging makes a great disposable epoxy mixing surface. The waffles weren't so great, don't get them.
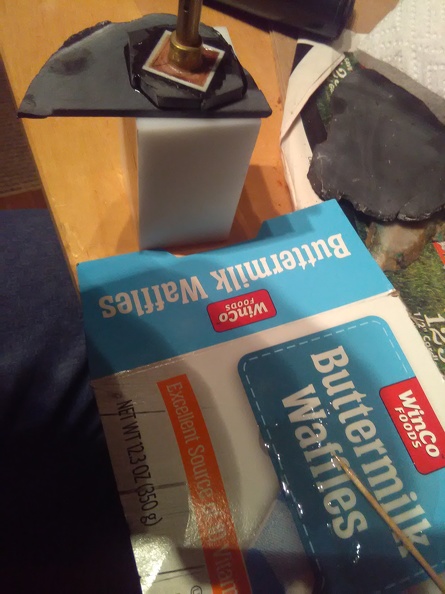
The pieces I used for this were not as close to what was desired as the white strips, so I used the trim saw to preform as I could.
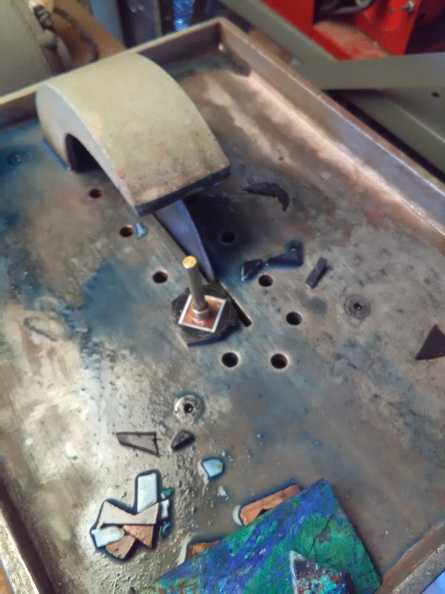
Here's where the square became concentric. I moved the lap mast up a bit more, and turned the handpiece that holds the dop to create a perfect round from the same center. The wooden handle of the used foam brush is stuffed in there so the handpiece will spin, high tech.
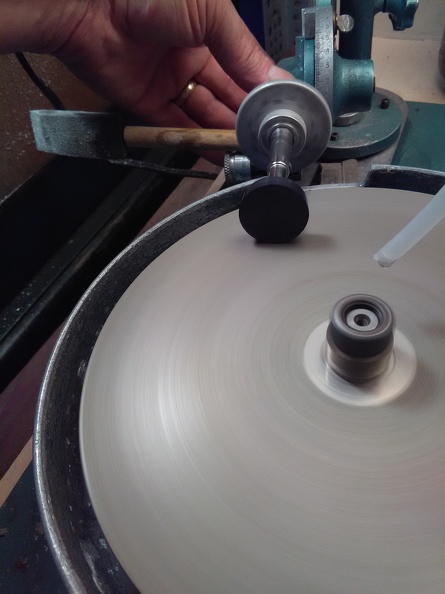

Now it gets fun. To finish this I needed to now have the dop stick on the back. I needed what is called a transfer jig. They are spendy, and most of them are not made to accommodate something as large as this, they are for tiny faceted stones. So I made one, crude but it worked, amazingly.
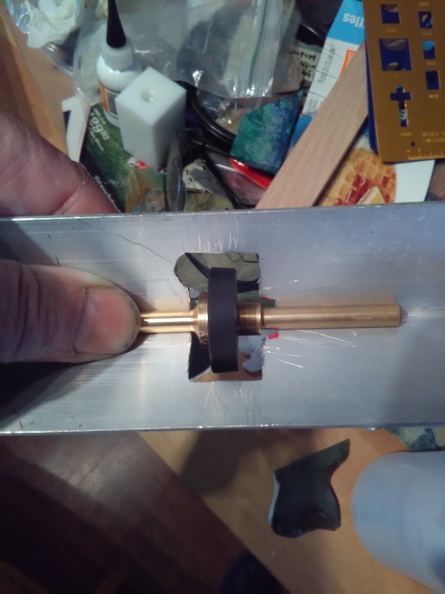

To finish it I began by using the facetor one more time to grind the angled bezel edge so it could easily be bezel set in silver later (no, I haven't) and the outside angle to begin the dome.
I don't have pics for the cabbing process. For rounds like this my cheat is to chuck the dop into a power drill and use the drill to keep the round preform turning while grinding the dome into it, which I do on the hard wheels of my cab mate and genie. I then finish by hand on the soft wheels, this was done to 14k diamond.

And that's how you win a square cab contest with a round cab Tommy ...
In the description it was specified that the square should be concentric. Several people said
that there was no such thing as a concentric square. After some thought, I decided there was such a thing. Hold my non alcoholic beverage.
After all, I will be operating power tools.
First, you need a plan. Poorly made drawings that only I can read will work here, the finished piece will be different anyway. Also materials, which, based on what I wrote on the drawing and my wifes input, obviously changed somewhere.

Next, being a basic symmetrical intarsia, the central focal stone must be shaped. In the interest of being perfectly concentric, everything built from a center point. Using a gluing jig I made from some hard plastic (shown later) I dopped it from the front after cutting out with the trim saw, and used a faceting machine to make a perfect square. A machinists square and calipers would have worked too, for those with less tools. I miss that shop hoodie.

The materials.

Now the build up. With this simple design it is fairly easy to use a trim saw and lap to make strips close to what you want to end up with. The surface you want to glue to the center must be very flat to have a nice glue join, the method I like is to get the lap wet, then place the piece on the lap with it shut off. I turn on the lap and hold the piece without moving it, and stop the lap before picking it up. Any movement will slightly roll the piece, so the surface won't be flat.
For this I glued 2 strips of bone white polkadot agate on opposite sides, then ground the ends with the lap back to the original square on the ends as shown, then added strips to the other 2 sides. I used hot stuff for this, basically super glue. Gluing on top of the plastic jig also makes the future front flat and easy to deal with. To make the border even I moved the facetor mast up to the desired thickness and repeated the process I used to make the square.


With that done I added the black outside piece, in this case basanite, an agatized basalt that will polish. The process for this is 2 sides at a time just like the bone white.


After this the back must be ground flat. The pieces are not all the same height, pretty common with intarsia if you don't use all your own slabs all cut with the same saw to the same thickness. Since I was dopped to the front of the intended finished piece I could leave the dop on to keep my center. I did this by hand without the mast until the last bit I needed to make it flat and parallel.
Now it was ready to add the back. For this operation I used 330 epoxy, this is what really holds everything together. Packaging makes a great disposable epoxy mixing surface. The waffles weren't so great, don't get them.

The pieces I used for this were not as close to what was desired as the white strips, so I used the trim saw to preform as I could.

Here's where the square became concentric. I moved the lap mast up a bit more, and turned the handpiece that holds the dop to create a perfect round from the same center. The wooden handle of the used foam brush is stuffed in there so the handpiece will spin, high tech.


Now it gets fun. To finish this I needed to now have the dop stick on the back. I needed what is called a transfer jig. They are spendy, and most of them are not made to accommodate something as large as this, they are for tiny faceted stones. So I made one, crude but it worked, amazingly.


To finish it I began by using the facetor one more time to grind the angled bezel edge so it could easily be bezel set in silver later (no, I haven't) and the outside angle to begin the dome.
I don't have pics for the cabbing process. For rounds like this my cheat is to chuck the dop into a power drill and use the drill to keep the round preform turning while grinding the dome into it, which I do on the hard wheels of my cab mate and genie. I then finish by hand on the soft wheels, this was done to 14k diamond.

And that's how you win a square cab contest with a round cab Tommy ...


 W Lee
W Lee 


