|
|
Post by susand24224 on Jan 15, 2024 19:06:56 GMT -5
So I have to really thank you, Susan susand24224 , I've had a crappy week, and it's all gotten me down, so I decided this afternoon to take a break and actually look through both "cooper sheet" scrap bins and see what actually might be inspiring.
It was fun although overwhelming, but I did find a bunch of interesting things, so maybe, just maybe, I can come up with something for the challenge ?
The funniest part was that I'm not sure if I remember making all those discarded creations I found----- must have been another lifetime.  I won't promise any perfection - but we're already discussed that - but I'm going to try to ONLY use something out of the scrap bin.
Maybe I can even find some wire in my "wire scrap" bin (which I'm NOT showing) - stay tuned  [/div] Patty
Wow! So much scrap, so little time! I'm salivating over your scrap pile! It is so much more impressive than mine. Suggestion--if you cut two identical circles from some thinner copper sheet and roll the circles around round nose pliers (the bigger the better) you will end up with little cones from which you can dangle something (earrings). You can also (of course) texture it or whatever before you wrap it into a cone. I've taken two photos of my pathetic (compared to yours) scrap pile: (1) failed designs, including designs I worked out in 26 gauge before tackling it in thicker wire, and also actually failed. You can see a very small cone although it got flattened--blue arrow. You would want a much larger circle than I used for this. (2) my pathetic wire stash.   |
|
|
|
Post by susand24224 on Jan 8, 2024 19:04:04 GMT -5
And thank you for tackling my scrap bin.
I will try to look at it with your suggestions in mind.  Truth be told, there can be fun in designing around things.
Hopefully, I'm truly up for that challenge.  Good luck with your snow storm - I'm dreary enough with our cold rain ! Patty
Patty, as the author of this challenge I should say that it doesn't matter (at least to me) if what you create "works." What matters to me is experimenting with different ideas. Speaking for myself alone, when I try to design "perfection" it never works. When I just play around, sometimes it does so I'm encouraging others to do the same thing. You will be great! |
|
|
|
Post by susand24224 on Jan 8, 2024 16:23:25 GMT -5
So I dragged out one of my scrap bins - Any ideas come to mind ?? It's a start.
Patty I've got to get to the post office before I get snowed in, but some quick ideas--I can't tell what gauge your sheets are, but it looks like the perfect time to experiment with a torch and try to get different colors. If the gauge is thick enough, I would try centering it around the edge of a cab and pressing it down to make a rim, maybe even creating a "wave" by alternating pressing toward the cab and then a bit away. Turn one of the pieces (a more square one) into a circle, and then cut a spiral with shears (a saw would make me crazy) and see where you can go with it. Cut several small shapes, diamond, circle, what have you, color them differently, then cold connect them together (or fabricate but you would likely lose the color). Geez! So much to do there! There's a piece on the bottom left where an interesting pattern was cut out, but what's left is quite interesting as well. Keep the pattern you've got but saw it into just a small strip of "pattern" and try wrapping it around something. Some of what I suggest may well look like copper crap, but a few might be brilliant creations (a/k/a "happy accidents"! |
|
|
|
Post by susand24224 on Jan 6, 2024 18:49:35 GMT -5
What a great idea! Thanks for sharing. . .
|
|
|
|
Post by susand24224 on Jan 4, 2024 15:46:09 GMT -5
You're right Susan on the ear wires & I laughed, as I always make my own ear wires, as I like to add matching beads, etc.
But rarely have I made more artsy types. I guess I need to push myself out of my comfort zone there.
Thank you for the continuing show susand24224 , lots of good inspiration ! You had me scribbling "scrap use" ideas yesterday over coffee !
I really like your circle bail with the balled ends. Looks doable & a nice addition to a pendant. I might have to try that one.
The Mykonos beads are niiice.
I spent way too much time looking at their website.
I can see why you were excited. Some of their beads make me think of "Picasso Beads" which I have always liked. Thanks for sharing them. (I think ) Patty
I missed that the thread went to another page - WOW, "loopinloop" has a great selection AND the beads are on sale !!
Patty, I'm so glad to hear that you are inspired! And many of my creative ear wires are a "save" from something that I screwed up. As for Loopinloop, their beads are *always* on sale. And just scroll through--they also feature beads from other European countries, and some of them are quite nice. But perhaps that is too dangerous. One cheap one that I'll recommend is BossJewelrySupply in Vermont. She scours thrift shops, auctions, etc. and takes apart the pieces and sells the components. If you want something unusual or old at a very fair price, that's the place to go--and she gets great chain. She also seems to know the difference between copper plated and copper, which is nice. Both LimaBeads and BossJewelry give you an automatic 10% off coupon every time you order, and I think LimaBeads gives you 25% off the first time you order. |
|
|
|
Post by susand24224 on Jan 4, 2024 15:37:32 GMT -5
Thanks for the tute Susan! It reminded me of the time I spent the day wrapping during a hurricane with no lights. I had a small (low) battery lantern. Oh, what fun! LOL! I've seen that called the cage wrap. I've done it several times but not with flattened wire. I like the look. Thank you, Tela. I have never done it without flattening the wire, but I actually thought about it last night so the wire wouldn't get so brittle. Had I not been able to complete that last little bit of 16-gauge wire, I likely would have if I wasn't overcome by butane. I've seen beads that looked like they were done that way and I liked them. I can only imagine finishing a wrap during a hurricane. But, I've always said that the most challenging and irritating things become the greatest amusing stories later! |
|
|
|
Post by susand24224 on Jan 4, 2024 15:30:25 GMT -5
rockjunquie liveoak drocknut Mykonos bead lovers unite! Had I not just spent the requisite $100 on their website, I would suggest that we bind together and make orders. (Of course I also had to buy another container to keep them in, so I can ogle them, pet them, and be appalled at the idea of parting with any of them).
|
|
|
|
Post by susand24224 on Jan 4, 2024 15:26:03 GMT -5
How is the stone attached on the pic #5 Horseshoe? Very creative work on all. Hi, ThomasT, the stone is attached with a glue on bail. I always do a bunch of them for my rock club's "exhibit" at the county fair for the kids that come by. But this one, I remember regretting that I hadn't wrapped it, although I really don't like wrapping tumbled stones. So I did the next best thing and gave it its own necklace. It didn't make it to the fair  Thank you for the compliment! I am a grand experimenter, and many of my designs don't turn out well, but I learn from each one. |
|
|
|
Post by susand24224 on Jan 4, 2024 3:55:21 GMT -5
Okay, so my tutorial is a disaster, but I think, against all odds I got enough that it might make sense if you can decipher my fuzzy photos. First, the electricity went out. No matter, I have candles and a flashlight. I also had a 6" piece of 18-gauge copper that I just used as a mandrel for making coils. 18 gauge is really too small for this, but what the heck. I decided not to anneal it. Very bad decision. 1. Initial supplies: the 18-gauge wire, the steel block, and a weighted brass hammer. Any hammer will do, but this will do it faster, just keep your fingers well away from it unless you have one more than you want.  2. This wire had already been straightened numerous times during the coiling creating process, so following hammering with "The Beast" it was about as brittle as it could get. Mark the center with a marker--it actually gained an inch from hammering.  3. With round nose pliers, begin at one end and make a circle.  4. This should read "continue curling it around itself until you get to the line you drew" but it fell off. So much for not annealing. I knew better, I really did.  5. I started over with 16-gauge wire, (no photo of the hammering, etc.) and set up to anneal. Here it is with the ice water and accompaniments ready to go.  6. But the Blazer did nothing. Absolutely nothing. I think all the butane leaked out and when I tried to refill it butane spewed all over me and the entire house stinks--I'm still lacking electricity, so no ventilation. So, this is 16-gauge, hammered flat, and maybe, just maybe I can do this without annealing. Wrong, after a few coils it fell off. So, my hammered wire is very short, but I finally got it coiled properly. 7. The next step is to coil both ends of the wire to the mark in the center, and I managed that with the shortened wire. I used the widest point of the round nosed pliers to put less strain on it, so the hole is really larger than I would like it to be, and I would like to have five or six coils instead of a measly three. But I don't think it's going to get any better without annealing.  8. The next photo purports to be me pushing out one of the coils with a pencil. This still hasn't been annealed, but if it had been, it would have been easy to do. As it was, I actually got it slightly pushed out with the pencil and then viciously attacked with a variety of pliers until I sort of got it the rest of the way out. You then do the same thing with the other coil, but push out in the opposite direction. I didn't try to photograph this, since the candle seemed to be confusing to the camera and everything was getting fuzzy. I hadn't even started drinking yet. I know the photo is horrible, but hopefully it's good enough that you can see what I did.  9. (no photo) Once you have both sides pushed out (in opposite directions) you now "twist" them together. If you have it in your hand it will make sense. You will twist one side clockwise and the other side counter clockwise. 10. A photo of the completed "elements." The small bead I completed and the two coils (one 18 gauge and one 16 gauge) that broke off. 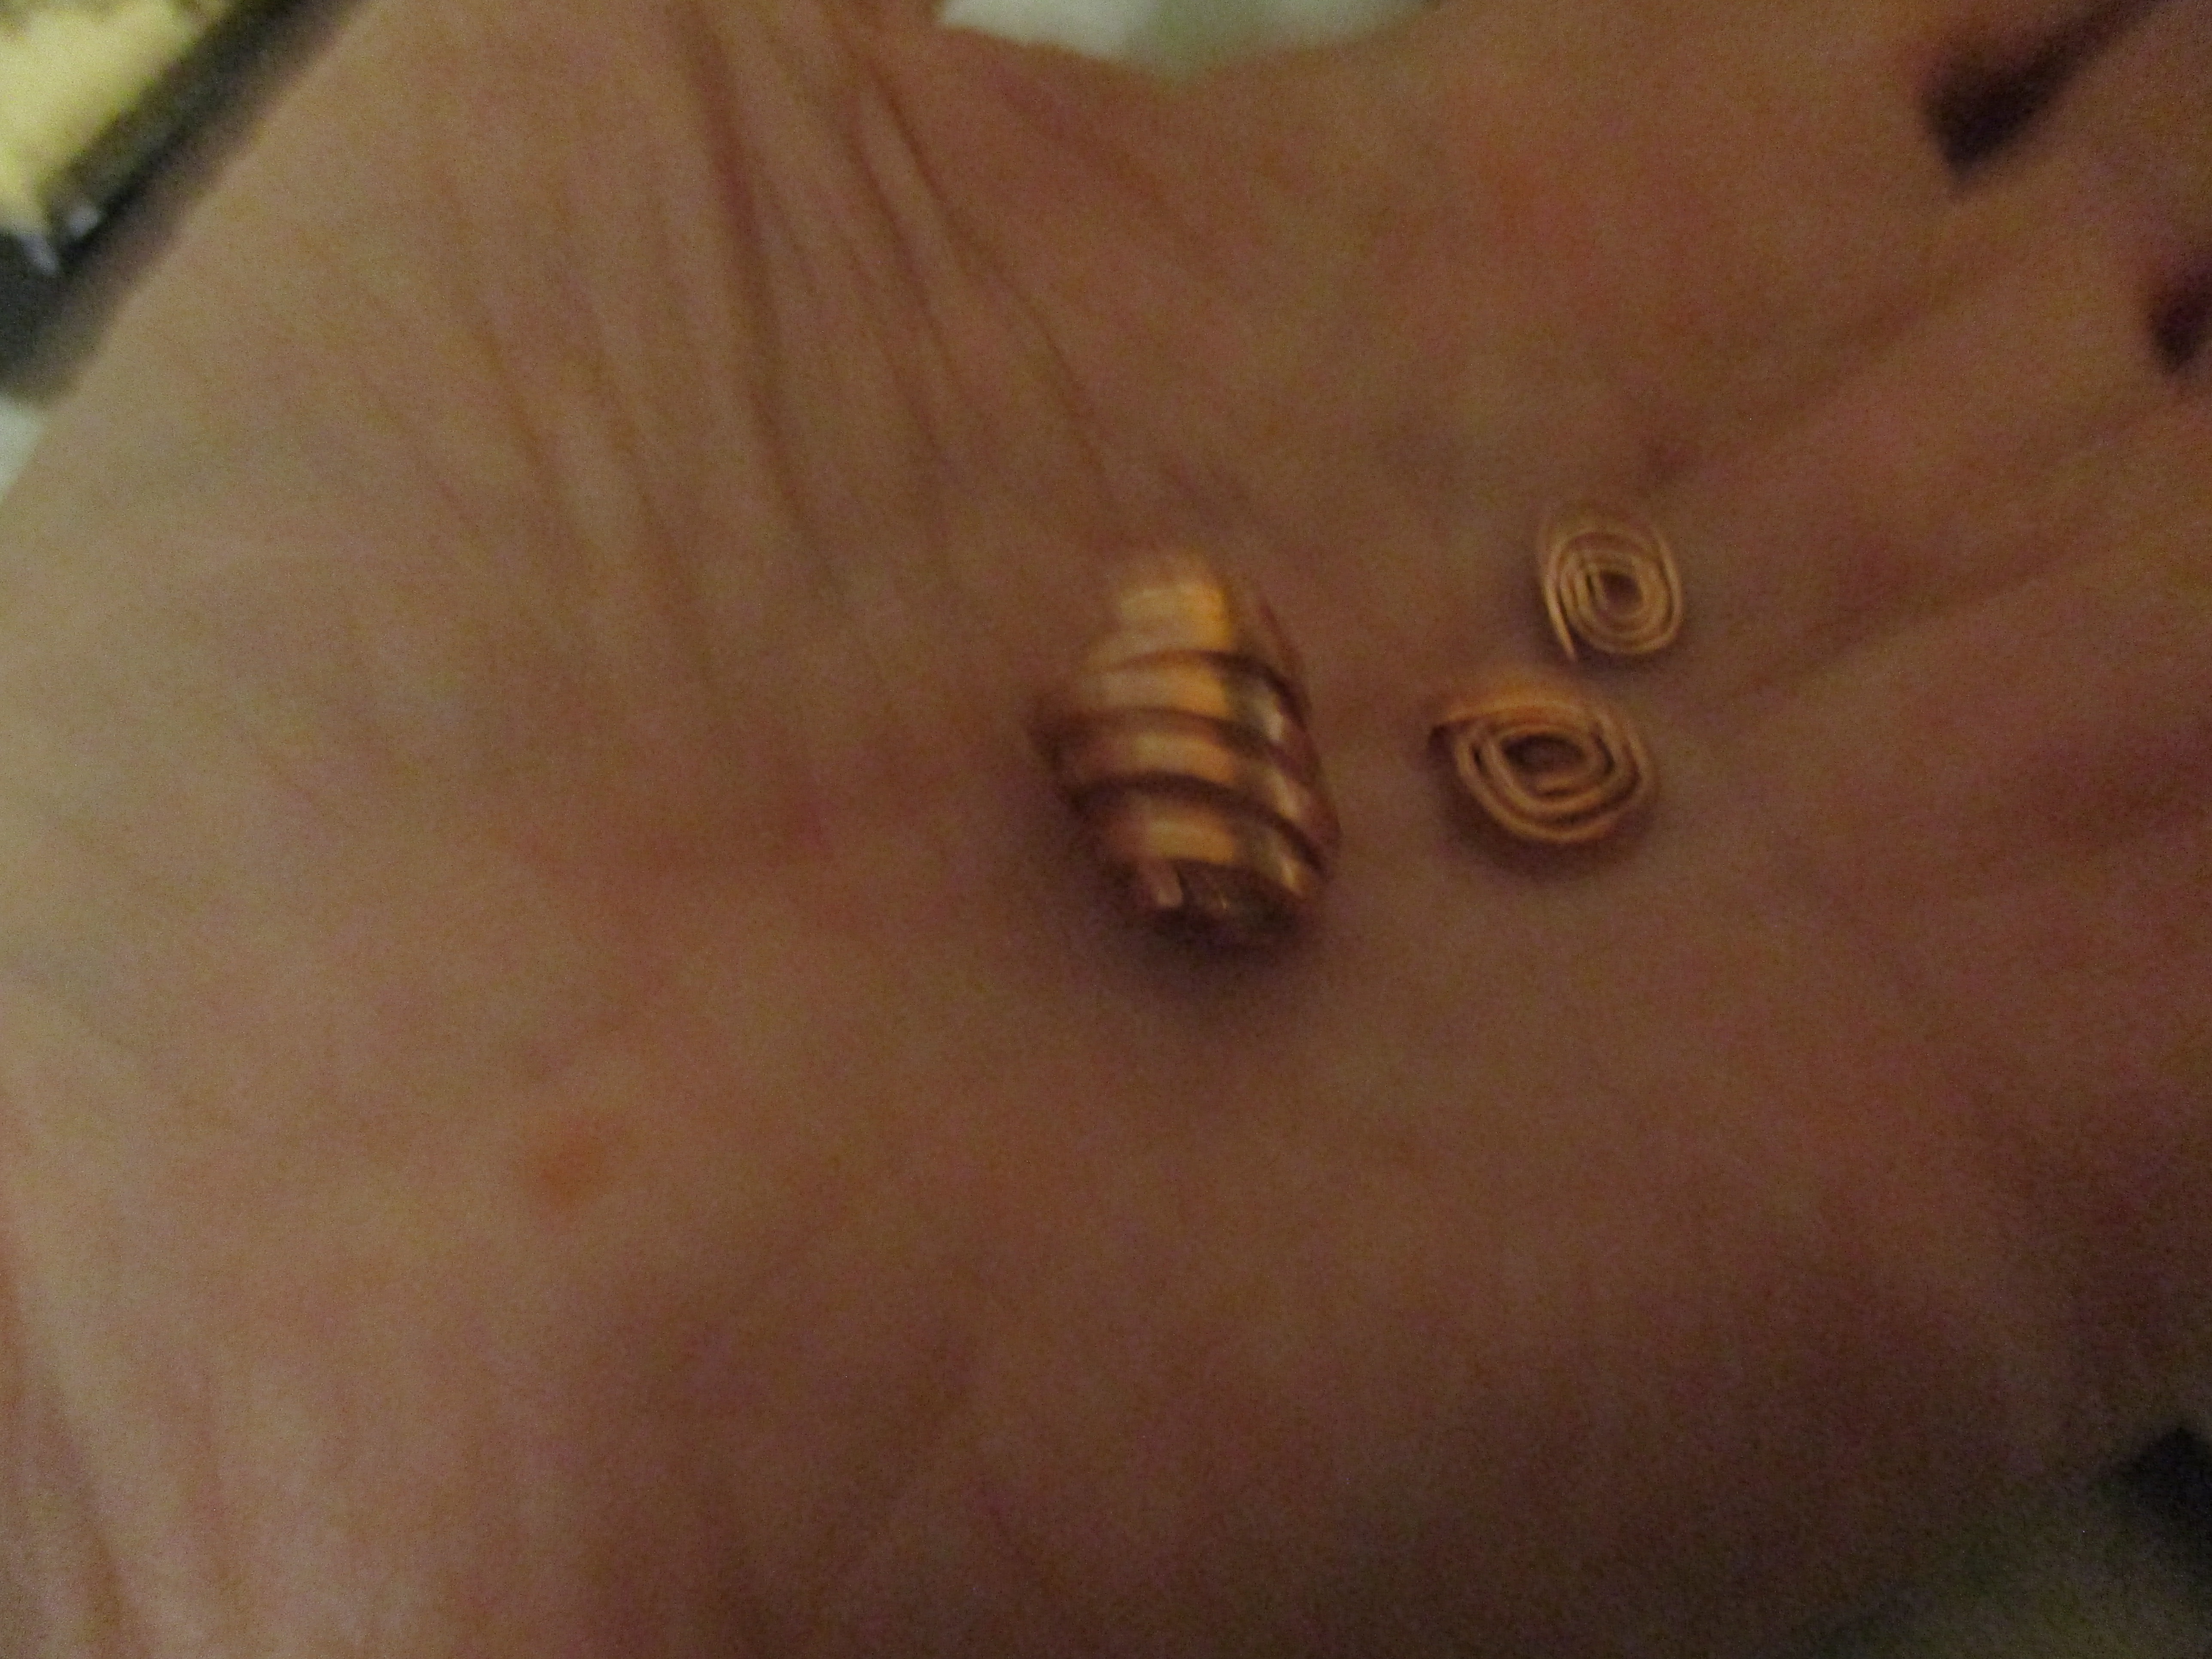 GRANDE FINALE: The electricity is back on, the ventilation is on, and I can now blow out the candle which is a delightful clementine scent--almost covered up the butane. Also, I did not make this procedure up. Or at least I didn't make up the procedure that should have occurred. I read it somewhere, and I can't remember where. Certainly the actual procedure set out above is uniquely mine--let's keep it that way! |
|
|
|
Post by susand24224 on Jan 3, 2024 23:31:25 GMT -5
It depends on what you want to. Do you want the finished product to drape well? Do you want it stiff to hold its shape? How much weight do you want it to hold? In other words, different wire for different types of projects. Good quality stringing wire is fairly expensive so it probably is not what is holding your beads. You will need crimps--2 and 3 mm work for most projects, crimping pliers which come in different sizes and probably crimp covers. I have Euro crimpers which can handle up to 3mm, as well as smaller. They have multiple ports for different sizes. Artbeads.com has good instructional videos for all of your questions.
|
|
|
|
Post by susand24224 on Jan 3, 2024 18:45:11 GMT -5
rockjunquie , I feel a bit silly saying this but if you were entering Mykonos in Limabeads, you wouldn't get much. Mykonos is just the primary maker of Greek beads, not the only one. There are 14 pages of Greek beads at Limabeads--drop down menu, click on "beads" then click on "Greek." Again, I feel a bit silly, but if you didn't do it that way and overlooked most of them, I would feel even sillier not saying it. I am beyond slightly computer-illiterate, probably moderately. But zoom is easy.
|
|
|
|
Post by susand24224 on Jan 3, 2024 18:02:42 GMT -5
rockjunquie Tela, would you like to join me by Zoom for a pbj sandwich? You can also get smaller quantities of Greek beads at Limabeads.com and Loopinloop on Etsy. Loopinloop is a bit high in prices and slow to ship, but better than buying 50 oxyhedrons like I just did at Mykonos. Limabeads always has fair prices but not as good of a selection.
|
|
|
|
Post by susand24224 on Jan 3, 2024 17:43:21 GMT -5
|
|
|
|
Post by susand24224 on Jan 3, 2024 16:45:01 GMT -5
I didn't do the chandelier parts, although a square punch would do it, but I only have round ones. The chandeliers are Greek in origin. Incidentally, I discovered a few days ago that Mykonos is selling on its own website, but it's wholesale, so you have to order $100 worth or more. Was I able to do that? You bet! (It's peanut butter and jelly for a month, though.) Not sure what Mykonos is.
What's a few pb&j in the pursuit of beauty? Mykonos is the primary maker of Greek beads. Talk about forcing one to get creative! The website is their U.S. distributor, and it doesn't have all of their wonderful creations, but it still causes me to stop and think "now what could I do with that?" mykonosbeads.com/product-category/sales/matte-sale/mns-sale/ |
|
|
|
Post by susand24224 on Jan 3, 2024 16:42:27 GMT -5
Okay, here's a few pendants with parts that were scrap, including a few clasps that I particularly liked. Most of the wrapping on the pendants is NOT scrap, but it's added here and there--some of these you may have seen before: 1. The "orbit" around the top with the copper ball "planets" was made with scrap wire and added after the pendant was basically completed, as was the circles at the bottom. I don't remember if the earrings were made from scrap wire, but they certainly could have been.  2. The bail on these was made with scrap--very easy. Take a 26-gauge piece of scrap and use your bailing pliers to make the circles to guesstimate how much wire you need, then add about an inch and a half or so on to accommodate the melted wire to make the balls and the thicker gauge wire, make your circles then use the bailing pliers again. PS: The bottom smaller circle is single, the top is double, but there is no good reason to make it this way!  3. One of my favorite clasps: 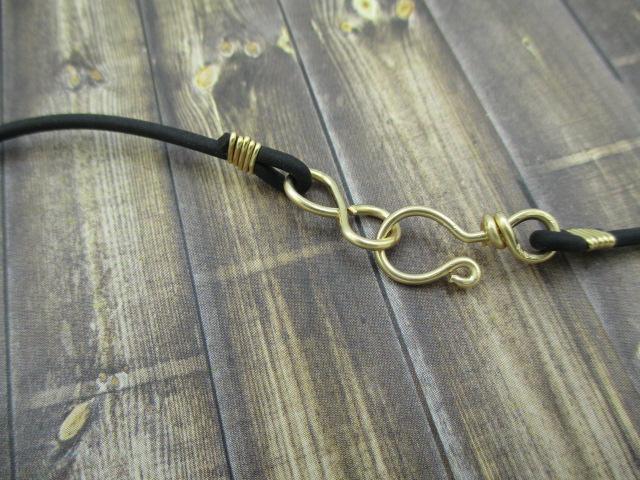 4. Another clasp. The entire necklace could have been made with scrap, but I don't think I had enough!: 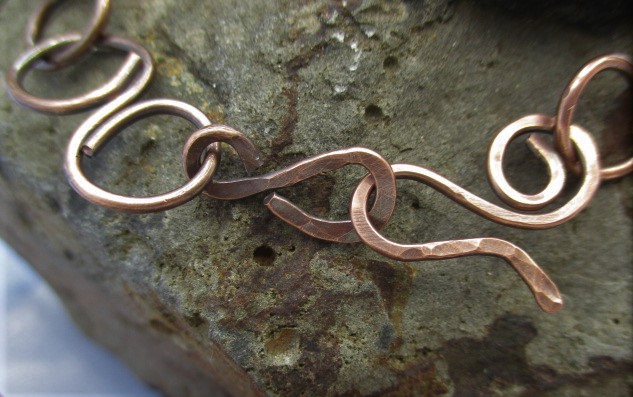 5. Here's an example of the "horseshoe" I make to hold the bail on some. Actually, I "discovered" this because I screwed up one of the necklace links and a lightbulb went on:  6. Want to add some accent to your pendant and not just add a chain? This one doesn't have a pendant, but a small length of 20-gauge (or similar) can hold beads then form the loops to attach your chain. This can be as short or as long, or as linked as you like. BTW, The neck belongs to the guy that repairs my lawnmower--he's quite accommodating.  7. This is Jason's Frankencab which I promised to put barbed wire on. The barbed wire is of course scrap. More important is the close up of a 16-gauge (square wire) jump ring at the top. This jump ring will not budge *ever* absent gorilla intervention.  8. This was my "add a dangle" entry--but more important is the swirl at the top. The center of the swirl is a heavy gauge (I don't remember what for sure but likely 14-gauge) round wire that was slightly hammered, then curled around small bailing pliers, then hammered again. It is surrounded by more swirls of left-over bail wire. This is also the start of the cones which I will do a tutorial on tonight.  9. You've also (probably) seen this one before, but this time the scrap wire is the clasp. The remainder of the necklace was cut and ruined my cutters.  |
|
|
|
Post by susand24224 on Jan 3, 2024 15:58:14 GMT -5
Thank you, susand24224I get it (I think)- the idea being to make something out of the scrap pile. Your earrings are very inspiring.
The first ones are quite nice - even the ear wires stand out to me.
I love your paddles, I've seen elements like them before, but never made any.
Good idea.
I look forward to seeing your pendant examples.
Patty
Thank you, Patty. Two ideas: we have all that scrap sitting around and it's the perfect way to "fiddle" with designs or anything without further waste. I think that's what I like so much about it. As for ear wires, we can easily do much better than the commercial ones, especially adding to the design in some fashion, whether it's a bead, a coil, or anything else that enters your mind. Maybe I'll go back and pull out ear wires. Problem is, when I finish a pair of earrings sans wires, I'm usually ready to move on and just attach some commercial ones. |
|
|
|
Post by susand24224 on Jan 3, 2024 15:55:14 GMT -5
The little bird's nests with eggs are really cool. Thank you! |
|
|
|
Post by susand24224 on Jan 3, 2024 15:52:53 GMT -5
Great examples! The first pair is gorgeous. How did you do the square holes? Solder snips?
If only this was last month- I made sooooo many earrings from scraps. Maybe I'll just have to make more. I didn't do the chandelier parts, although a square punch would do it, but I only have round ones. The chandeliers are Greek in origin. Incidentally, I discovered a few days ago that Mykonos is selling on its own website, but it's wholesale, so you have to order $100 worth or more. Was I able to do that? You bet! (It's peanut butter and jelly for a month, though.) |
|
|
|
Post by susand24224 on Jan 3, 2024 0:12:53 GMT -5
I believe the only thing that needs instructions are the spirals, and they will wait until tomorrow because the hammering scares my dog and he has had a rough day. The beauty of scrap is that if you want to do *something* but don't feel like designing anything, just pick up a piece of scrap wire and play with it--for me, most of the time this is a mess, but every now and then I come up with something I like. And Tela, you often do paddles and side pieces, which are easy to do with scrap, so I won't put any of those in. Scrap makes wonderful clasps and closures for necklaces, and also for certain bails. I make a lot of earrings, so many photos are of earring parts, but some (not all) would be perfect accompaniments to bails; others make great components for necklaces. Here goes: 1. The bottom part of these chandeliers are from 5/8" pieces of scrap with a ball melted on the end--these are kind of messy, but it was my first try so please be kind! 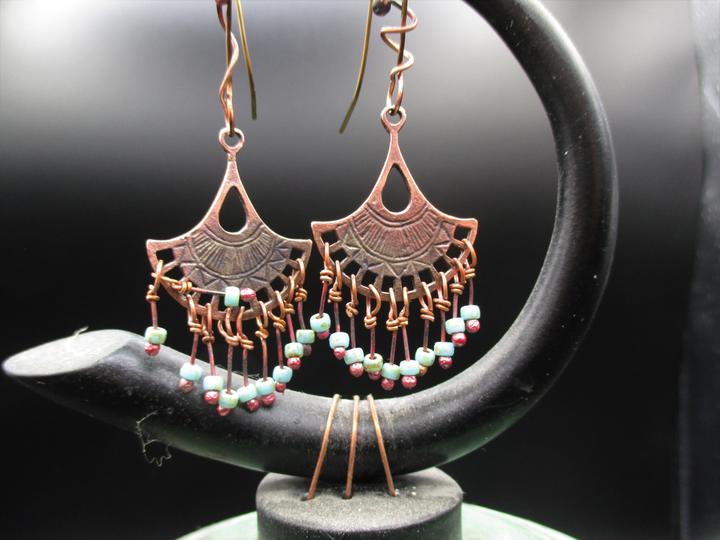 2. These can go anywhere and can be as organized or disorganized as you like!  3. All of the parts (except the ear wires and the beads) were made with scrap: 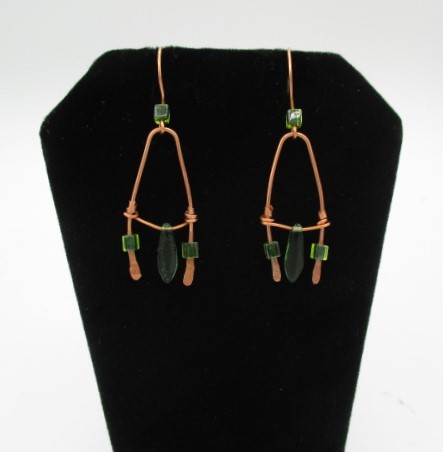 4. Here's several pieces of scrap wound together: 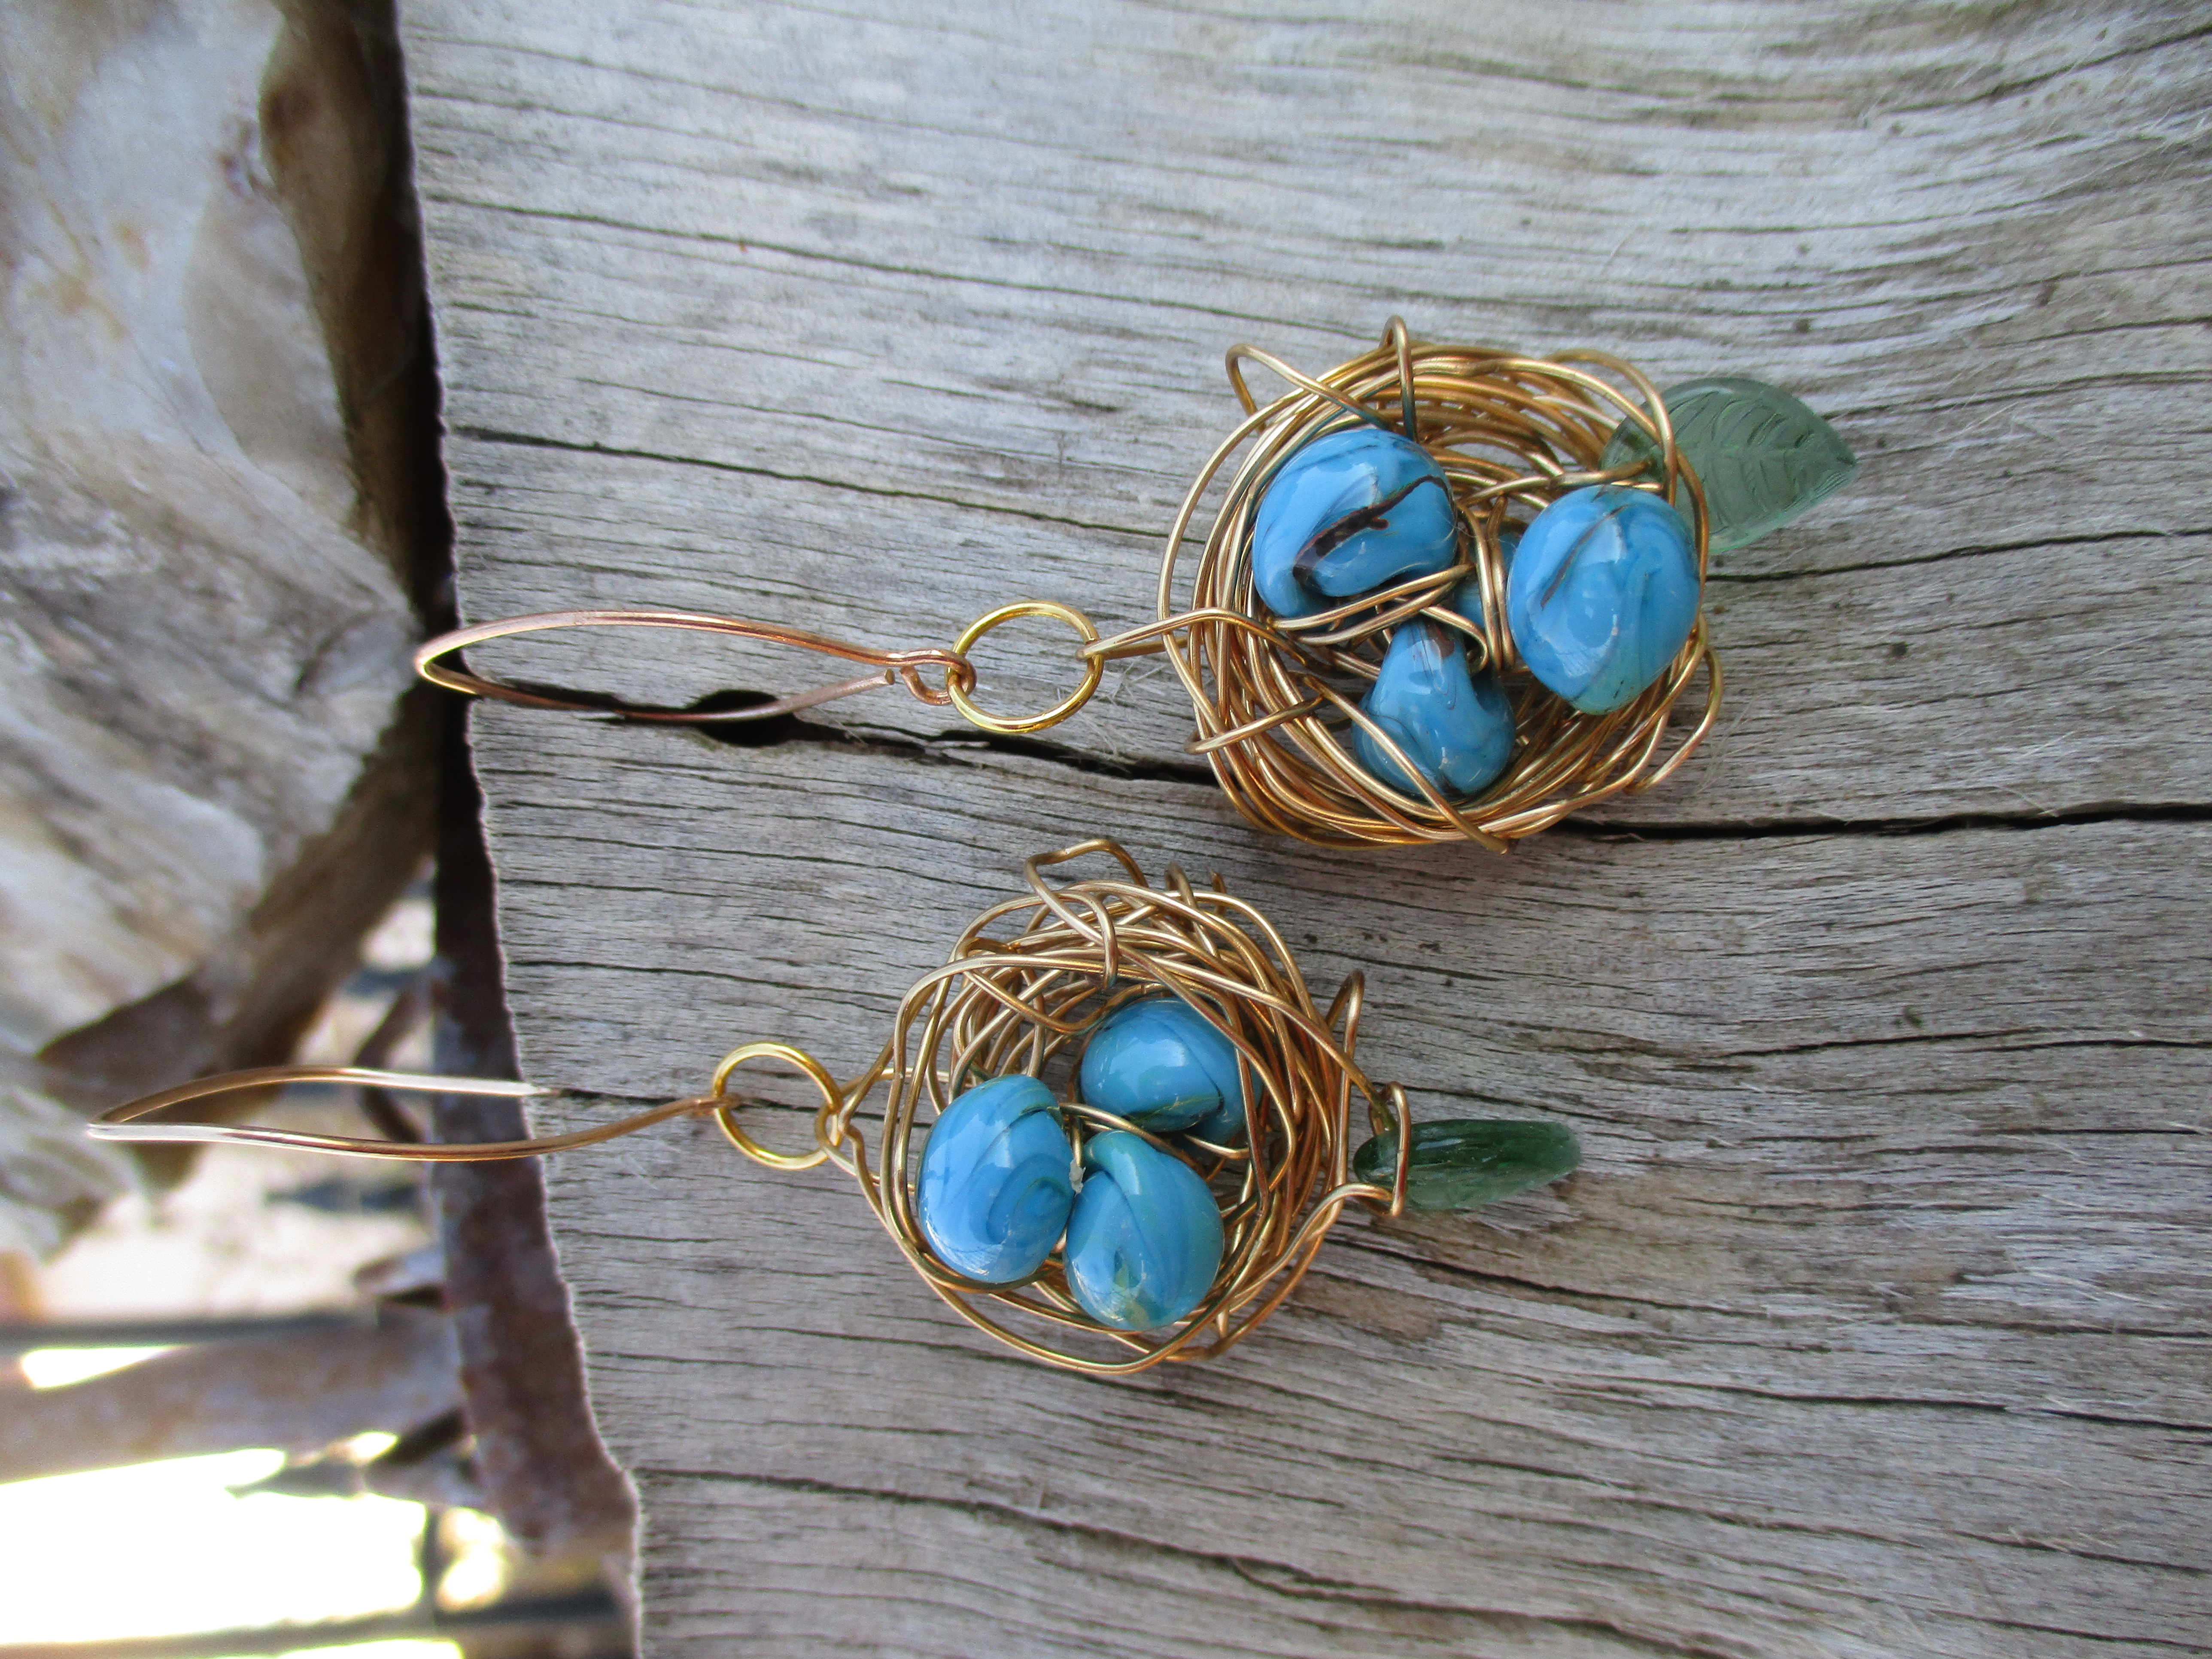 5. A very simple drop earring--if you want to "improve" it, you can file the balls into triangles and add eyes--or add a bead or three. 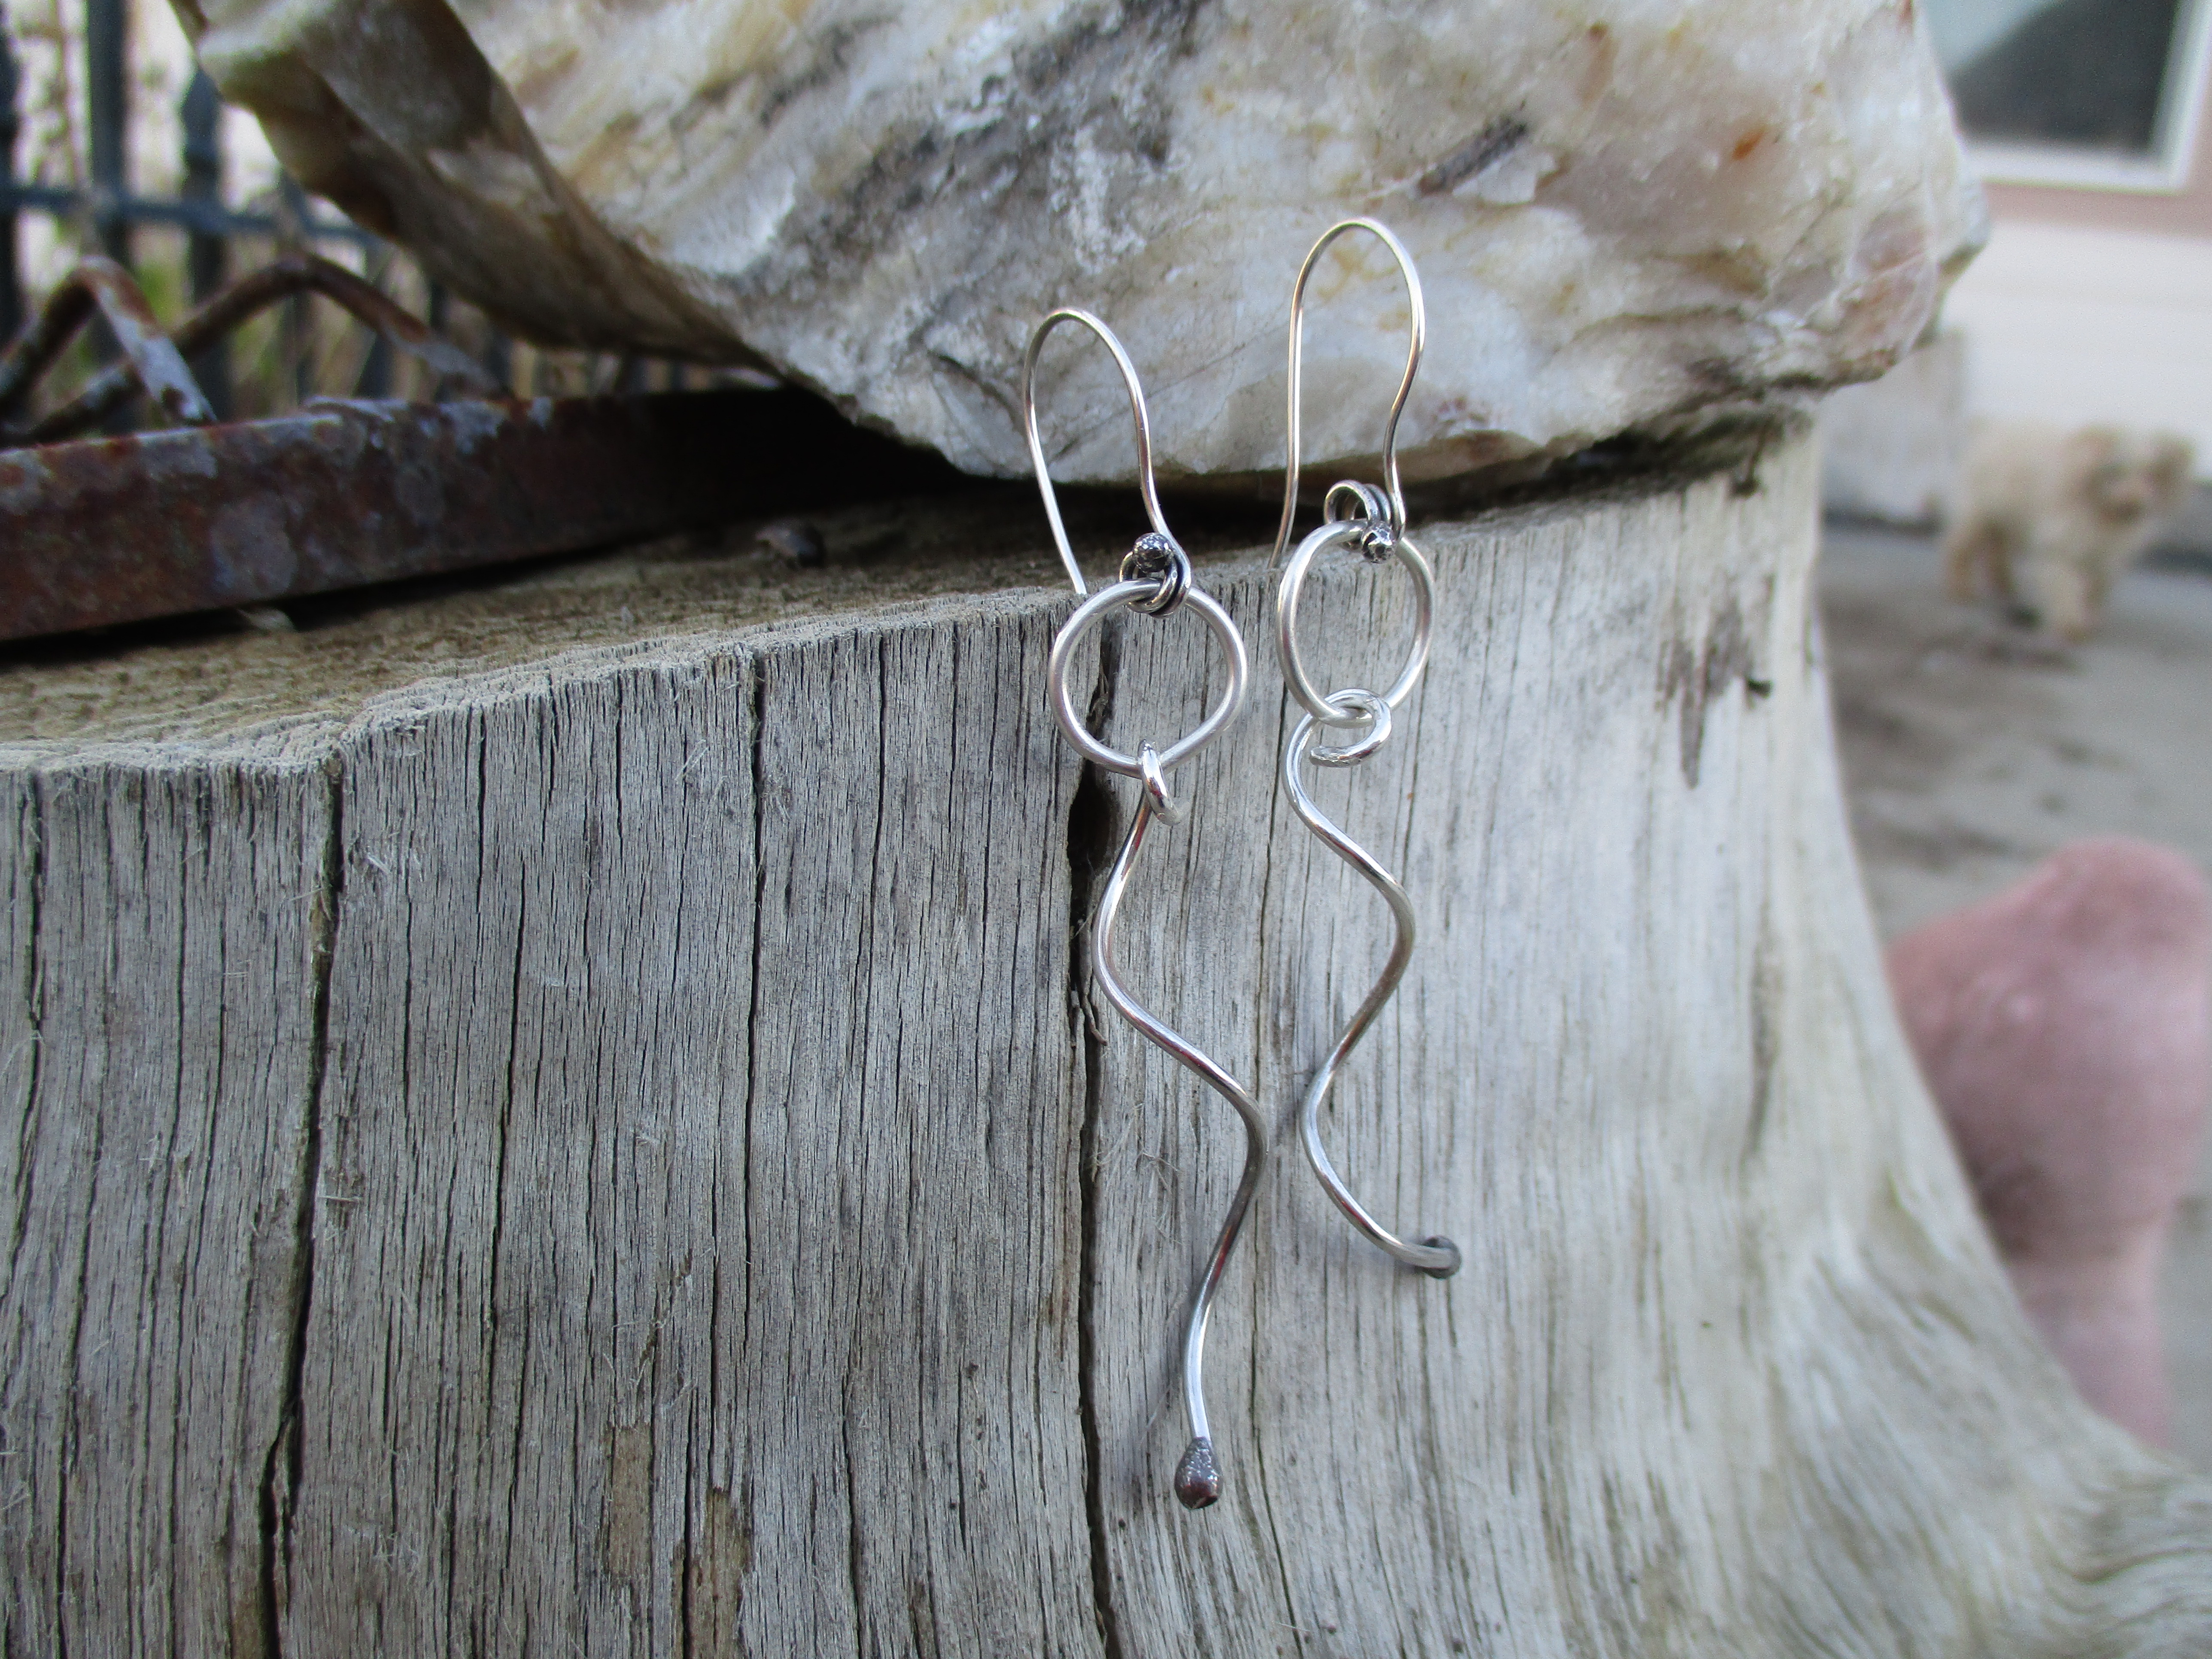 6. The bottoms of these earrings are "paddles" where one simply hammers a bit on the ends of the wire and then files a bit.  7. A very simple pair of earrings:  8. All of the frame wires on this pair were made with copper scrap--I use the horseshoe a lot when making a necklace to hold the bail of the pendant. 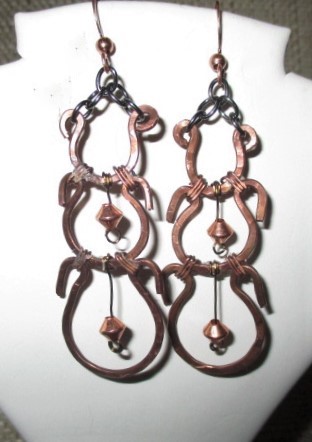 9. Here's the spirals I keep talking about--they can be made as large or small as you like, 20-gauge on down: 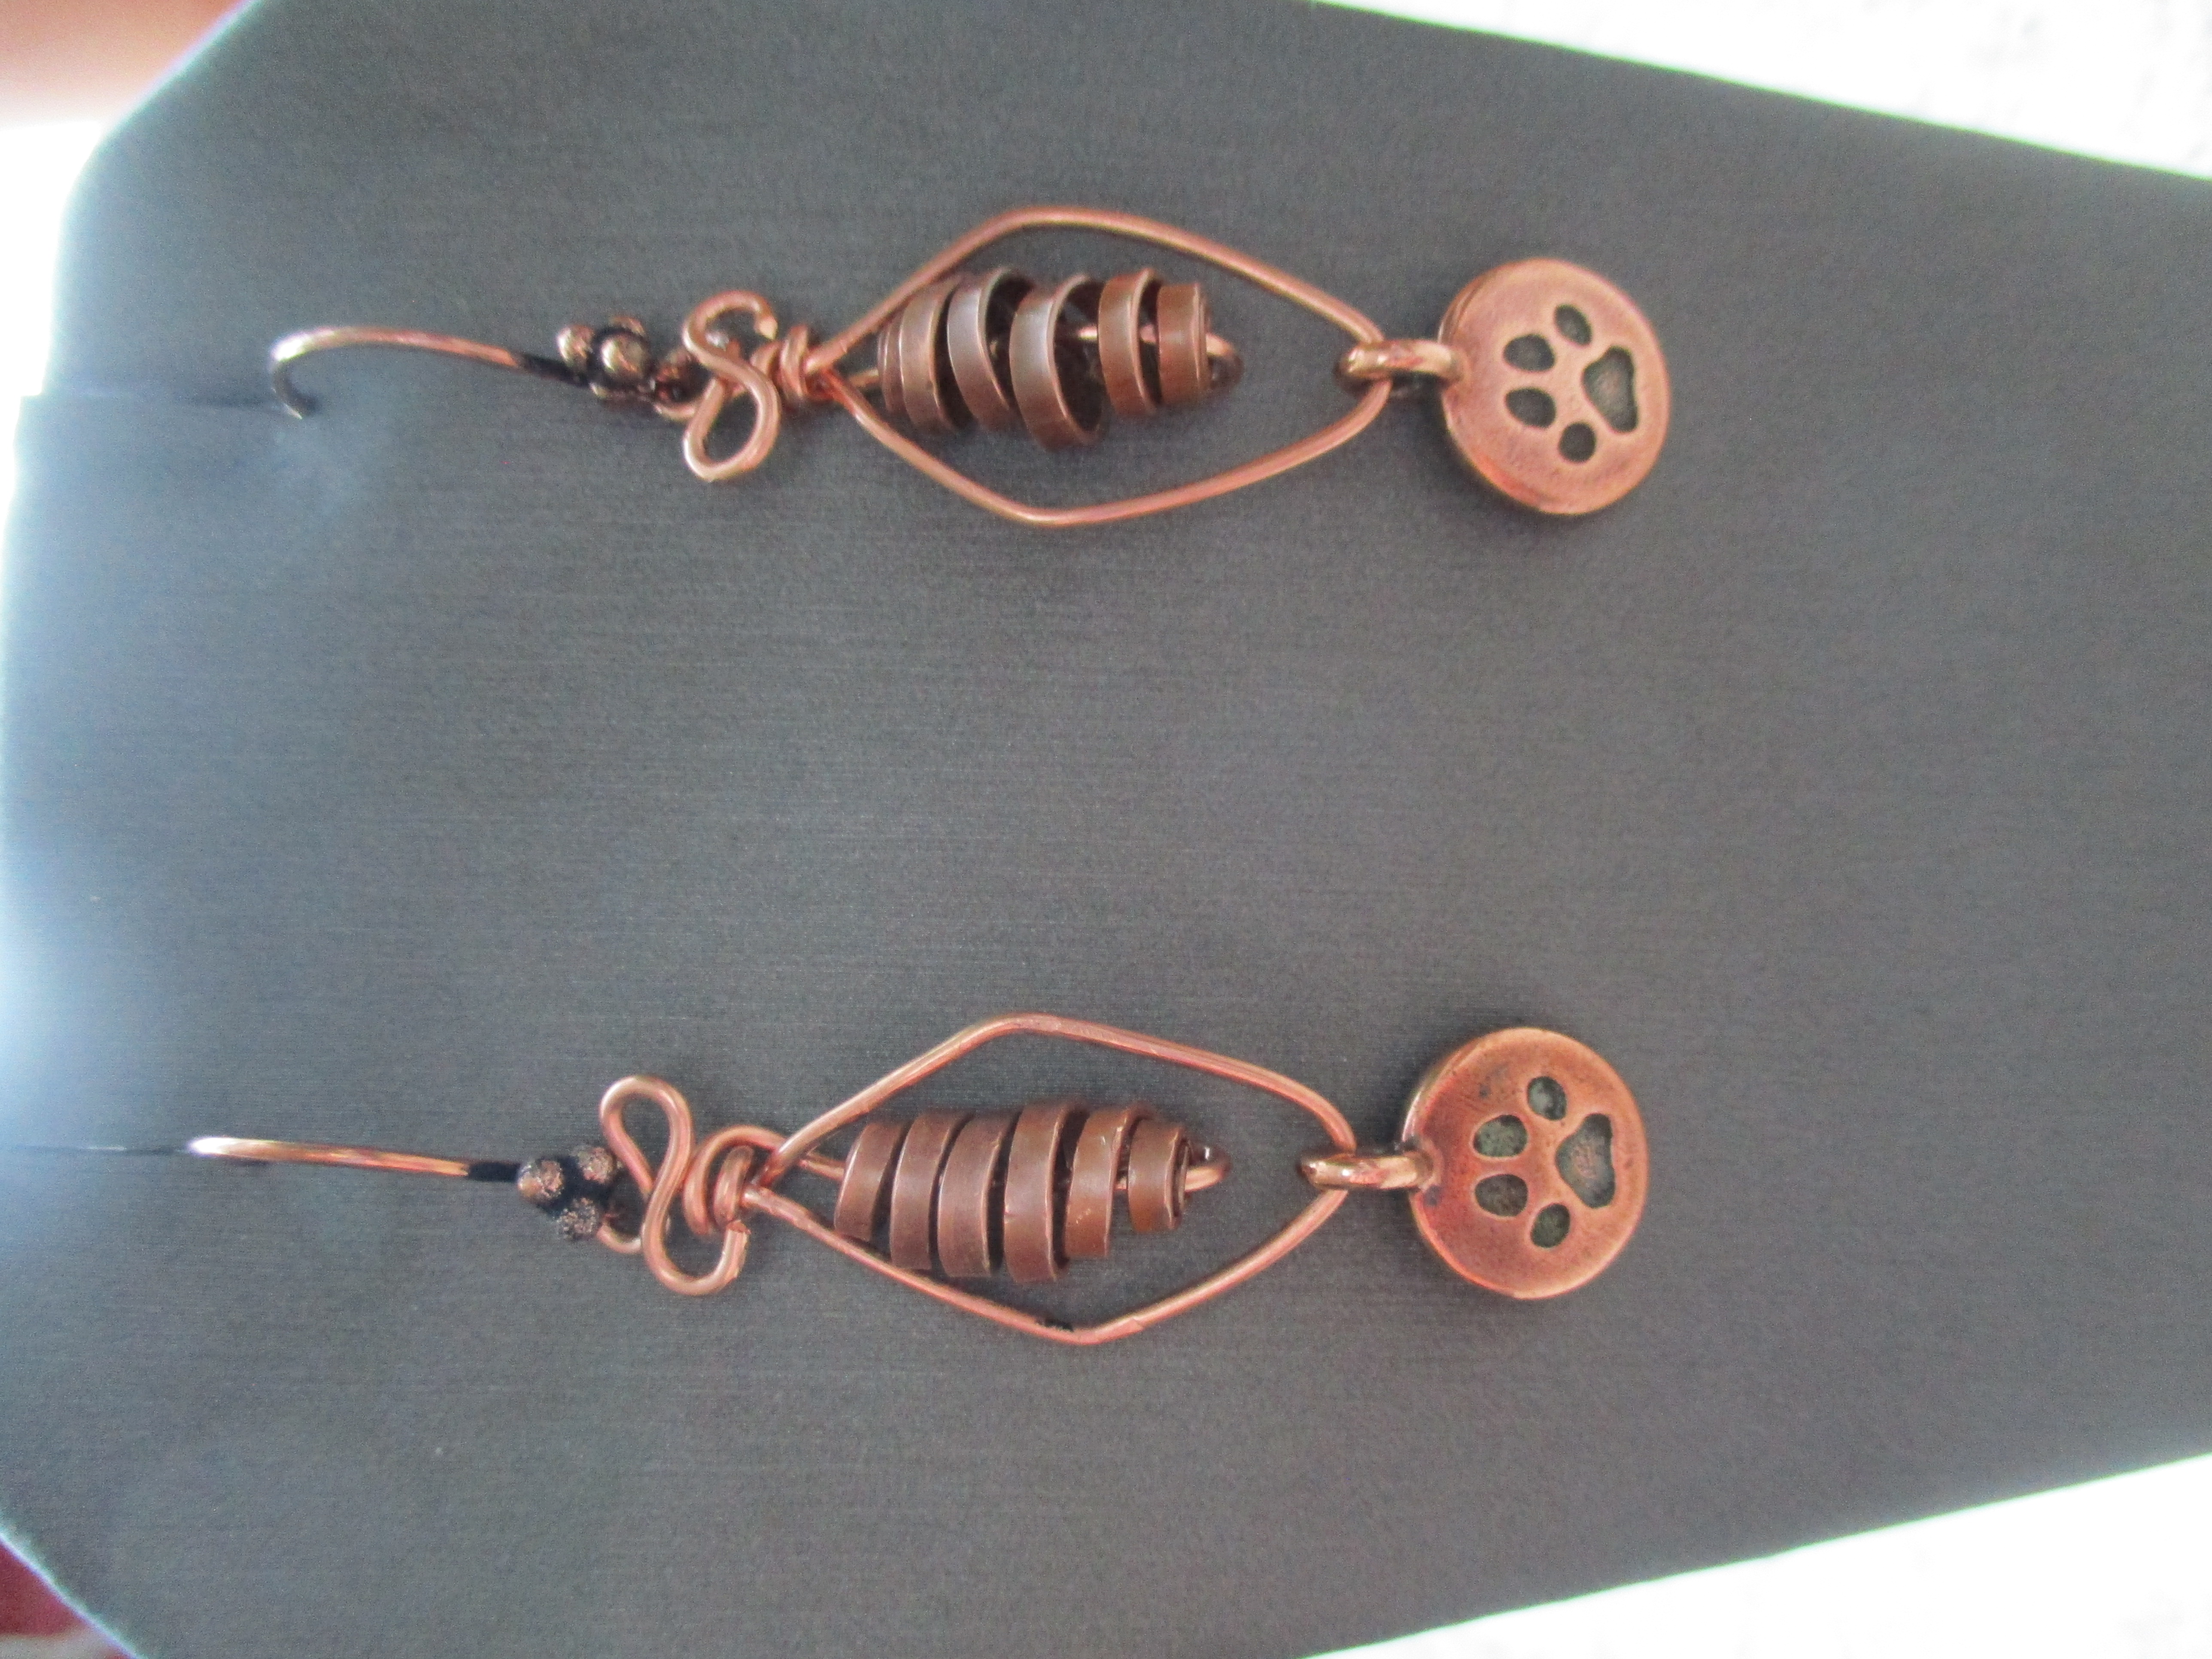 10. One of my friends picked up a piece of scrap and made this design--and I made it again:  11. Entire pieces are scrap:  Tomorrow I'll tackle the mini-tutorial and add some scrap designs that I've used on pendants. |
|
|
|
Post by susand24224 on Jan 2, 2024 17:36:22 GMT -5
I'll get some photos/directions posted tonight--lots to do before dark, and then I'll have some free time. My thought here is to get people thinking about what they can do with "leftovers." It's okay if you just want to play around with wires, they don't have to be attached to a finished product unless you have time to do both, so I'll post some photos of pieces I've made with "reconstituted" parts and also some instructions for the spirals.
|
|


