Post by liveoak on Jan 1, 2023 12:43:29 GMT -5
OK -
I've had a number of requests to do a short tutorial on the cab-in-cab technique I used for my "Winter Moon" cab.
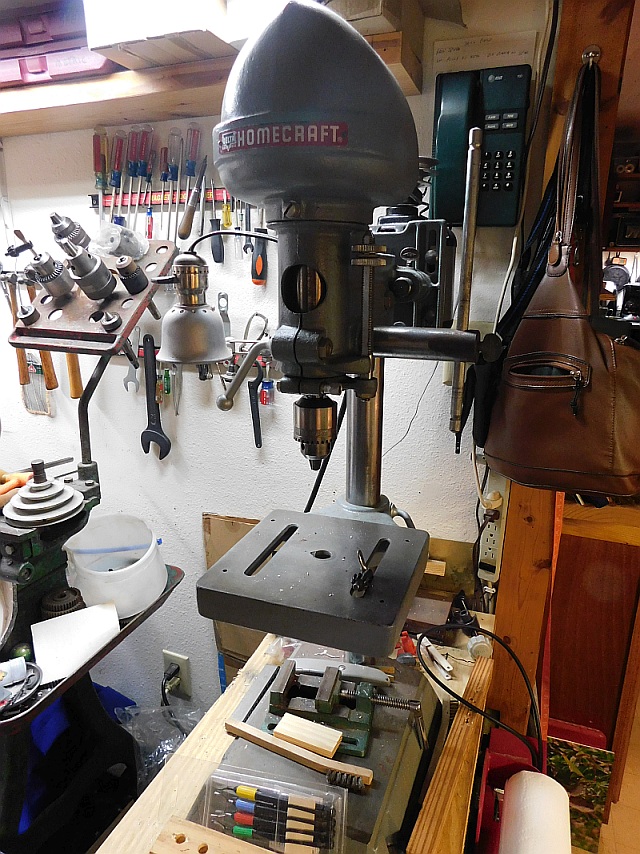
The only specialized piece of equipment I used was a drill press -
So, once you decide on a design (in this case, a blue-white chalcedony "moon" on a dark blue pietersite "sky"), you need to lay out the cab.
Since you're drilling a pretty large hole in it, its better to drill the full size slab BEFORE you preform the cab -
This gives you something more stable to hold onto, AND, if you screw it up, you haven't wasted the cab.
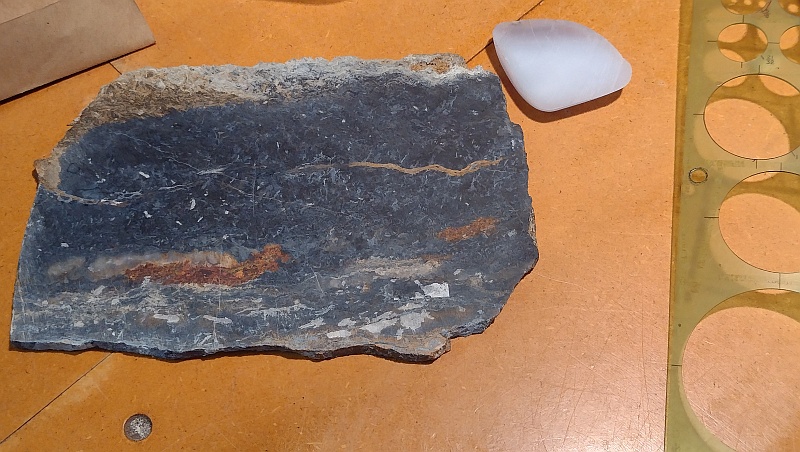
I used the drill press for this, with a modeling clay "dam" to hold a little water for drilling -
Drill press should be set on low speed, and don't push it too hard - gently- You don't want to break out the backside if you can help it.
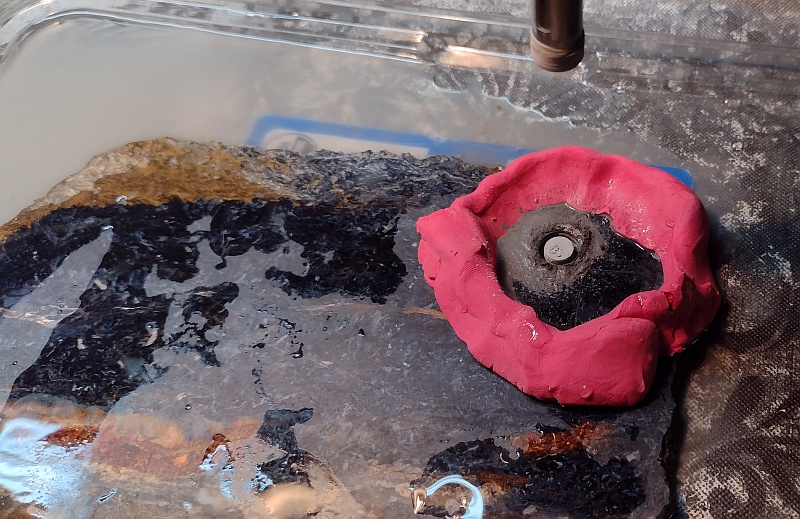
The diamond core bit you use for this will also be larger than the one used to drill the hole in the main slab, in order to make an internal "plug" big enough to fill the first hole.
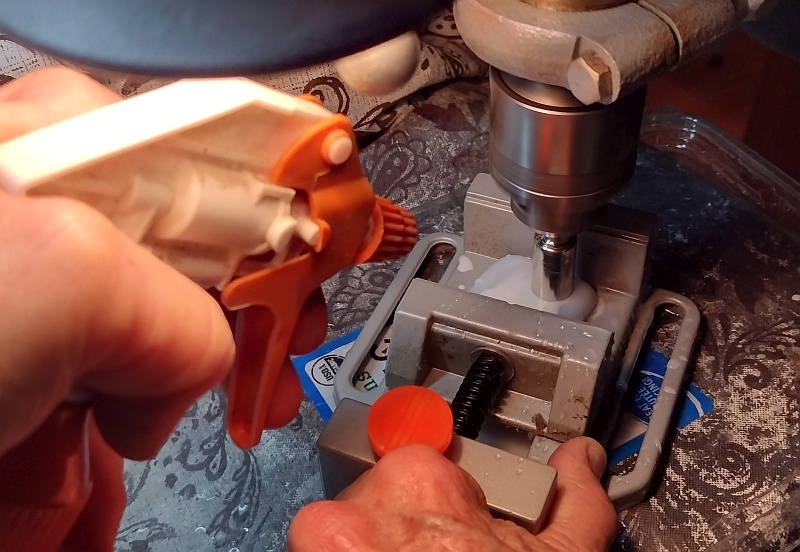
To take the photo, I had my husband hold the drill press and vise in place, while I held the squirt bottle in one hand & took the photo with the other .
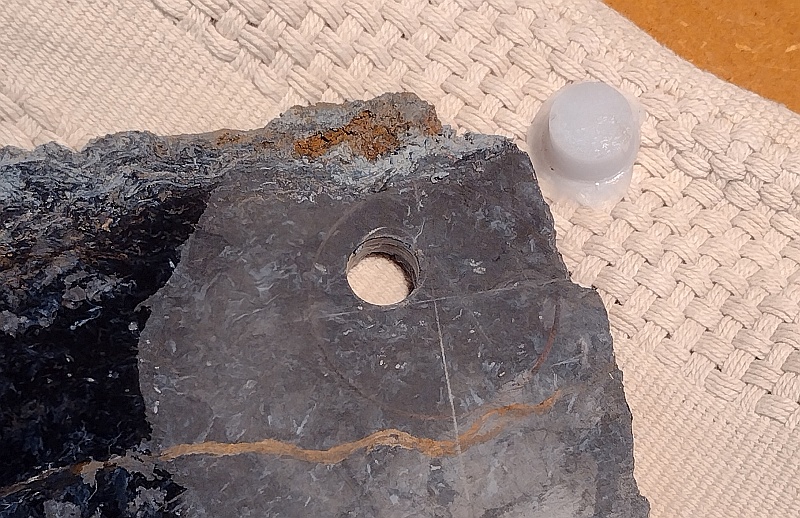
So if you've successfully done all this stuff, this is what you have - A slab with a hole & and a plug to go in it.
My selection of diamond core drills is limited, and I had to use a bit that made a much larger plug than needed.
If I was doing a lot of these I would set up so I could drill close to an exact size plug.
Now it's time to cut the main cab pre-form and then grind the plug to fit the hole.
Since this was a round cab, (and a round plug) and was originally intended for the contest, it required me to grind the circular cab freehand.
In this case it was actually two cabs- the main and the plug.
If I was to do this otherwise, I would absolutely use a powered dop to grind the circles - they come out much more efficiently & accurately that way.
So by hand it was- and I had to keep slowly grinding the plug down & checking the fit in the hole of the main cab.
Depending on the contrast of the stones you are using, the fit for the plug needs to be pretty tight, but not too tight, because you have to have a little space for the epoxy.
If you find you have small chips in the main stone on the bottom (I did), it's not the end of the world, as the epoxy will fill them in, and once it's all ground it's pretty invisible.
As far as gluing goes, I used a water clear epoxy ( Easy Cast) and set the pre-form on a silicone mold I had, but a piece of wax paper or plastic bag works just as well.
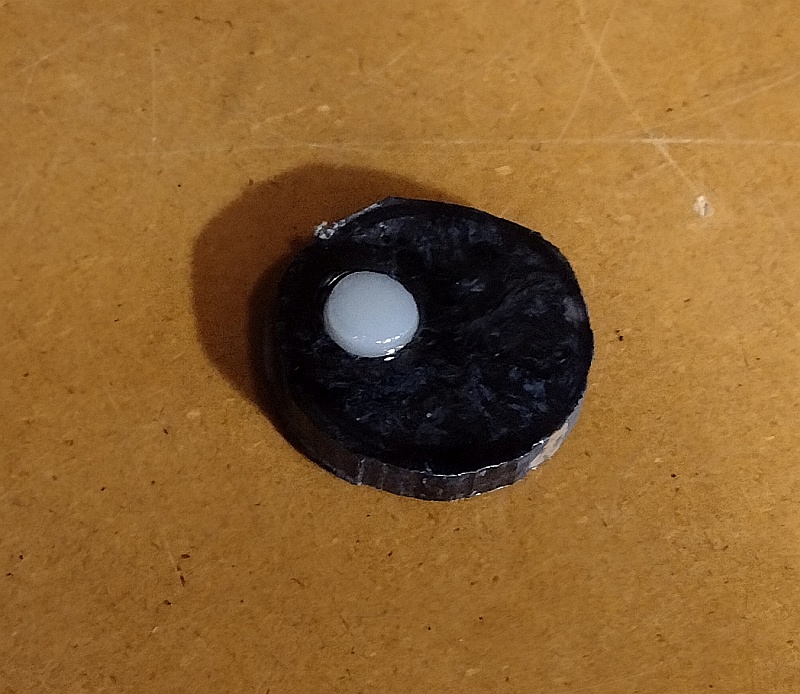
Next up is to make sure the back of your cab is flat, (in my case it was not), & so I had to grind the back so I could dop it for grinding the front.
Again if you were going to do this I highly recommend using a drill or flex shaft to power the dop.
From here on it's just standard cabbing - grinding and polishing.
The result was quite gratifying and I'm glad I tried this new technique and I hope this inspires someone else to try it as well.
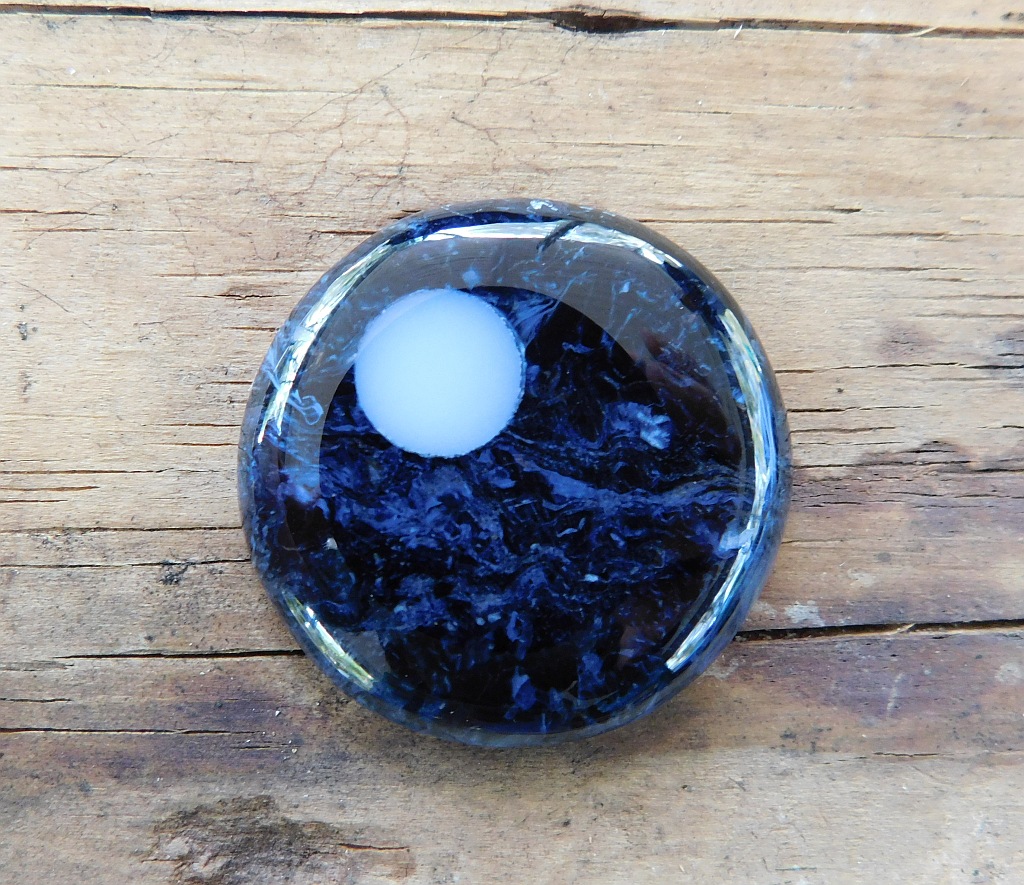
Thanks, Bob (bobby1 ) for the inspiration, & my thanks to Bill Potter wpotterw for his generosity in gifting me the Blue Chalcedony.
Thanks for looking,
Patty
I've had a number of requests to do a short tutorial on the cab-in-cab technique I used for my "Winter Moon" cab.
First of all, this isn't rocket science, and I got the idea from some of Bob Rush's articles, in Rock and Gem Magazine - Bob is the master of this stuff, for sure!
I'm not sure I could free hand drill with the diamond core drills used, especially to start them, but I know there are some out there with better hand control than I have😁
But I was happy for my drill press. 

So, once you decide on a design (in this case, a blue-white chalcedony "moon" on a dark blue pietersite "sky"), you need to lay out the cab.
Since you're drilling a pretty large hole in it, its better to drill the full size slab BEFORE you preform the cab -
This gives you something more stable to hold onto, AND, if you screw it up, you haven't wasted the cab.

I used the drill press for this, with a modeling clay "dam" to hold a little water for drilling -
Drill press should be set on low speed, and don't push it too hard - gently- You don't want to break out the backside if you can help it.

Now it's time for the "moon" -
The problem I had here, was that my only piece of chalcedony was very small, and that meant no room for the modeling clay dam, and I had to hold it in a vise.
In this photo, it illustrates the difficulty in doing this with a small piece.
You have to keep the diamond drill bit wet & you have to keep the little piece of rock in the vise under control.
Actually drilling the hole, was somewhat tedious, as I had to keep drilling , stopping, & squirting with the bottle,
& the small slab was extra thick & hard, and it took quite a while.
Since this was a one off design, I didn't really have a good set up for it -
To do it again, I would have a deep enough tray of some kind to submerge the vise & slab. It would go a lot better.

So if you've successfully done all this stuff, this is what you have - A slab with a hole & and a plug to go in it.
My selection of diamond core drills is limited, and I had to use a bit that made a much larger plug than needed.
If I was doing a lot of these I would set up so I could drill close to an exact size plug.

Now it's time to cut the main cab pre-form and then grind the plug to fit the hole.
Since this was a round cab, (and a round plug) and was originally intended for the contest, it required me to grind the circular cab freehand.
In this case it was actually two cabs- the main and the plug.
If I was to do this otherwise, I would absolutely use a powered dop to grind the circles - they come out much more efficiently & accurately that way.
So by hand it was- and I had to keep slowly grinding the plug down & checking the fit in the hole of the main cab.
Depending on the contrast of the stones you are using, the fit for the plug needs to be pretty tight, but not too tight, because you have to have a little space for the epoxy.
If you find you have small chips in the main stone on the bottom (I did), it's not the end of the world, as the epoxy will fill them in, and once it's all ground it's pretty invisible.
As far as gluing goes, I used a water clear epoxy ( Easy Cast) and set the pre-form on a silicone mold I had, but a piece of wax paper or plastic bag works just as well.
The one thing to keep in mind, is if you have a thin epoxy like I used, you need to go back & check the cab because the epoxy will tend to wick down from the upper surface, & you should fill in any little spaces that show up, before the epoxy sets completely.
Once glued, you should leave it to harden for a couple of days, ideally.
It goes without saying that the "plug" should be at least as thick as the cab, preferably a little thicker, as you have to grind everything flush.

Next up is to make sure the back of your cab is flat, (in my case it was not), & so I had to grind the back so I could dop it for grinding the front.
Again if you were going to do this I highly recommend using a drill or flex shaft to power the dop.
From here on it's just standard cabbing - grinding and polishing.
The result was quite gratifying and I'm glad I tried this new technique and I hope this inspires someone else to try it as well.

Thanks, Bob (bobby1 ) for the inspiration, & my thanks to Bill Potter wpotterw for his generosity in gifting me the Blue Chalcedony.
Thanks for looking,
Patty


